
Communicate with WQData LIVE through CONNECT
CONNECT contains commands to immediately communicate with the WQData LIVE web datacenter in the WQDATA tab. Options are available for updating the X2’s sensor configuration, checking and executing commands from the WQData LIVE command queue, and posting all stored data that has not yet transmitted to the web data center.
Setup WQData LIVE
- Connect the X2 logger to a PC and launch the CONNECT software. Test connection by reading the RTC clock of the logger in the CONFIG tab.
- From the CONNECT main window, select the WQDATA tab.
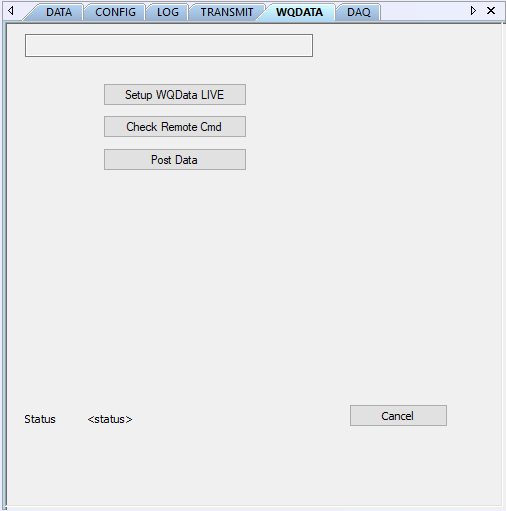
Figure 1: WQDATA tab in CONNECT.
- Before continuing to step 4, ensure that the sensor configuration and all log, selective upload, and transmit intervals/flags are as desired before pushing the new configuration to WQData LIVE.
- Read sensor configuration
- Note: If a sensor configuration for the data logger is already on WQData LIVE, a new configuration should only be uploaded when sensors are added to the current detected sensors. Removing or moving sensors to different ports during a new sensor detection will update the internal data logger sensor configuration; however, the new sensors/parameters will overwrite the existing configuration on WQData LIVE when pushing this new setup. Thus, sensors/parameters will be out of order on WQData LIVE.
- Before running a new sensor detection, contact NexSens technical support. More information on X2 sensor detection can be found here.
- Set log and selective upload intervals
- Set transmit flags and start time/interval
- Read sensor configuration
- Select Setup WQData LIVE and click Yes when prompted.
- For cellular systems, the change will occur immediately and the new settings will upload to WQData LIVE.
- For Iridium and radio systems:
- During the next transmission interval, WQData LIVE will request a new binary format.
- During the following transmission interval, the X2 will respond with the new binary format.
- During the third transmission interval, the adjustments to the binary format will finalize, and the X2 will push up data following the new settings.
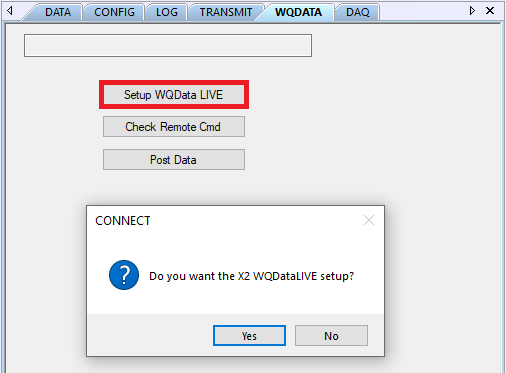
Figure 2: Run WQData LIVE setup.
- An indicator should appear confirming that the X2 will begin the WQData LIVE setup process.
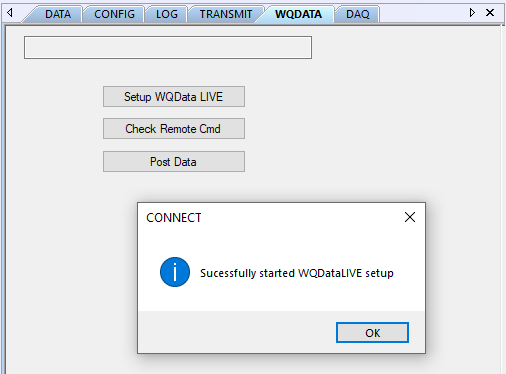
Figure 3: WQData LIVE setup command success indicator.
Check Remote WQData LIVE Commands
Multiple commands (e.g., changing log/transmit intervals, changing transmit flags, setting sensor offsets, etc.) can be sent to any X2 data logger through the administrator settings on WQData LIVE (Visit the WQData LIVE User Guide to view available commands). When entering these commands into the web datacenter, the X2 data logger will receive the commands during the next scheduled transmit interval. However, the Check Remote Cmd option in the CONNECT software forces the X2 logger to contact the web datacenter and receive these commands immediately.
- Click the Check Remote Cmd option and select Yes when prompted.
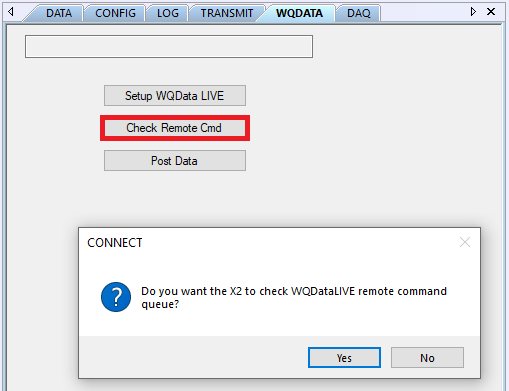
Figure 4: Check remote command option.
- An indicator should appear confirming that the X2 will begin receiving and executing commands within the WQData LIVE command queue.
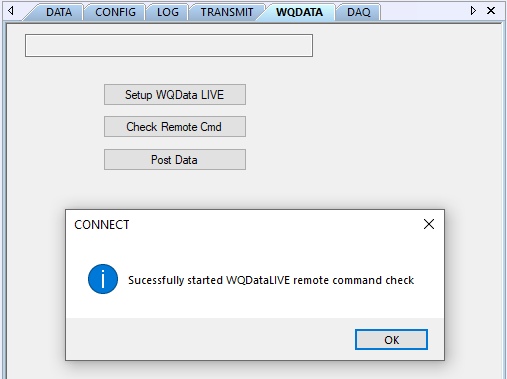
Figure 5: Check remote command success indicator.
Post Logged Data to WQData LIVE
The Post Data command forces the X2 to upload any data in its memory not yet pushed to WQData LIVE. This command is useful for bypassing the current X2 transmit interval, or for instances where telemetry connection temporarily failed while the logger continued to log data internally.
- Click the Post Data command and select Yes when prompted.
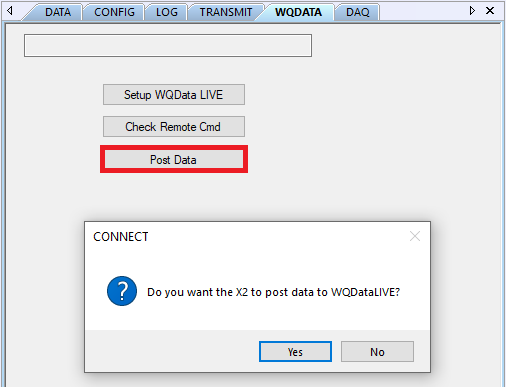
Figure 6: Post logged data option.
- An indicator should appear stating that the command was successful, and the X2 will begin posting data to WQData LIVE.

Figure 7: Posting data to WQData LIVE success indicator.