
Downloading and Sending Data Reports
Before downloading or sending data reports, be sure to review the guides to generate, customize, and memorize (save) data reports.
When ready to proceed, review this guide for instructions on downloading and configuring automatic sending of a data report via email or FTP.
Downloading a Data Report
- Select the Download option to locally save a CSV and/or PDF file of the data report.
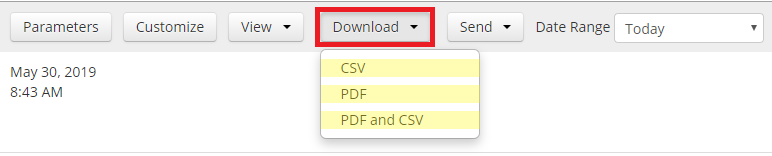
Figure 1: Download configuration menu.
Note: Timestamp Discrepancy
As shown in the images below, a WQData LIVE report and the downloaded CSV file from that report may appear to contain separate UTC timestamps. This discrepancy is due to daylight savings time and the difference between data acquisition on WQData LIVE and when that data report is downloaded. The timestamp shown in the CSV file represents the local UTC at the time of download, while the WQData LIVE report shows the local UTC when the data is acquired.

Figure 2: Report download example showing UTC-04:00.

Figure 3: CSV file from same example showing UTC-05:00.
Sending a Data Report
There are two options for sending data reports to an external location:
- FTP/SFTP
- Note: Webhook is not currently supported.

Figure 4: Send data report configuration menu.
The Email Report option allows sending of PDF and/or CSV files of the data report to multiple recipients.
- Enter the name of the data report in the Filename field to set a standard file name.
- Note: Leave this field blank to generate a new file name each time.
- Enter the email recipient(s) line-by-line in the Emails box.
- If the email name is too long, expand the box by clicking the two lines at the bottom right and dragging the box outward.
- Select between CSV, PDF, or CSV & PDF format.
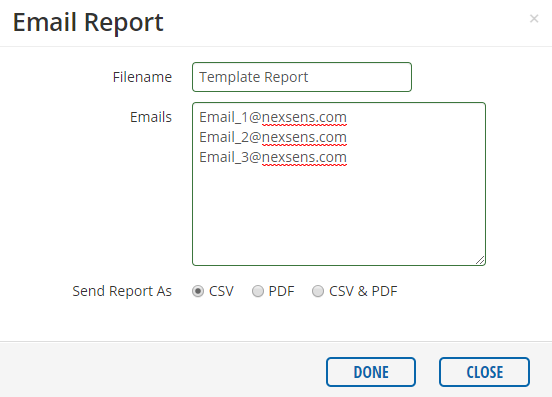
Figure 5: Email Report configuration menu for a non-memorized report.
- If the report has been Memorized (saved), there are two action options for sending the email:
- Send Now sends a single, immediate email to the specified recipients.
- Schedule automatically sends the report via email at a recurring interval.
- If necessary, configure an offset to ensure that the sent report includes the latest data point.
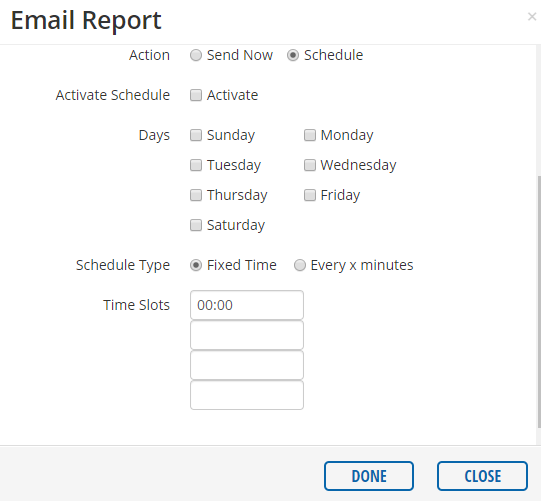
Figure 6: Email Report option – Fixed Time example.
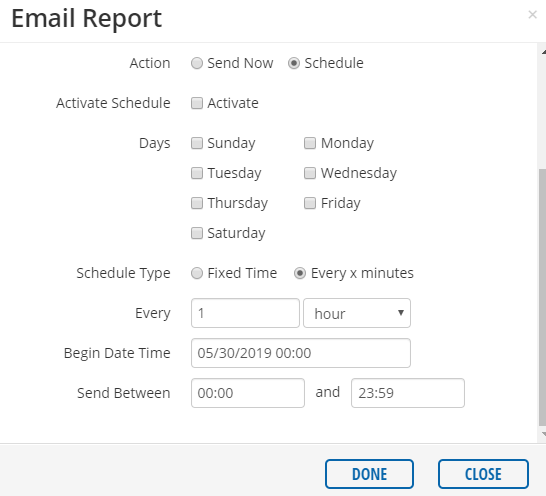
Figure 7: Email Report option – Every x minutes scheduled example.
- Click DONE at the bottom to send the email or apply the schedule.
- A message will appear to confirm successful sending og the email.
FTP/SFTP
The FTP/SFTP option sends data reports to a specified network location.
- Enter the name of the data report in the Filename field to set a standard file name.
- Note: Leave this field blank to generate a new file name each time.
- The following information must be known and entered to send the file correctly:
- Network Host
- Network Port
- Username
- Password
- Network Directory
- Protocol (FTP, FTPS, or SFTP)
- Transfer Mode (Active or Passive)
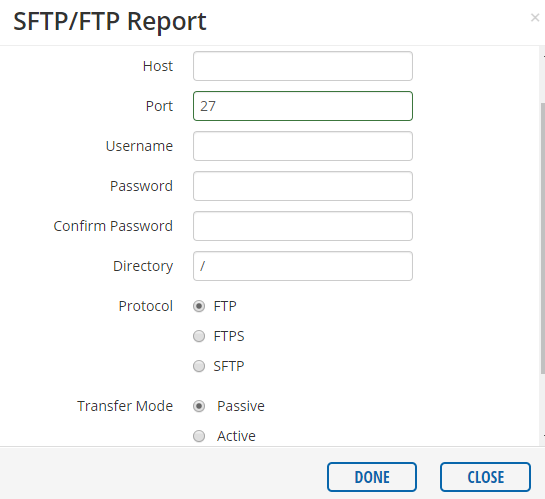
Figure 8: SFTP/FTP Report configuration menu.
- For memorized reports, the FTP/SFTP menu also contains the two scheduling actions listed above in the Email Report section.
- Click DONE at the bottom to send the report or save the configured schedule.