
Data Export: GLOSXML Format
The GLOSXML format is one of four options within the Data Export tool. This option follows the standard data format recognized by the Great Lakes Observing System.
To create a Data Export with GLOSXML format:
- Navigate to the Data Export Tool and then choose the GLOSXML format.
- The GLOSXML format must include a station name recognized by the GLOS data platform.
- Use the Select Parameter option (left image) to view the available parameters (right image) for the site that will export to GLOS.
- Utilize the search bar for quicker selection.
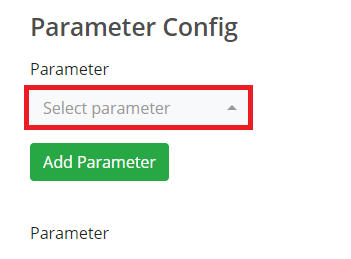
Figure 1: Data export parameter selection drop-down menu. |
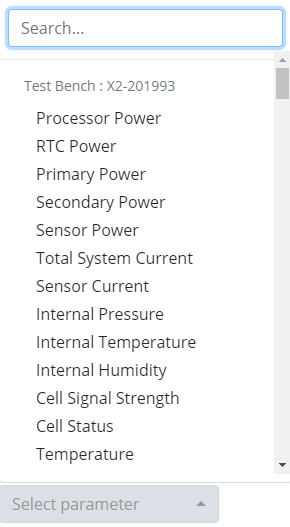
Figure 2: Export parameter list. |
- The following features will need to be inserted for each parameter:
- Tag: The Tag represents the name of the parameter that will appear in the GLOSXML file.
- Auto-Tag: An Auto-Tag may be selected if the parameter is within the Predefined Tag list and if there is not a duplicate parameter selected.
- Predefined Tag: A Predefined Tag is one that WQData LIVE recognizes and will place in the GLOSXML file if selected. A Predefined Tag is useful for data exports that contain multiple parameters with the same name. View the Data Export Predefined Tag List article to understand the Predefined Tags.
- Custom Tag: The user may insert a custom tag that will appear in the GLOSXML file for the selected parameter.
- Tag: The Tag represents the name of the parameter that will appear in the GLOSXML file.
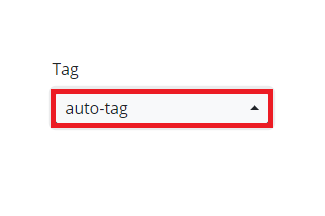
Figure 3: Data export parameter Tag selection. |
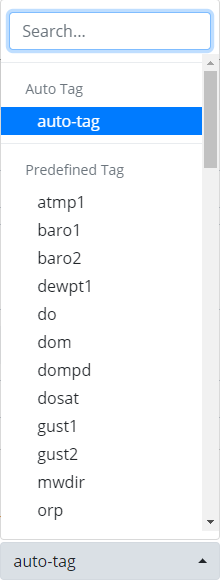
Figure 4: Data export parameter Tag list. |
-
- Depth Tag: The Depth Tag indicates the depth at which a sensor (dp###) or current profiler (dv###) is located within the water column in relation to other similar sensors. Users can thereby place the measurements from a temperature profile or current profile in order of depth within the GLOSXML file.
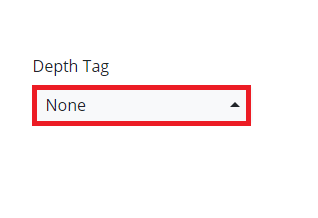
Figure 5: Data export Depth Tag selection. |
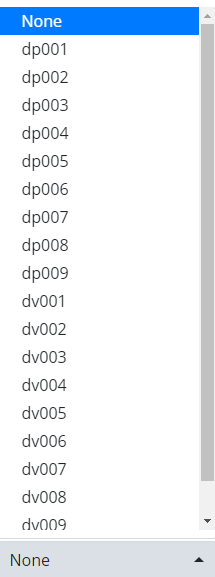
Figure 6: Data export Depth Tag list. |
-
- Depth Value: The Depth Value refers to the actual depth of each sensor using a predefined unit of measurement such as feet or meters. Users can include the units by selecting the Custom option and manually typing in the unit, e.g. ‘1-meter’.
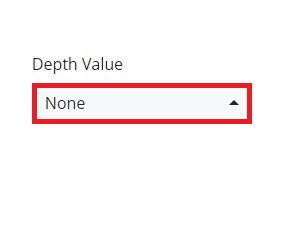
Figure 7: Data export Depth Value selection. |
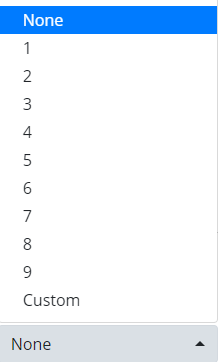
Figure 8: Data export Depth Value list. |
- Click Add Parameter to include the chosen parameter in the data export.
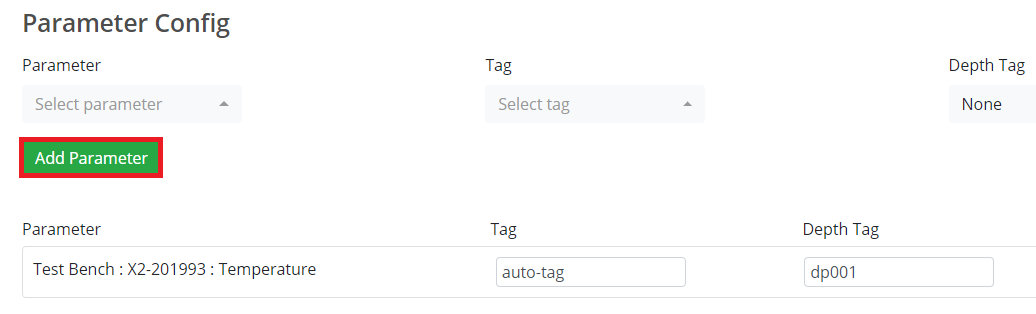
Figure 9: Example – Addition of Temperature parameter for the first temperature sensor at 1-meter depth. The preferred sensor order and depth units will vary.
- Repeat steps 2-4 until all desired parameters are selected.
- Follow the link below to set a date range for the Data Export.