
NexSens RTU-C Remote Telemetry Unit
The NexSens RTU-C Remote Telemetry Unit acts as the main cellular or iridium telemetry device for X2 data loggers, while allowing for a fallback to the internal data logger telemetry. RTU-C units are watertight and able to operate in extreme environments. The internal settings allow users to adjust transmission settings via the embedded Wi-Fi. The RTU-C can be powered by any 12VDC source, including a direct connection with a NexSens CB-series buoy battery or SP-series power pack. The RTU-C accepts sensor measurements from NexSens X2 data loggers and can transmit this information to the WQData LIVE cloud datacenter.
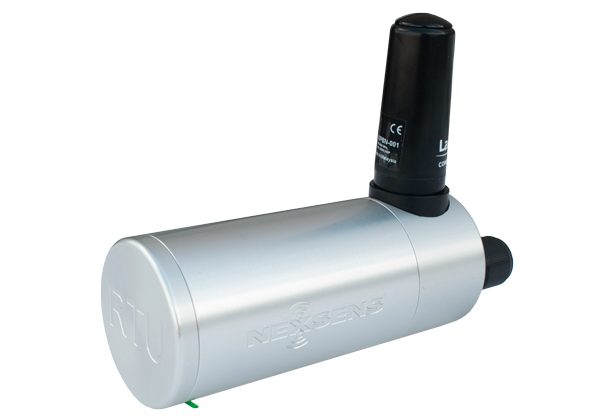
Figure 1: NexSens RTU-C Remote Telemetry Unit
Create a WQData LIVE Account and Project
The user must create a WQData LIVE account and project before transmitting data to the WQData LIVE web datacenter. NexSens will provide an identification number or claim code that users will use to allocate the logger to their WQData LIVE project. There, the X2’s sensor configuration and parameter data will upload at the specified interval using the X2’s internal settings.
- Create a WQData LIVE Account
- Create a WQData LIVE Project
- Add a Data Logger to a WQData LIVE Project
Connect to the RTU-C Dashboard
Users can connect to the RTU-C dashboard using the embedded Wi-Fi module. When power is first applied, the RTU-C will beep once, indicating adequate power, and the green LED will light up. After 15 seconds, a second beep will be heard for Wi-Fi connection, and the unit’s SSID will appear on the communicating device.
Embedded Web
The embedded Wi-Fi within the RTU-C can be accessed by providing 12VDC power waiting for the Wi-Fi network to display on a phone, tablet, or PC.
- Choose the proper SSID (NexSens-RTU-xxxxxx, where xxxxxx is the RTU-C body tag) and enter the following URL in a web browser:
- 192.168.2.2
- The RTU-C dashboard should appear in the browser.
- Enter the following credentials:
- Username: admin
- Password: NexSens01
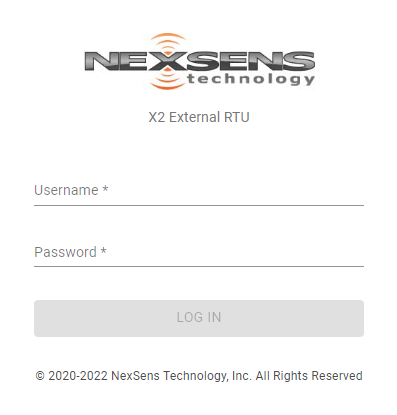
Figure 2: NexSens RTU-C Dashboard login.
RTU-C Dashboard Features
RTU-C Information
Once within the RTU-C dashboard, a host of information regarding the RTU-C features is available, such as the name, body tag, associated static IP address, and available storage.
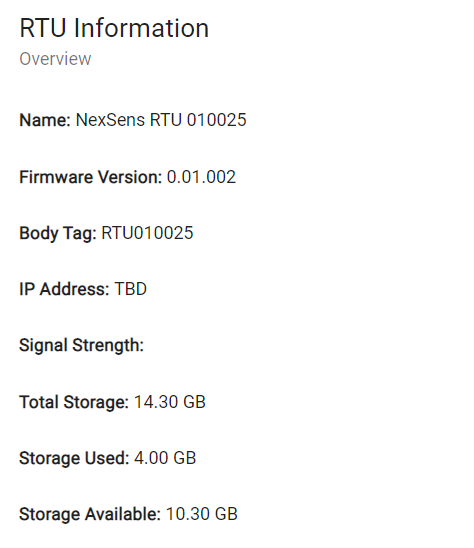
Figure 3: RTU-C overview.
Set Cellular Settings and Test Telemetry
Note: Before purchasing a SIM card, review the cellular signal strength at the final deployment location, the data plan size required, and the APN required for cellular communication. The RTU-C houses a mini 4G SIM card (2FF size, 25mm x 15mm) and must have a Machine to Machine data plan.
The APN, or Access Point Name, is associated with a cellular carrier and their provided SIM card to provide access between the carrier’s network and the internet. APN information should be given to the user from the cellular provider when purchasing a new SIM card.
- Enter the appropriate APN in the available space and click SAVE.
- Check cellular coverage by pinging one of the listed domains such as Google (8.8.4.4) and WQData LIVE, or enter another appropriate domain.
- An IP address should be returned from the domain name and all packets should be received to confirm communication.
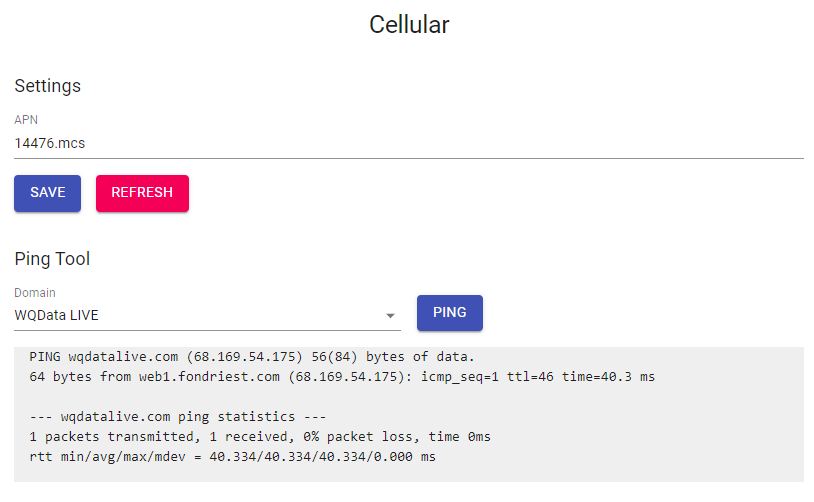
Figure 4: Successful ping to WQData LIVE.
Enable as an X2 RTU and Communicate with WQData LIVE
Once cellular communication is established, the X2 RTU function should be enabled. This allows the RTU-C to push X2 sensor data to WQData LIVE. A UW6-2W should be connected for a power and communication connection between the X2 data logger and a NexSens CB-series solar tower or SP-series solar power pack. All information, including commands sent through WQData LIVE, will be communicated through the internal cellular telemetry on the RTU-C module.
- Set the transmit interval and offset for the camera.
- Note: A higher frequency transmit interval will increase the overall data plan usage and power consumption.
- For a new system, click the Post Setup command.
- This command will push the sensor and parameter list on the X2 to the WQData LIVE web datacenter.
- If backlogged data needs to be uploaded from the X2, push the Upload Data button.
- All logged data that has a timestamp after the latest timestamp on WQData LIVE will be uploaded to the web.
- If new commands are entered through the WQData LIVE command queue, the Pop Command can be sent to immediately apply those new settings to the X2 data logger.
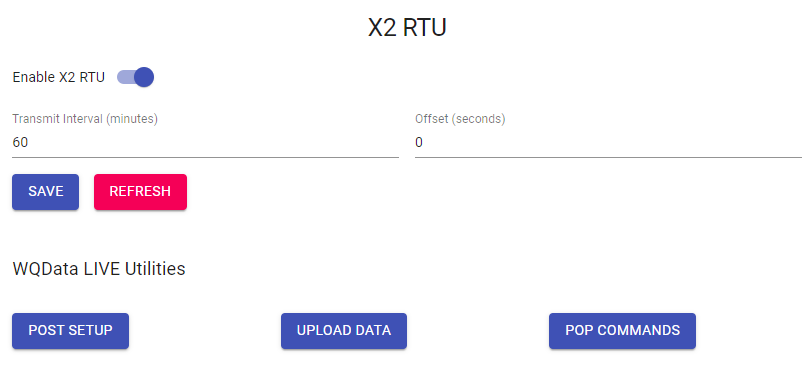
Figure 5: X2 RTU camera features.
Control System Power and Function
While adjusting settings on the RTU-C, it is recommended to set a continuous working mode to avoid interruptions. Continuous power is also important for completing log file downloads and updating firmware. Firmware updates will be provided by a NexSens technician. Set the RTU-C in continuous working mode by enabling the “Do Not Shutdown” flag and clicking SAVE.
Note: If the “Do Not Shutdown” flag is not reset, the system will reboot after 4 hours of continuous power.
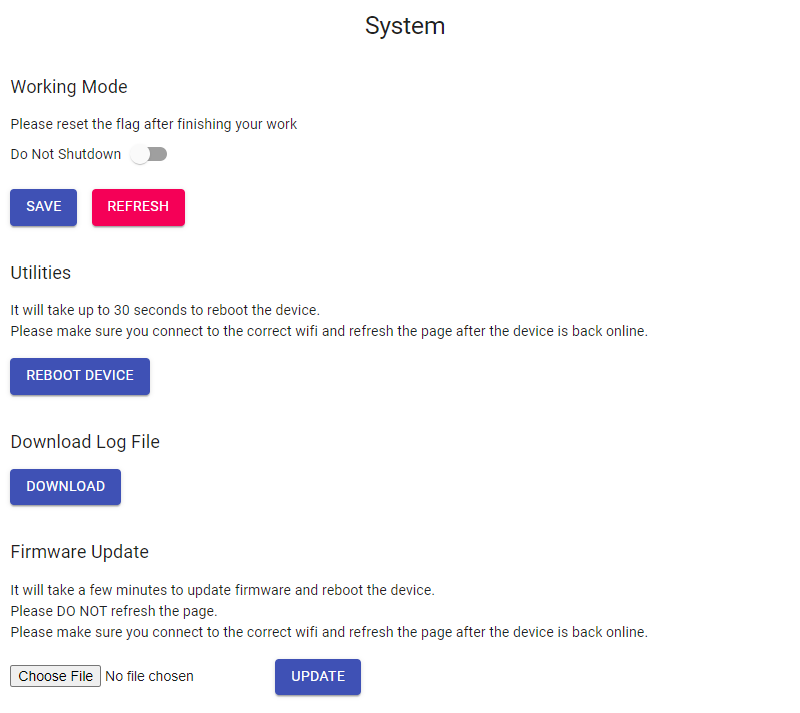
Figure 6: RTU-C system page.