
Update Alarm Contact List
Alarm recipients organized as Groups or individuals can be updated in the Alarms/Alerts configuration menu for active alarms.
To update alarm contacts:
- Navigate to ADMIN | Alarms on the Project Dashboard.

Figure 1: Access WQData LIVE Alarms menu.
- Expand the Alarms/Alerts section by clicking on the gray bar (if it is not already showing).

Figure 2: Expand the Alarms/Alerts section.
Note: When alarms are created, notification contacts can be entered individually or as an editable Group. Depending on which option an alarm uses, proceed with one of the following:
Modify Alarm Groups
- Click the Manage Groups button in the Alarms/Alerts menu to bring up the summary list.

Figure 3: Alarm Manage Groups list.
- Click the Edit button (pencil icon) under the Action column to modify the alarm Group.
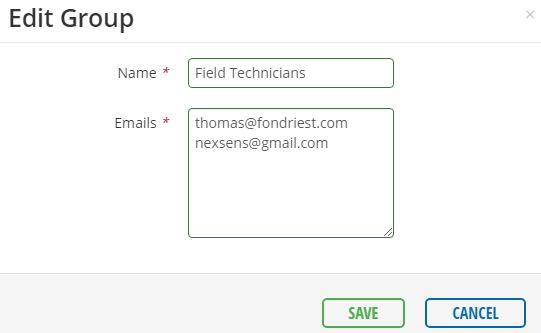
Figure 4: Active alarm recipient Group list.
- Add or remove user email addresses, one per line, to the Group as desired. Click SAVE when finished.
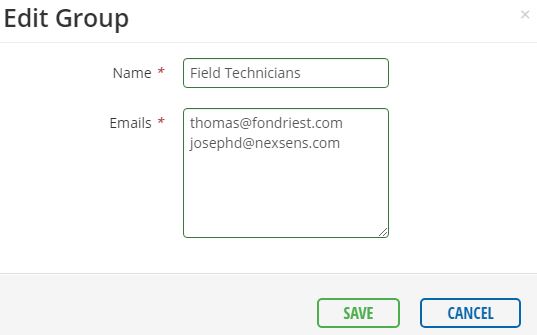
Figure 5: Modify Group name and members.
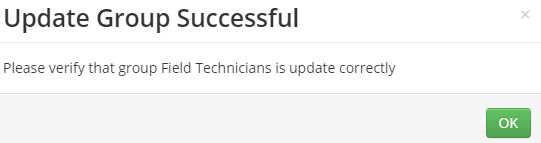
Figure 6: Acknowledgement prompt for Group changes.
- Changes to the contact list automatically apply to all alarms with the respective contact Group enabled.
Modify Individual Alarm Lists
- Click on the alarm in the list to bring up its summary menu.
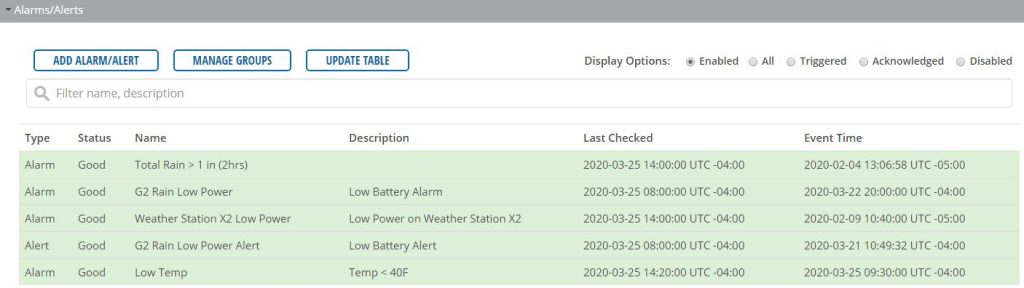
Figure 7: Locate and select an alarm to update the contact list.
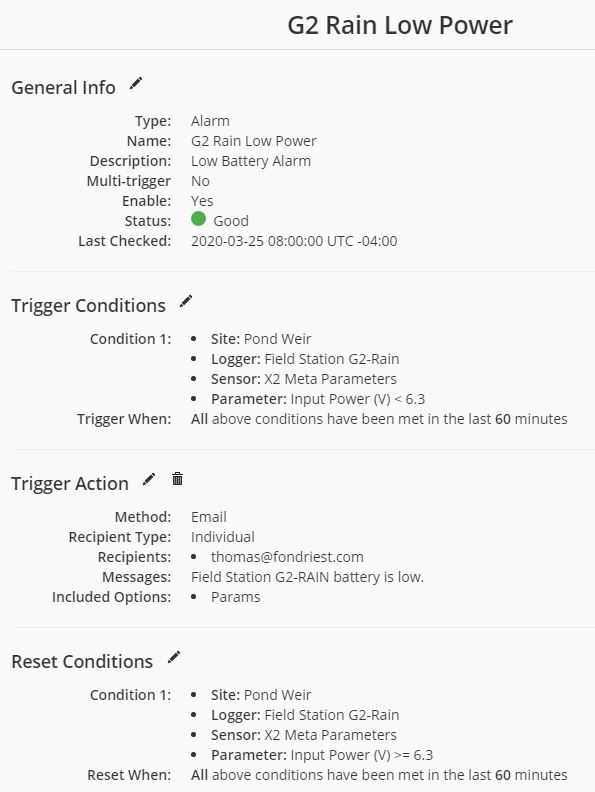
Figure 8: Alarm summary example.
- Click the Edit button (pencil icon) next to the Trigger Action field.
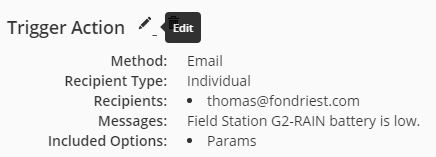
Figure 9: Select to edit the Trigger Action field for the alarm.
- Add or remove contact emails from the Recipients field, listing one per line. Click Save when finished.
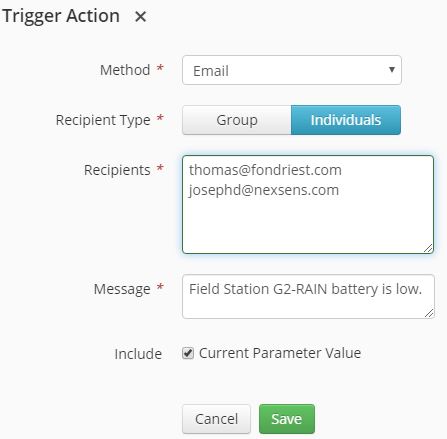
Figure 10: Modify alarm recipient list.
- After adding/removing users from the alarm, click the Save button.
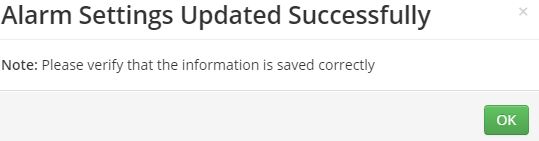
Figure 11: Acknowledgement prompt that changes were applied.
- Click Close or select the ‘x’ in the upper right to exit the alarm summary menu.
- Repeat the process to update all alarm contact lists as desired.