
Adjusting the Dashboard Map
The WQData LIVE Dashboard Map feature is an aesthetic and informative addition to the Dashboard display. The map gives the user a visual of the area surrounding the data logger, allows GPS-equipped loggers to be tracked, and contains visual updates to indicate triggering of system alarms.
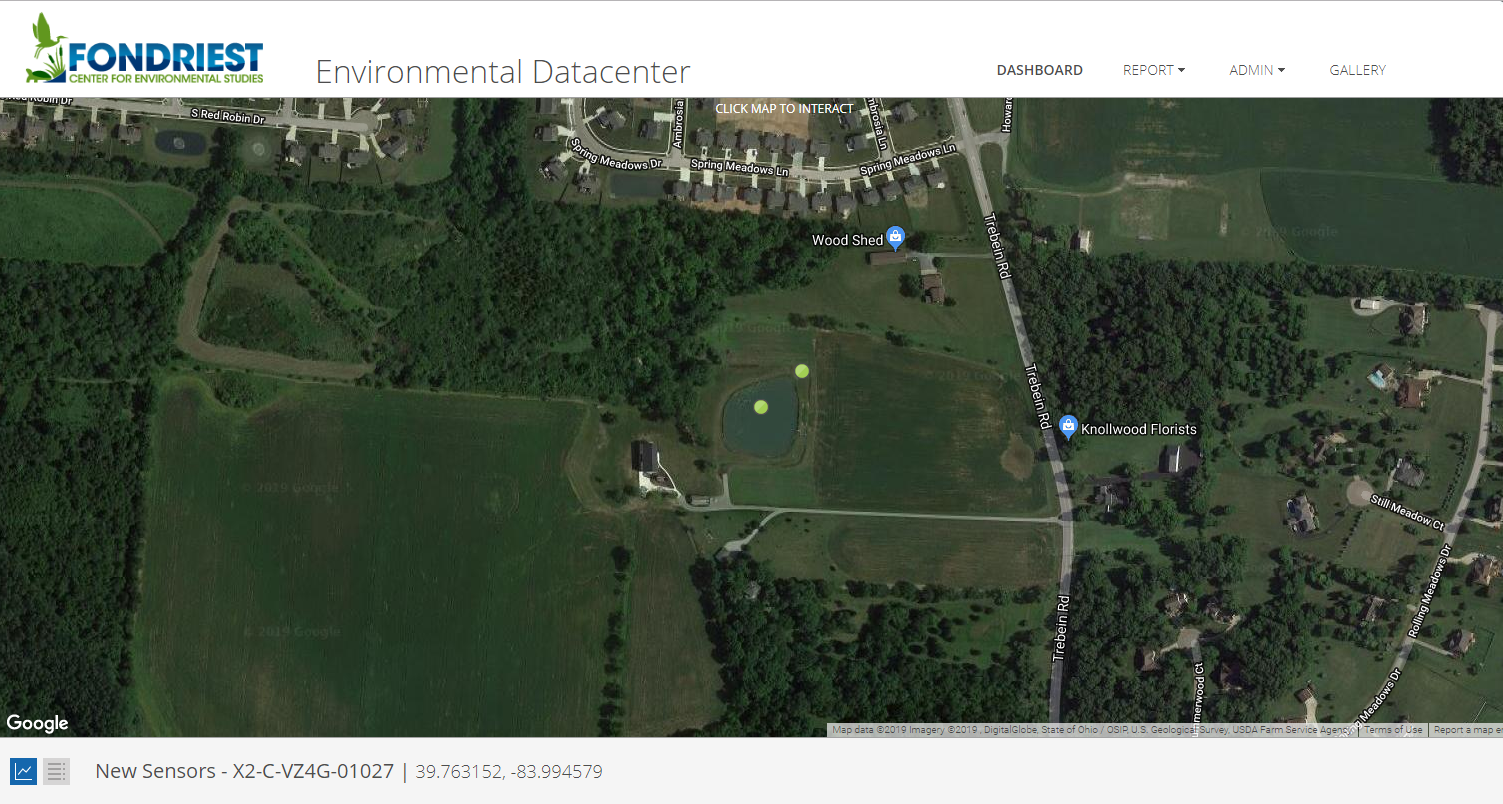
Figure 1: Dashboard Map example.
Map Features
Click anywhere on the map to interact with the map’s features:
Zoom
Use the mouse scroll wheel to zoom in and zoom out on the map.
- Pushing the scroll wheel forward will zoom in.
- Pulling the scroll wheel backward will zoom out.
Drag
Click and hold the left mouse button to grab the map. Move the mouse in the desired direction to change the map visual.
- The example in Figure 2 shows the map dragged northeast of the data logger’s position.
- The keyboard arrows will also move the map.

Figure 2: Drag feature example.
Map Settings
To adjust map settings, perform the following process:
- Access the Project and Site Settings by clicking the ADMIN | Settings tab located at the top of the project dashboard.

Figure 3: ADMIN | Settings menu.
- To configure Project and Site settings, click on the Project/Site tab. A drop-down menu will appear with options to display the Project and its Sites. Click Sites and then choose the Site(s) that need changes to their map settings.

Figure 4: Project/Site settings.
- In the Project and Site Settings menu, adjust the map by entering the data logger’s coordinates at the project site or tracking the data logger if equipped with GPS.
- Reference the example below to input the latitude (left) and longitude (right) of the data logger’s location into the spaces provided.
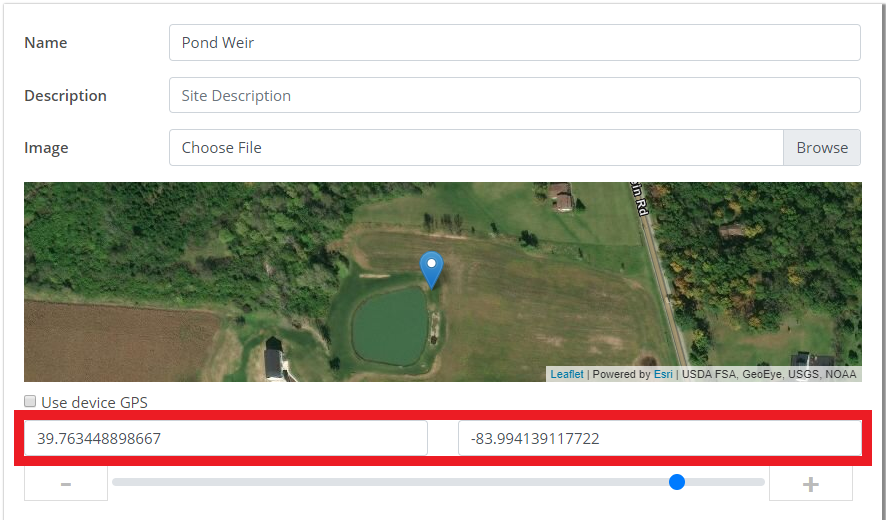
Figure 5: Input the geographical coordinates to adjust the map view.
-
- If any of the sensors connected to the data logger are capable of outputting latitude and longitude values, clicking Use device GPS will update the site marker location to the latest uploaded coordinate reading.

Figure 6: Click Use device GPS to utilize GPS component of a sensor.
- Once changes are made, click SAVE at the bottom of the Project/Site tab.