This article demonstrates how to mount a GMX 600 weather station onto a buoy solar tower.
Tools
-Phillips head screwdriver
-Zip Ties (recommended)
Included Materials
-(3) 10-32 X 5/8″ Pan head screws
-(3) #10 lockwashers
-(3) #10 flat washers
Installation
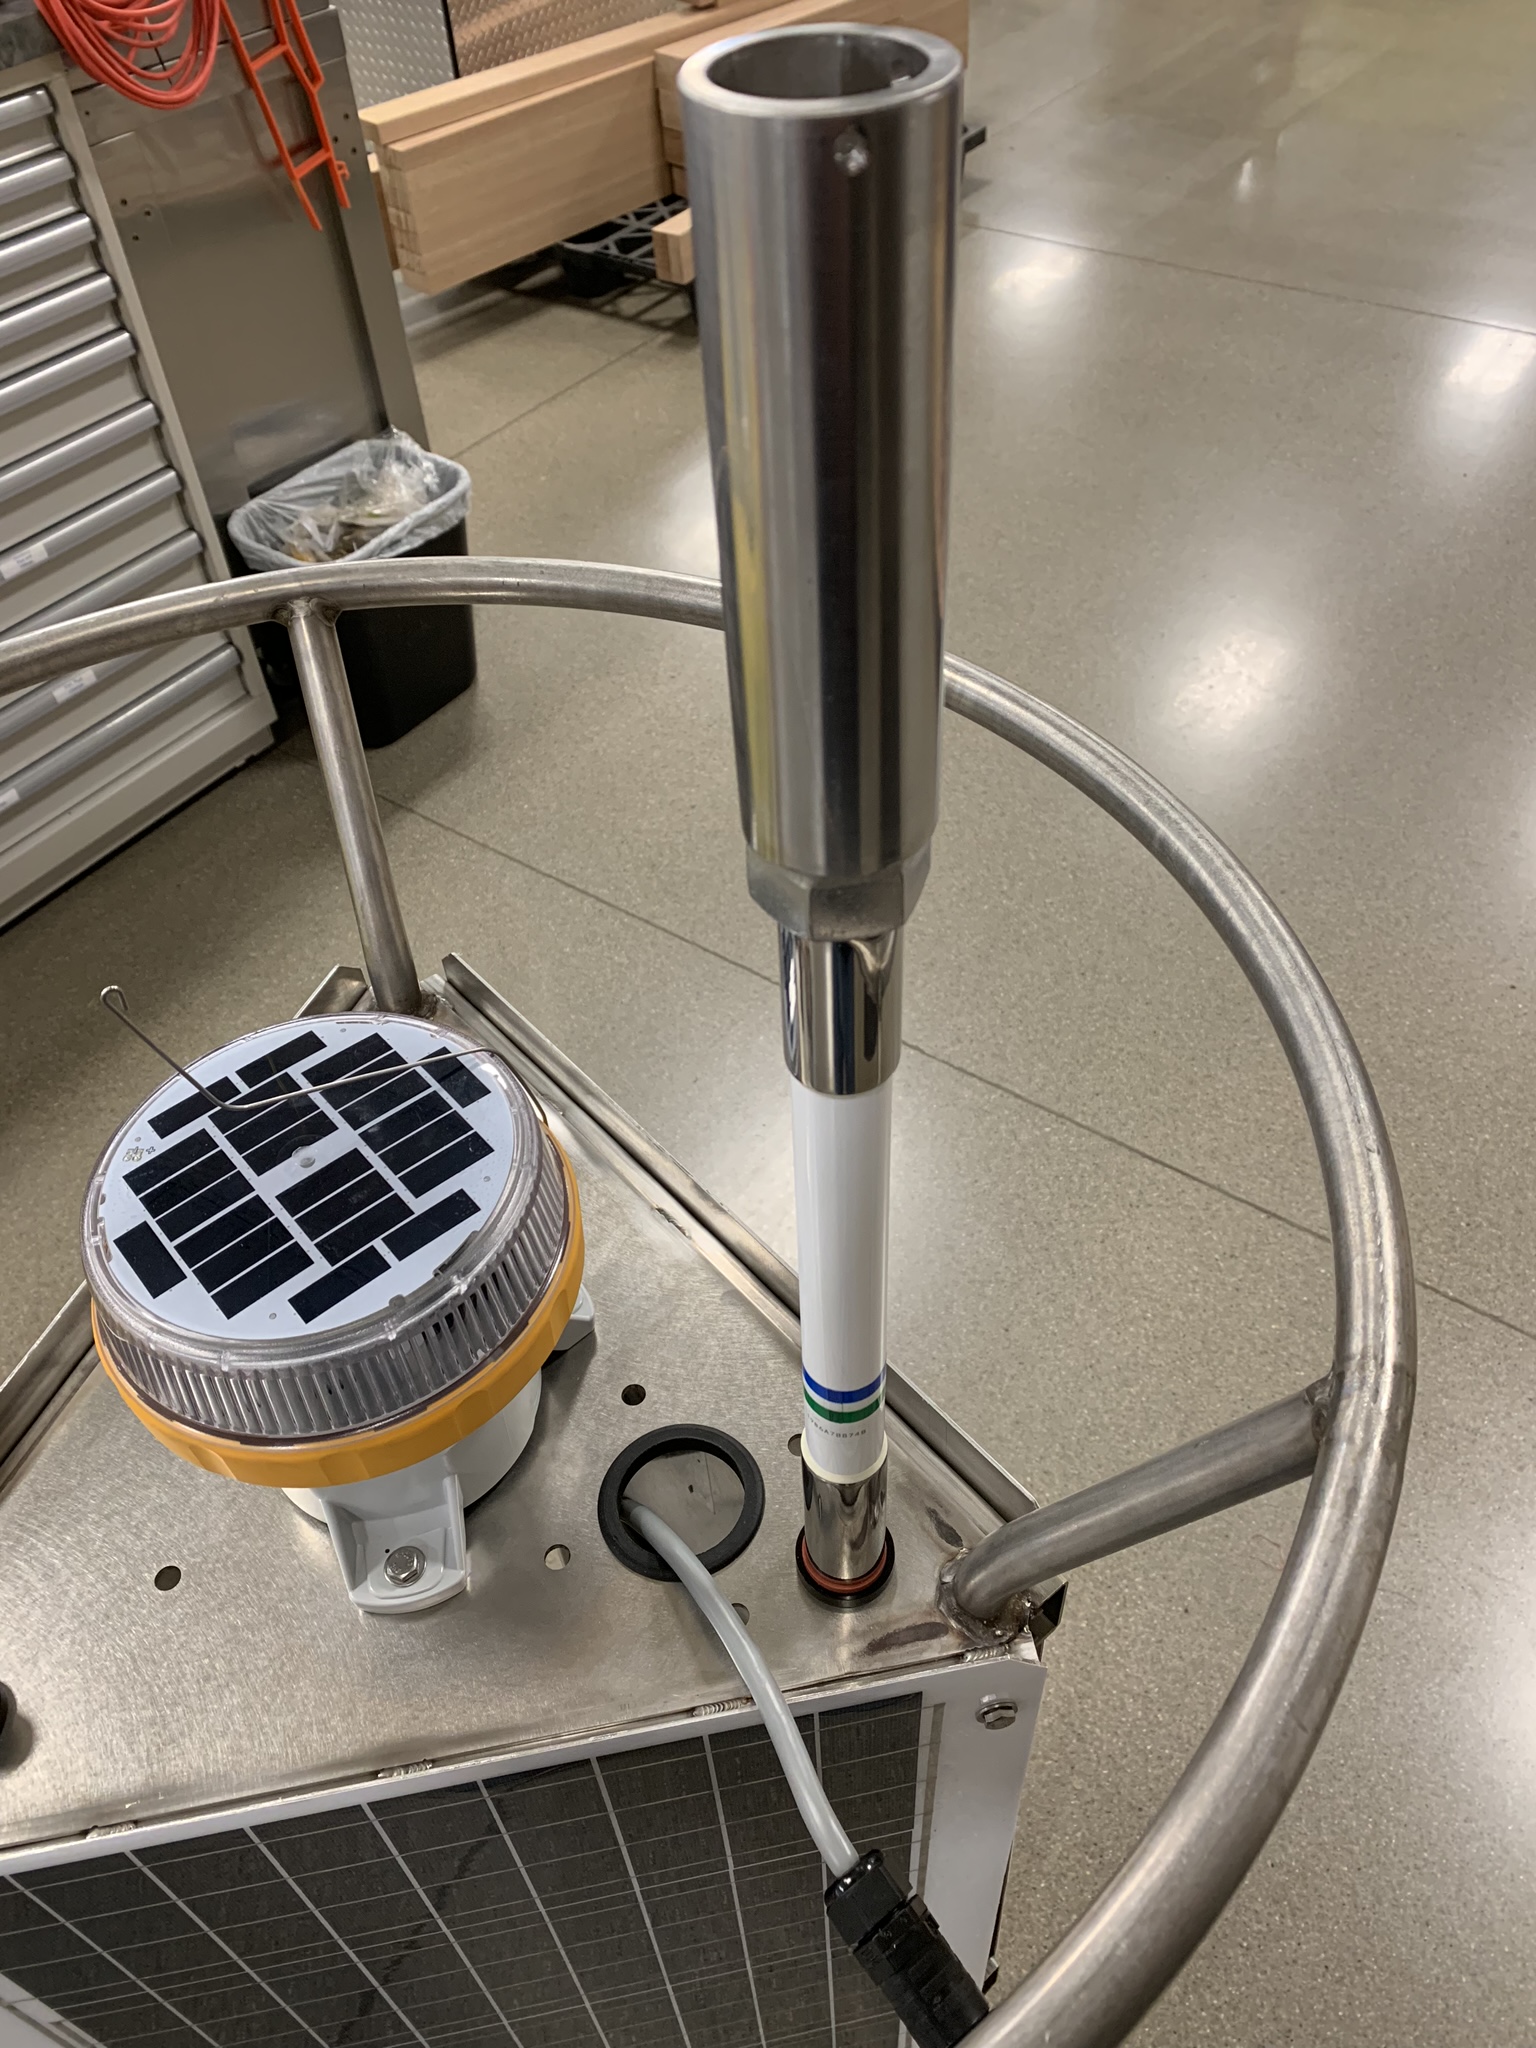
- Route the GMX 600 cable through the top of the buoy solar tower.

GMX 600 cable routed through the top of the solar tower
- Attach the pole mount onto the solar tower by twisting it onto the pre-installed PVC base.
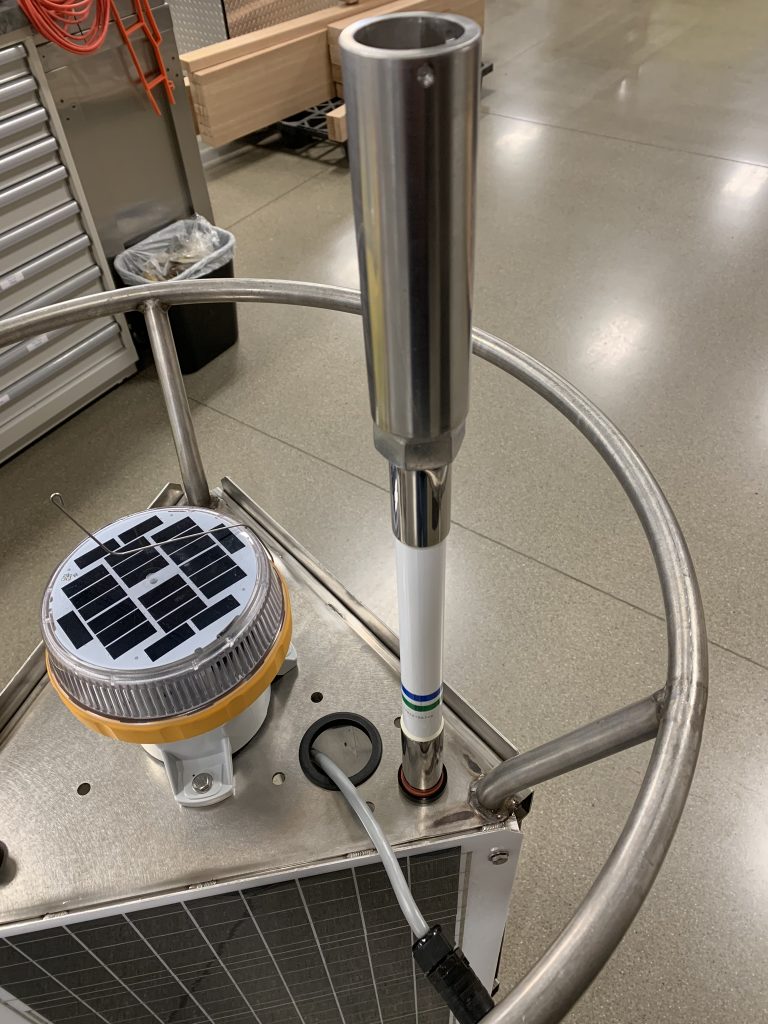
Pole mount attached to the top of the solar tower
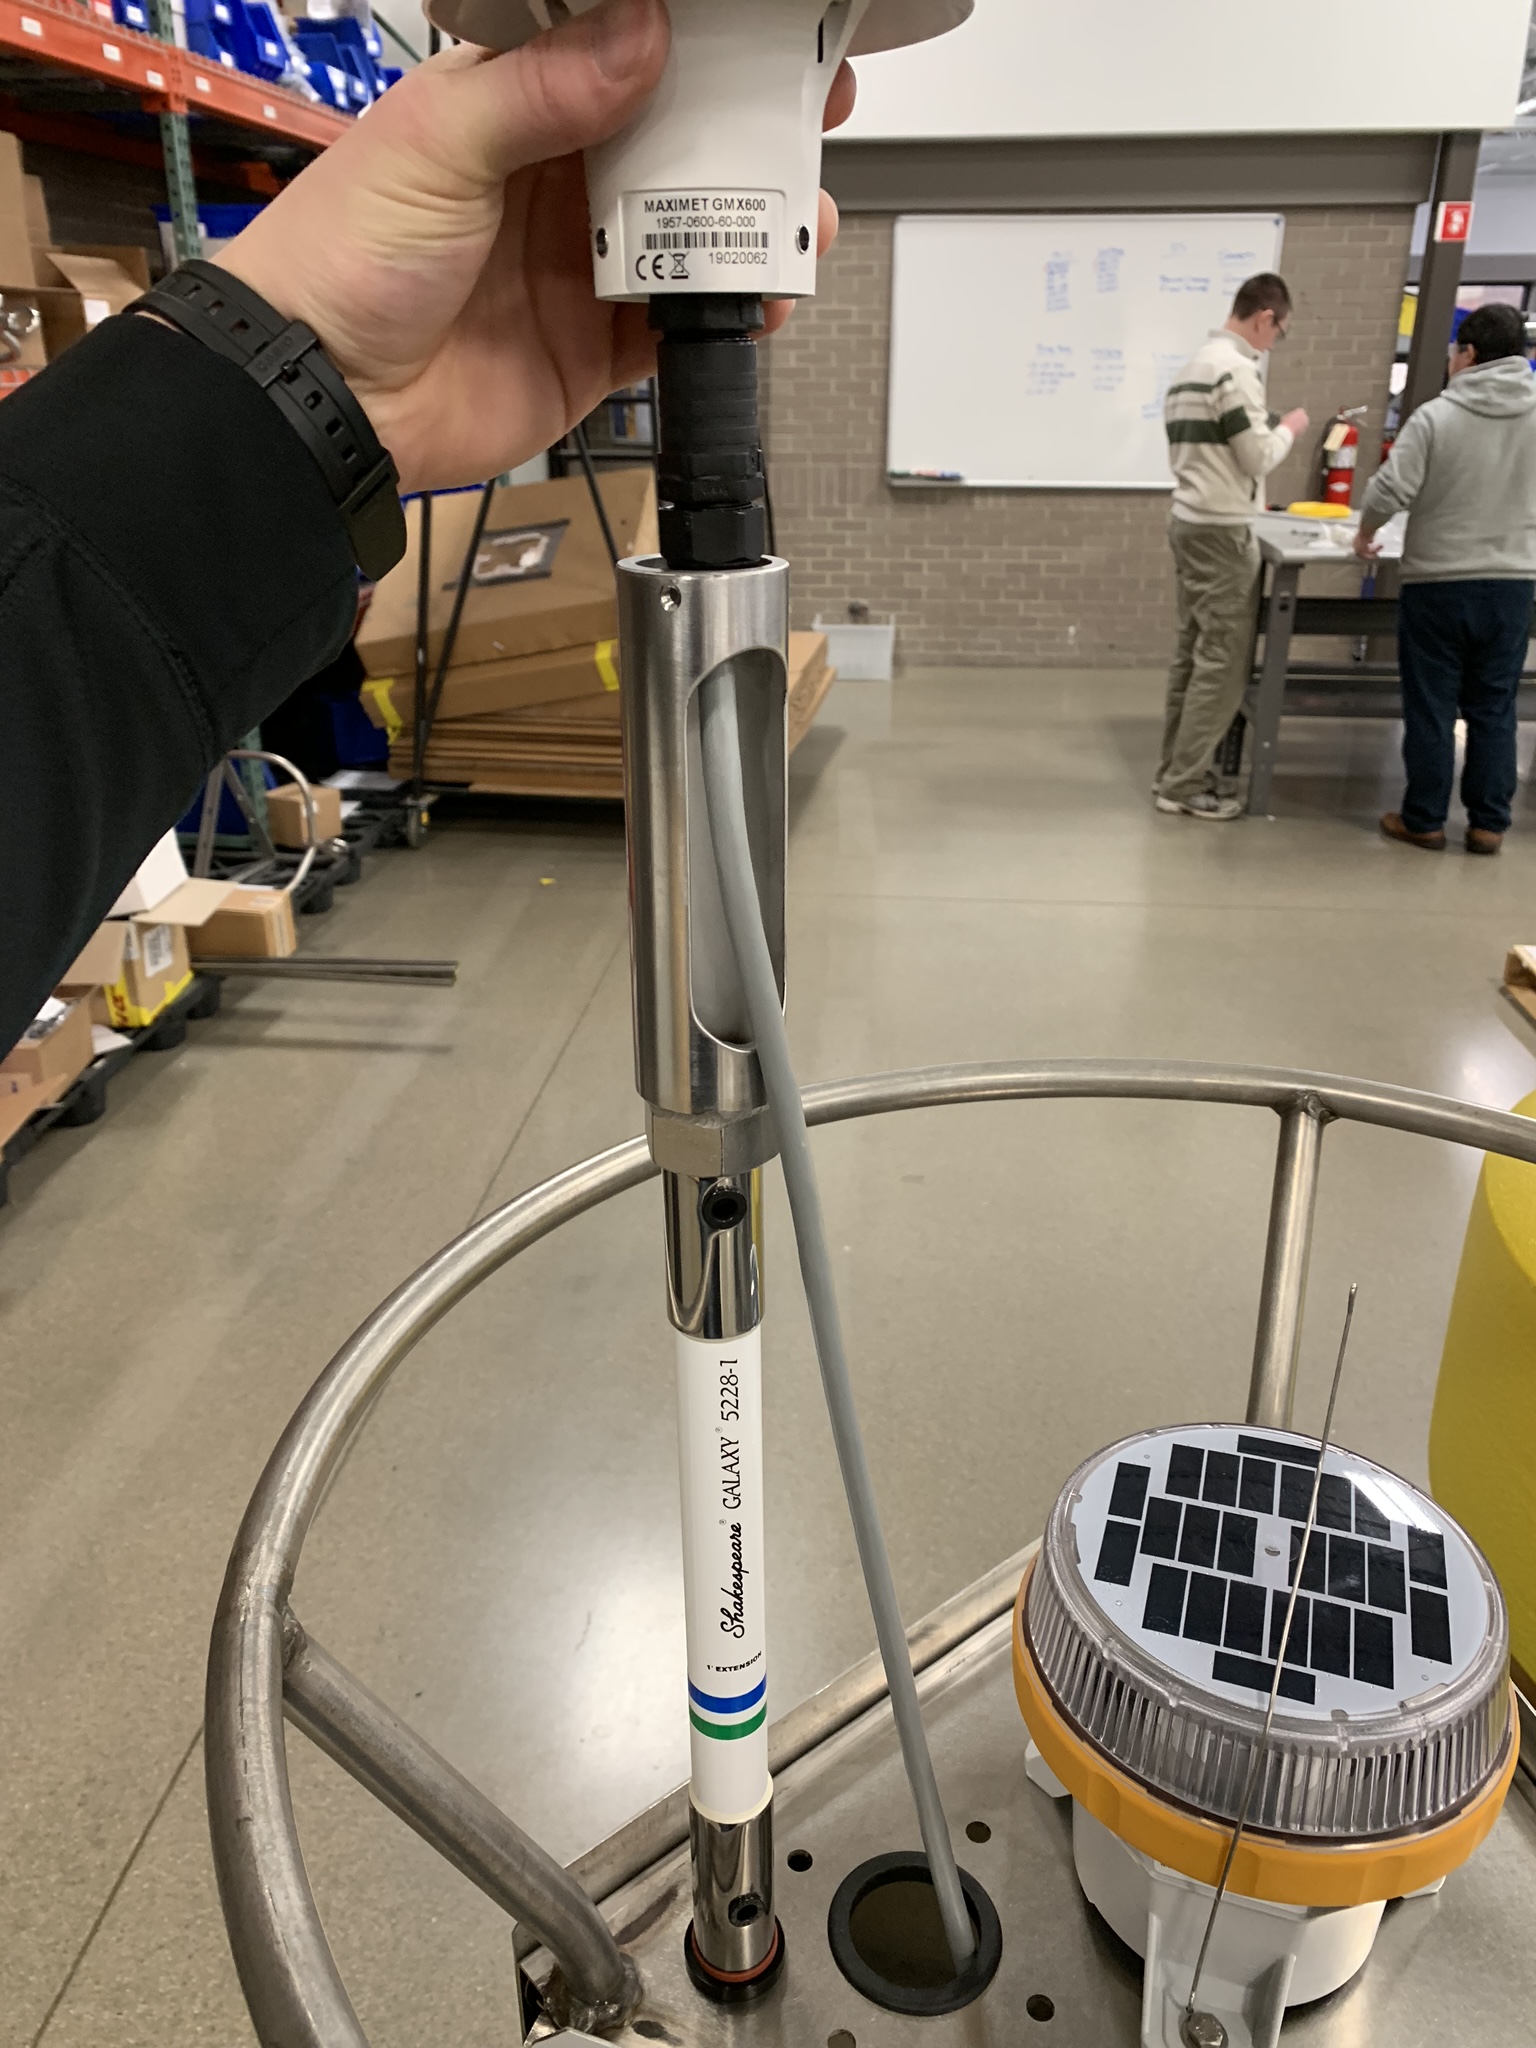
- Route the GMX 600 cable through the opening on the pole mount. Align the key of the station base with that of the cable . Once the pins are aligned, twist the connector until a slight click is felt.

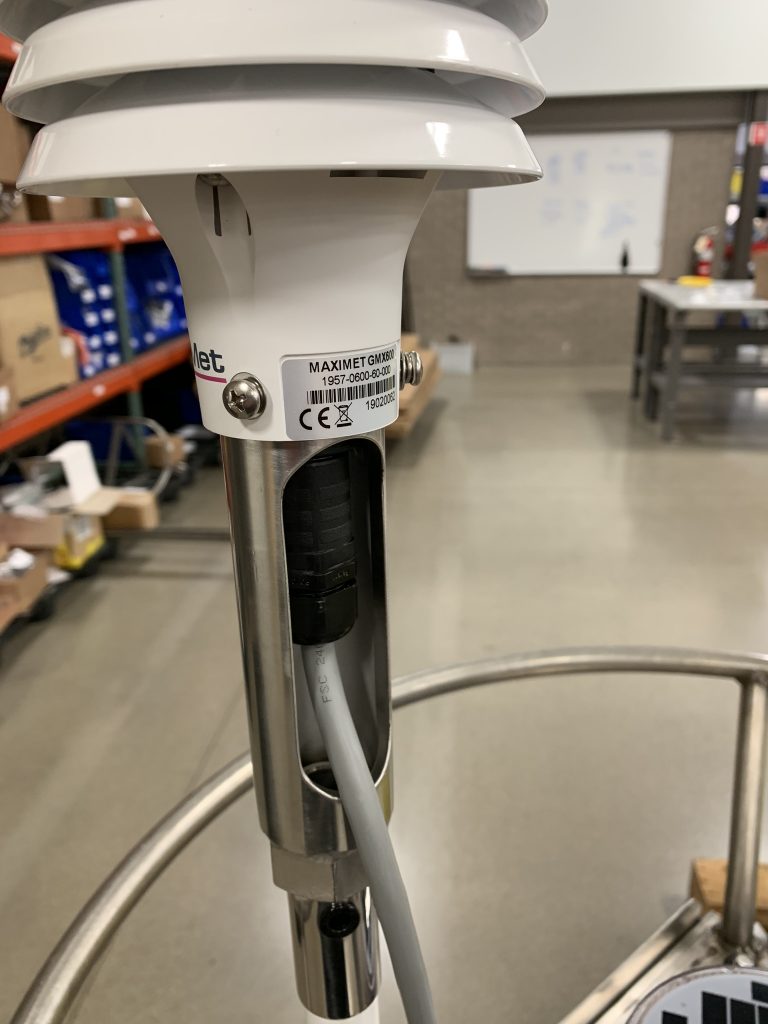
GMX 600 cable routed through the pole mount and connected to the GMX 600 weather station
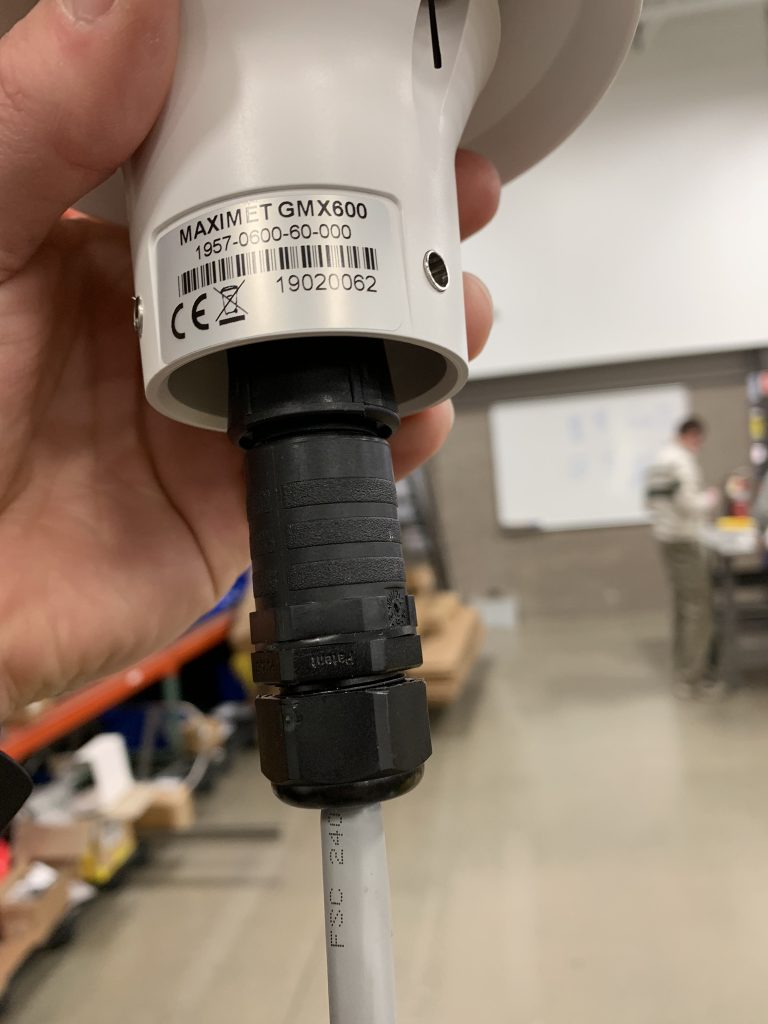
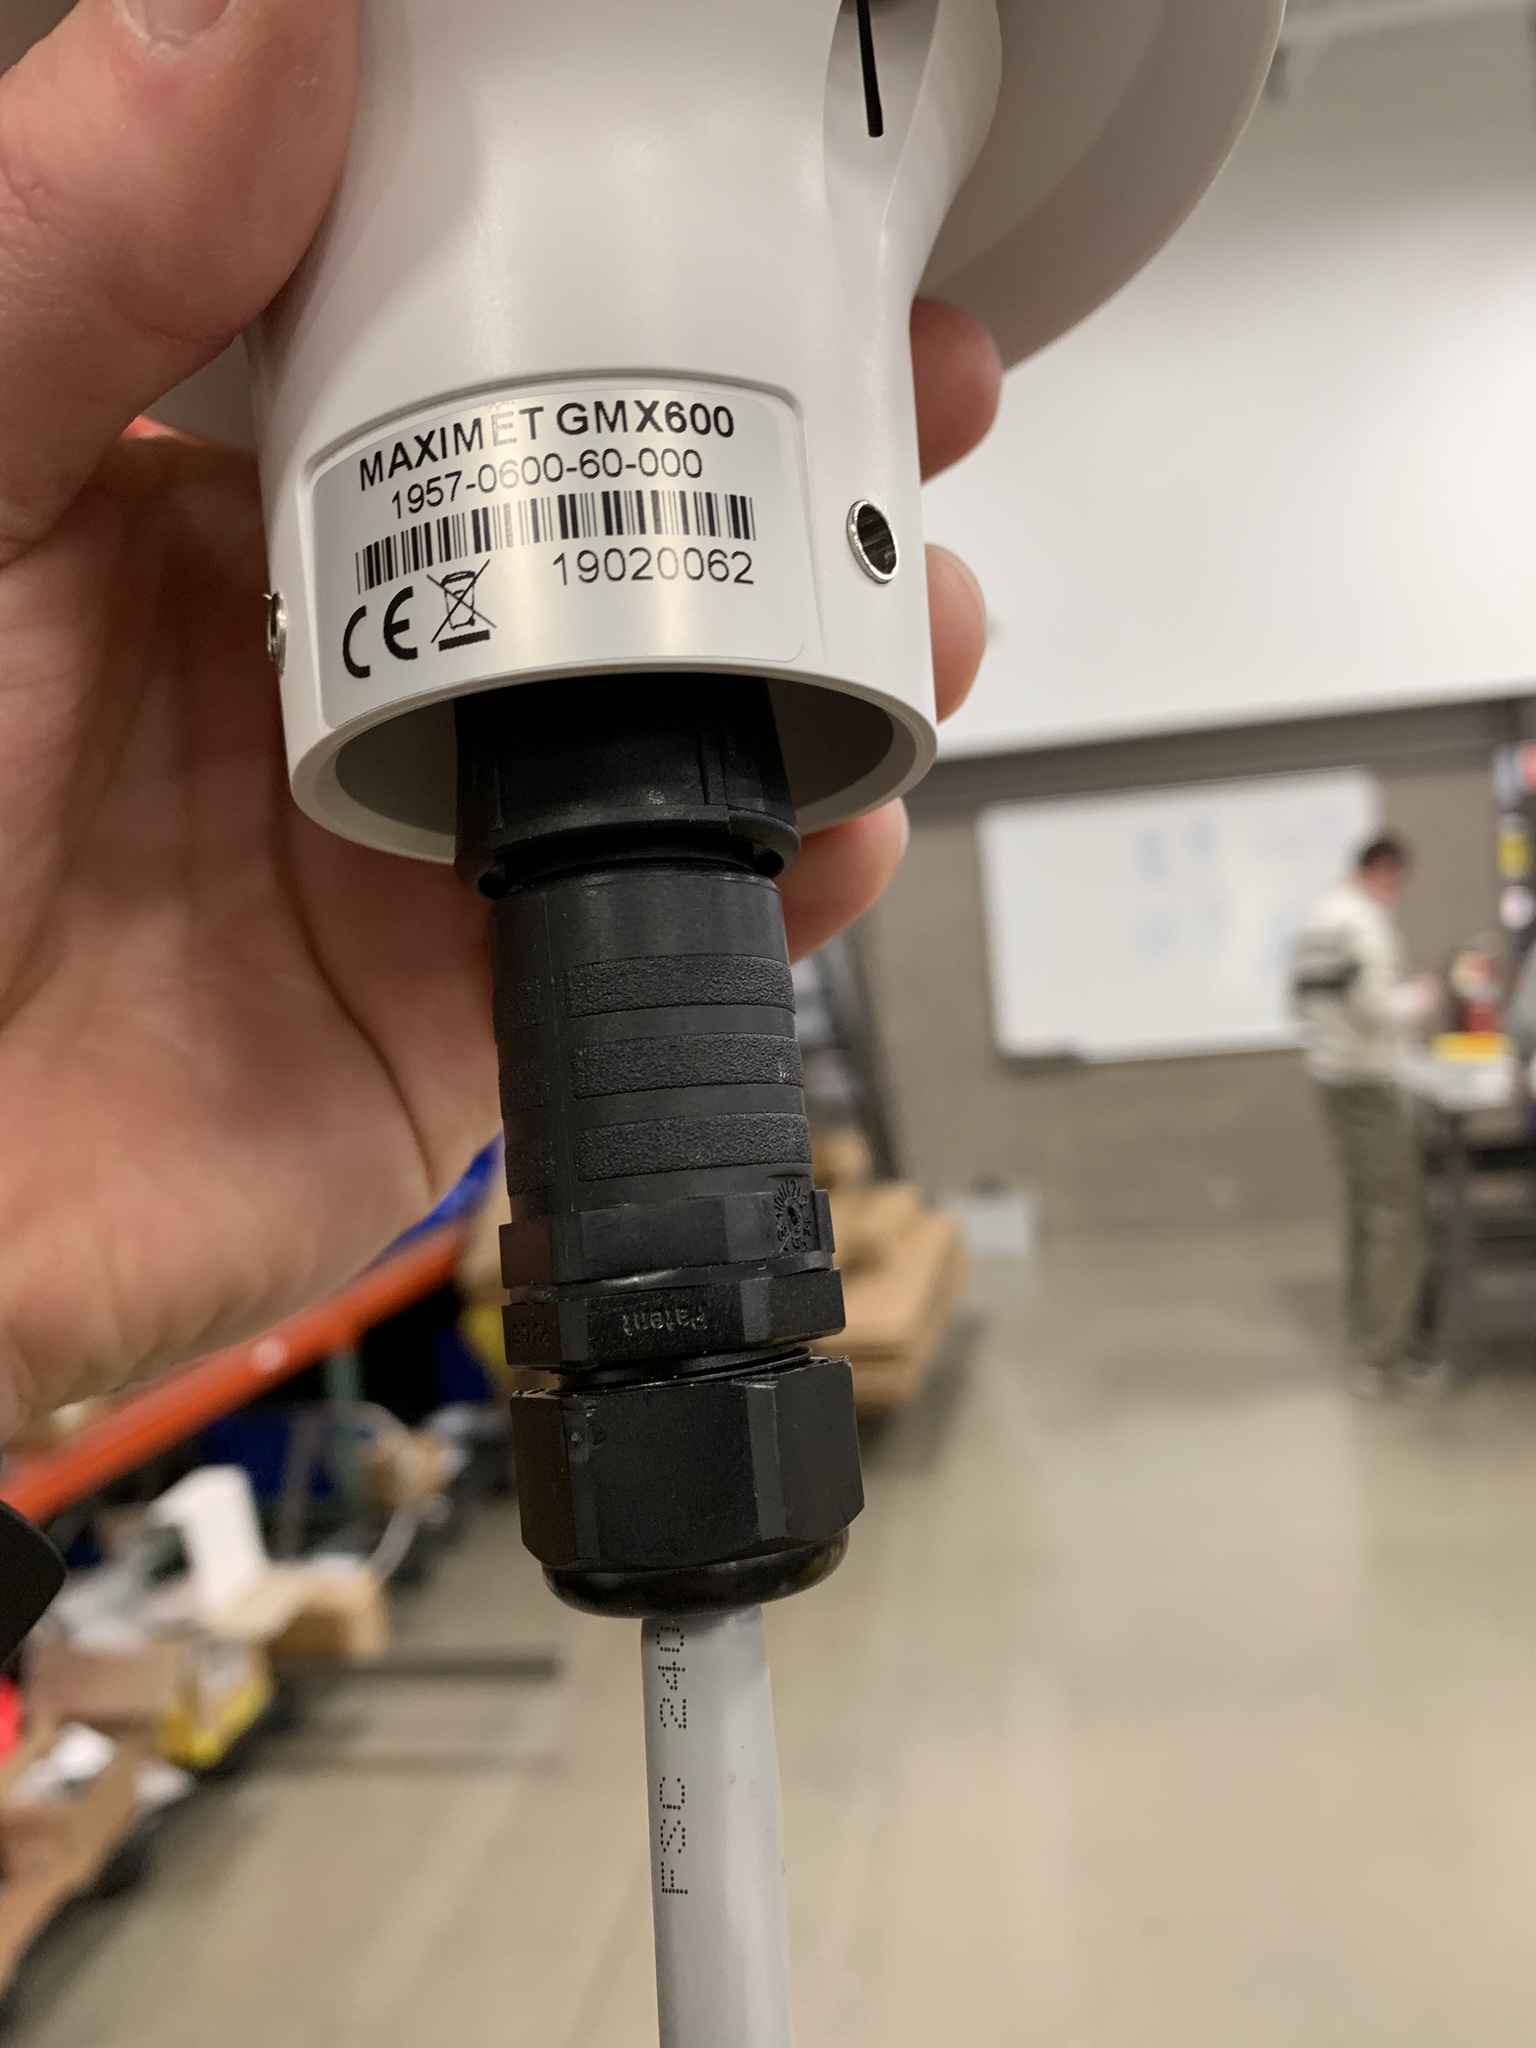
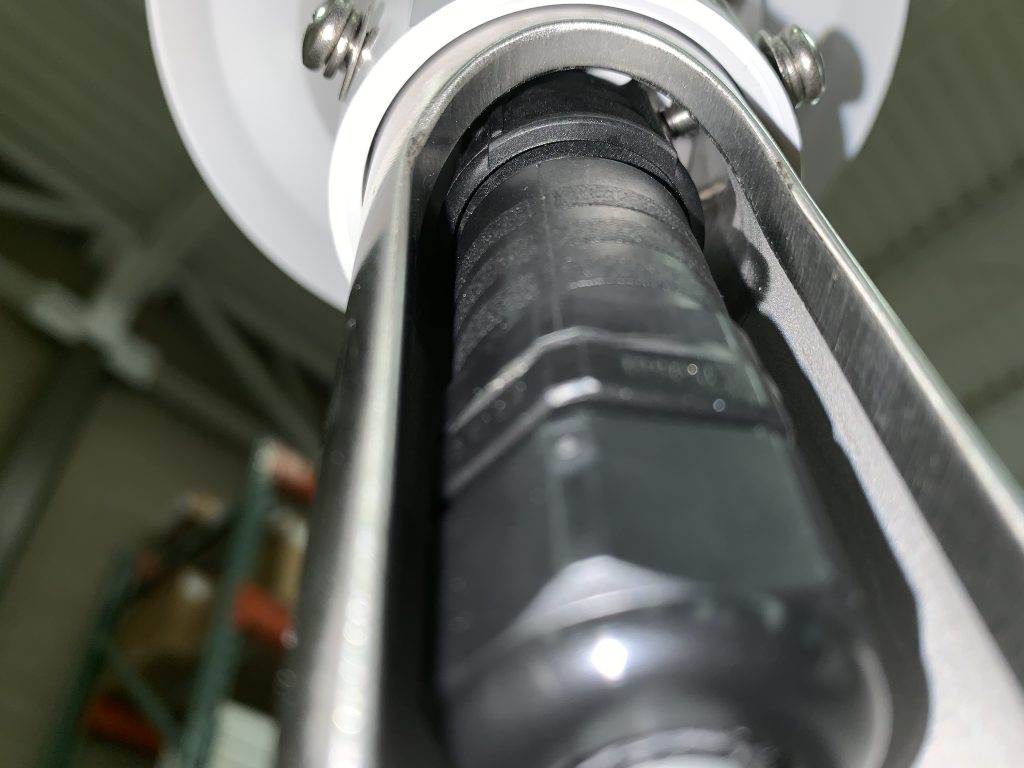
Closer view of the plastic connector on the GMX 600 cable
- Place the GMX 600 onto the pole mount.
- Place a #10 lockwasher and a #10 flat washer onto each of the 10-32 X 5/8″ screws.
- Use the Phillips head screwdriver to tighten down the screws until they are in gentle contact with the plastic cable connector within the mount.
- Do not over-tighten the screws or the plastic connector could be damaged.
- Once the assembly is finished zip ties should be used to tether the cable to the base of the mount to reduce pressure points.
- It is recommended cable armoring be installed at all locations where the sensor cable will contact an irregular surface- principally where the cable presses against the slotted stainless steel mount.
Front view of the GMX 600 weather station mounted to the pole mount
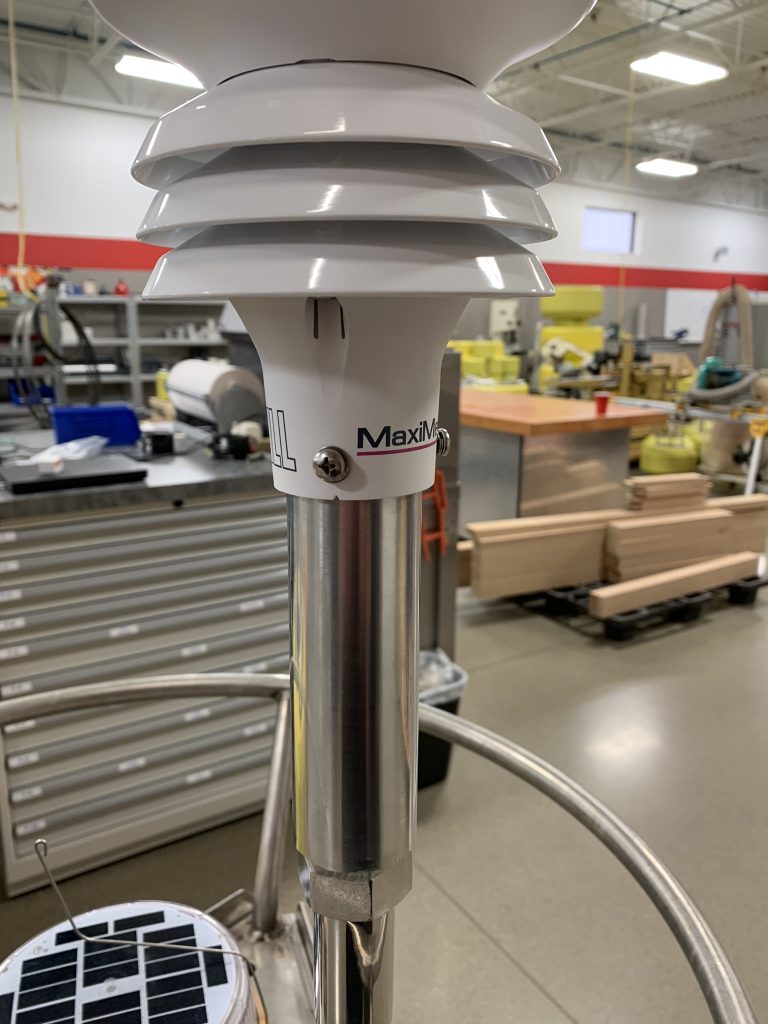
Rear view of the GMX 600 weather station mounted to the pole mount
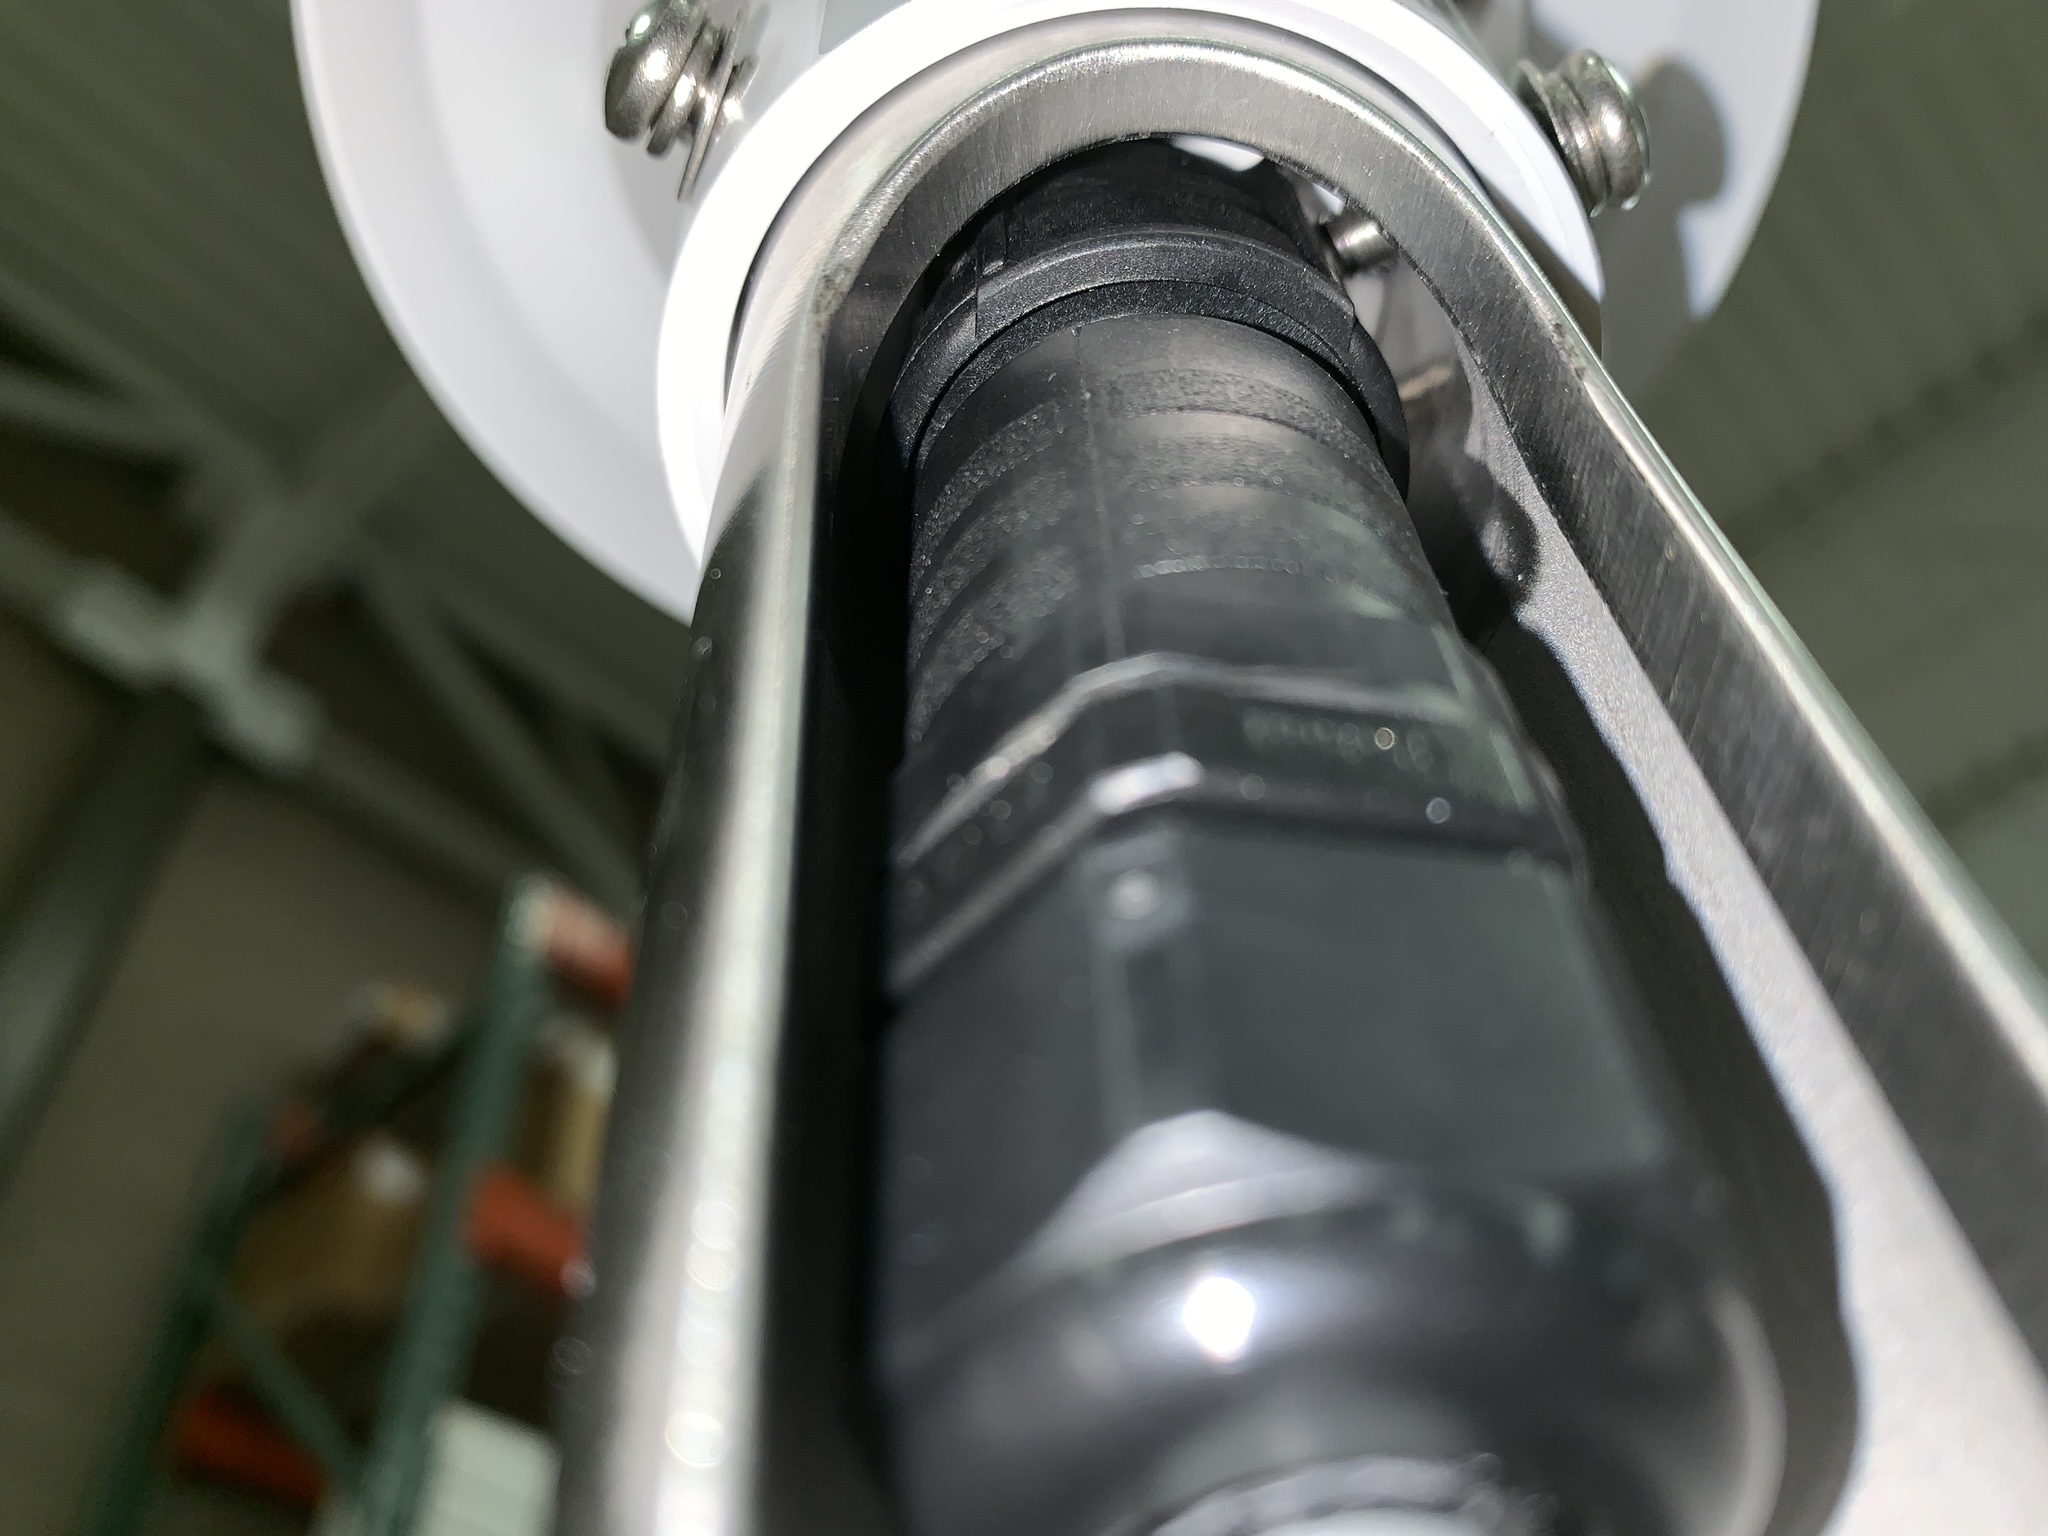
Close view of the screws making contact with the plastic GMX 600 cable connector