In order to make certain configuration changes on a Lufft sensor, it must be connected to the computer directly using a WSConfig cable.
1. Connect the Lufft sensor to the WSConfig cable.

Figure 1: Lufft WSConfig Cable
2. Plug the USB cable from the WSConfig cable into the computer.
3. Open Lufft’s Config Tools Software. If not installed, please download and install the UMB-Config-Tool software from the Lufft website.
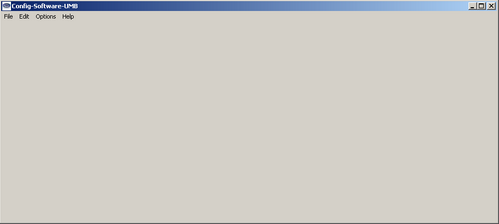
Figure 2: Config Tools Software
4. Click Edit | Connection settings.

Figure 3: Connection Settings
5. Select the COM port that is being used by the USB adapter. Click here for information on selecting the correct COM port.

Figure 4: Select Port Dialog
6. Click Edit | Sensors.

Figure 5: Sensors
7. Select WSxUMB from the Type of Sensor dropdown menu.
8. Enter the sensors SDI-12 address + 1 in the ID box.
- Ex. If SDI-12 Address = 1, then ID = 2.
9. Click Add.
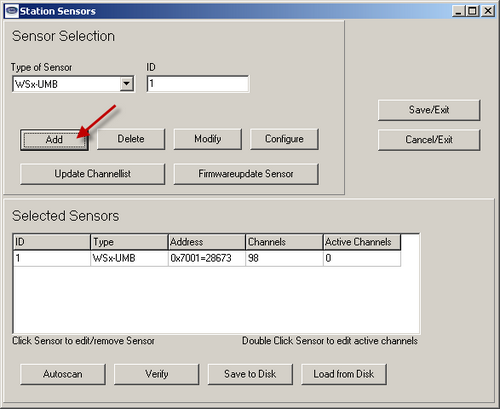
Figure 6: Station Sensors Dialog
10. Double click on the sensor in the Selected Sensors area.
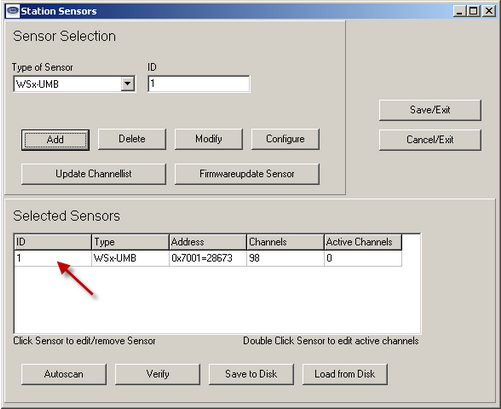
Figure 7: Selected Sensors
11. Activate at least one of the parameters by clicking on inactive. It does not matter which parameter is selected. After it is selected it should turn green and say “active”.
12. Click OK.
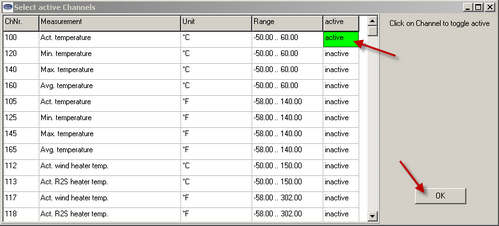
Figure 8: Activate Parameter
13. Click File | Start measurement.

Figure 9: Start Measurement
14. Connect the AC adapter to the WSConfig cable.
15 Data should begin to stream in. After 5 measurements are read, click File | Stop measurements.

Figure 10: Real Time Measurements
16. Click Edit | Sensors.

Figure 11: Sensors
17. Select the sensor by single clicking on the sensor in the Selected Sensors area.
18. Click Modify.
19. Click Configure.
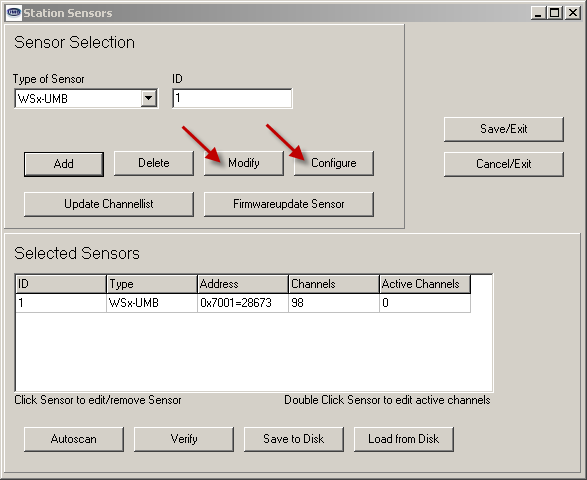
Figure 12: Select Sensor to Configure
20. Load the profile. If a configuration file was provided, select Load profile from disk, and navigate to the appropriate file. If the sensor’s current configuration is to be adjusted, select Load profile from sensor. Make any necessary changes in the WSxUMB tab.
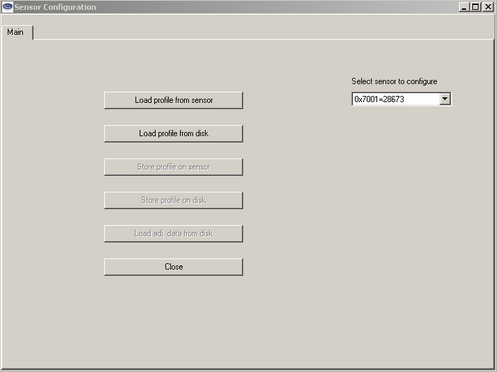
Figure 13: Load Sensor Profile
21. Click Store profile on sensor to write the configuration file to the sensor. If any changes were made, it is suggested that the configuration file is saved to the computer for future reference by clicking Store profile on disk.
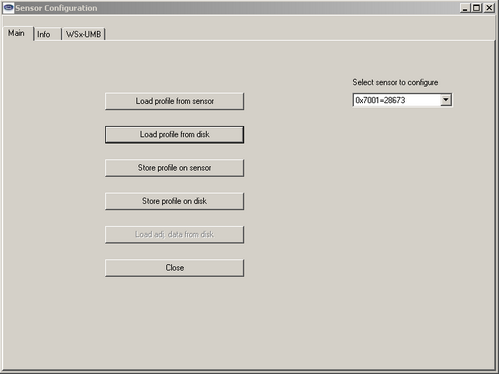
Figure 14: Store Profile on Sensor
22. Click Close.
REV: 13G19
