
Configure Network Settings
Wi-Fi only models of the X2 data logger can be configured to upload to the WQData LIVE datacenter over a local wireless network.
To configure network settings:
- Establish a connection to the X2’s direct Wi-Fi network.
- Access the main menu by clicking the menu icon in the top right.
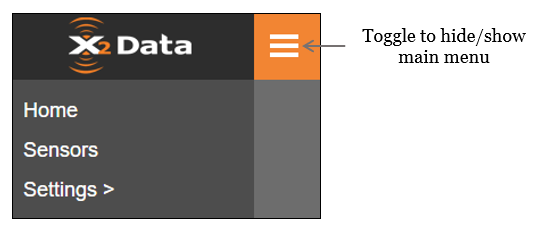
Figure 1: X2 Embedded Web main menu.
- Navigate to Settings | Network.

Figure 2: Network settings menu.
- Toggle the Wi-Fi Mode to Network.
- Enter the SSID, Security Type, and Password of the wireless network the data logger will be using.
- Proceed to step 6 if the X2 should automatically be assigned a network address via DHCP.
- For manual configuration, refer to Advanced Network Settings.
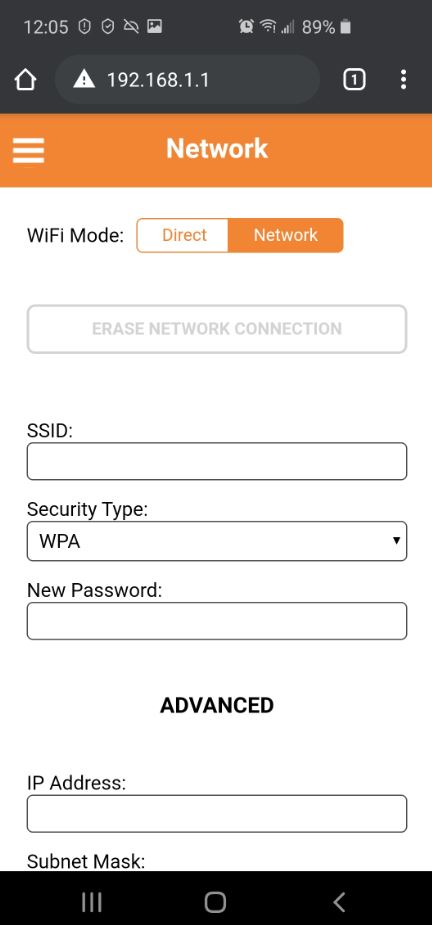
Figure 3: Change WiFi Mode to Network. |

Figure 4: Enter local Wi-Fi network info. |
- Move to the bottom of the page and click the Save Settings button.
- A prompt will appear requesting the X2 Wi-Fi to be reset by inserting a magnet into the lid.
- Cycling power (for X2-CB or X2-SDL models) will also accomplish this reset.
- Disconnect the laptop or mobile device used to configure the logger from the X2’s network to prevent unintentional reconnections.
- An X2 cannot simultaneously connect to a mobile device and a local wireless network. Any mobile device connection to the X2 will prevent it from connecting to the local wireless network and contacting the WQData LIVE web datacenter.
- Due to the above, it is generally advisable to have the device ‘forget’ the X2’s network so that it does not auto-reconnect to it.
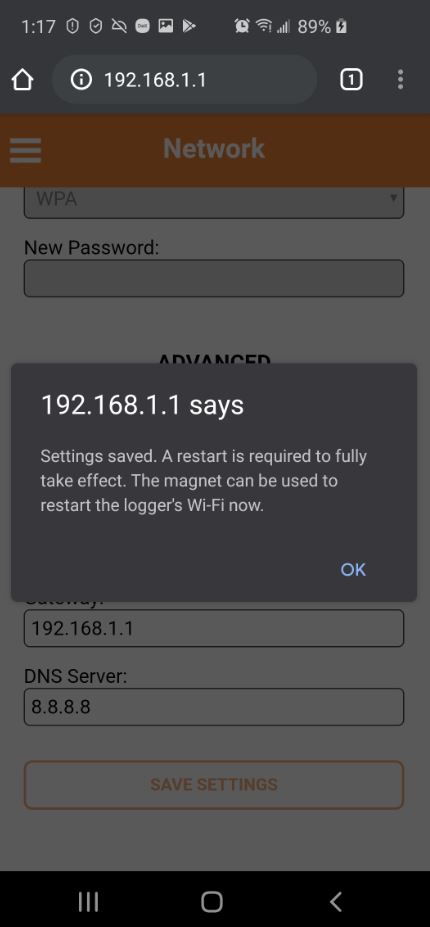
Figure 5: Click Save Settings and then swipe the magnet (or cycle power) to apply the change. |
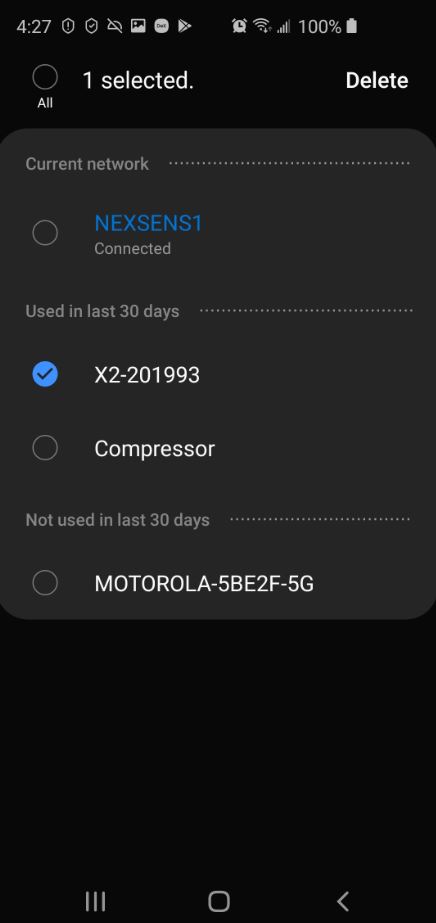
Figure 6: Disable reconnection or delete the X2’s Direct network after configuration is complete. |