
Test an Alarm
Test emails can be sent to confirm that an alarm is properly configured.
To test an alarm:
- Navigate to ADMIN | Alarms on the WQData LIVE Project Dashboard.

Figure 1: ADMIN | Alarms settings.
- Select the Enabled display filter to view all active alarms. Click on an alarm.
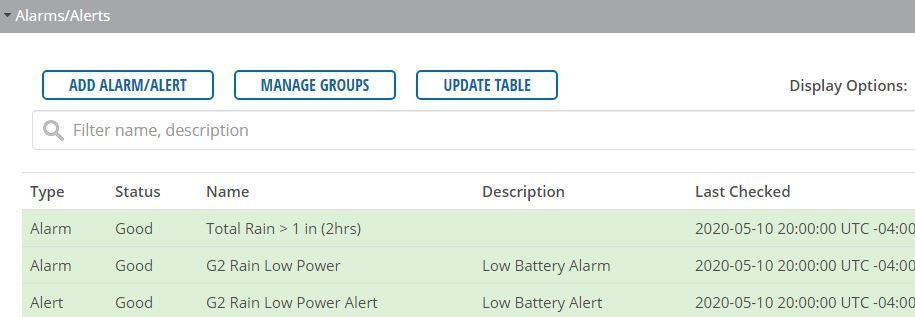
Figure 2: Enabled alarm list.
- Confirm the list of alarm recipients in the Trigger Action field. Then, click the orange TEST button in the footer of the configuration summary list.
- Confirm the test and then click OK to dismiss the test success prompt.

Figure 3: Test Alarm confirmation prompt.
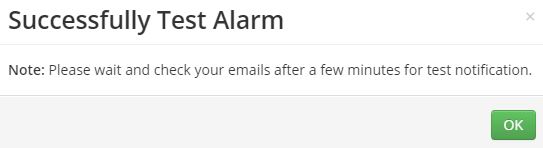
Figure 4: Alarm test success.
- Wait approximately 5 minutes for the recipient list to receive the test notification email.
- The test email will display all zero values for each parameter for the purpose of testing.
- Note that text messages may have minor to severe delays depending on the ISP.
- If recipients do not receive the test email:
- Verify the notification list was properly entered into the Trigger Action field. It should use one email address per line and contain no leading or trailing spaces or extra characters.
- Check the recipient’s spam or junk folders.

Figure 5: Alarm test email example.