
Configure Public Portal
Project administrators can enable and configure a Public Portal, a unique page with a simplified live data display accessible through a public URL. This is useful for organizations wishing to share basic data with the general public and spread project awareness.
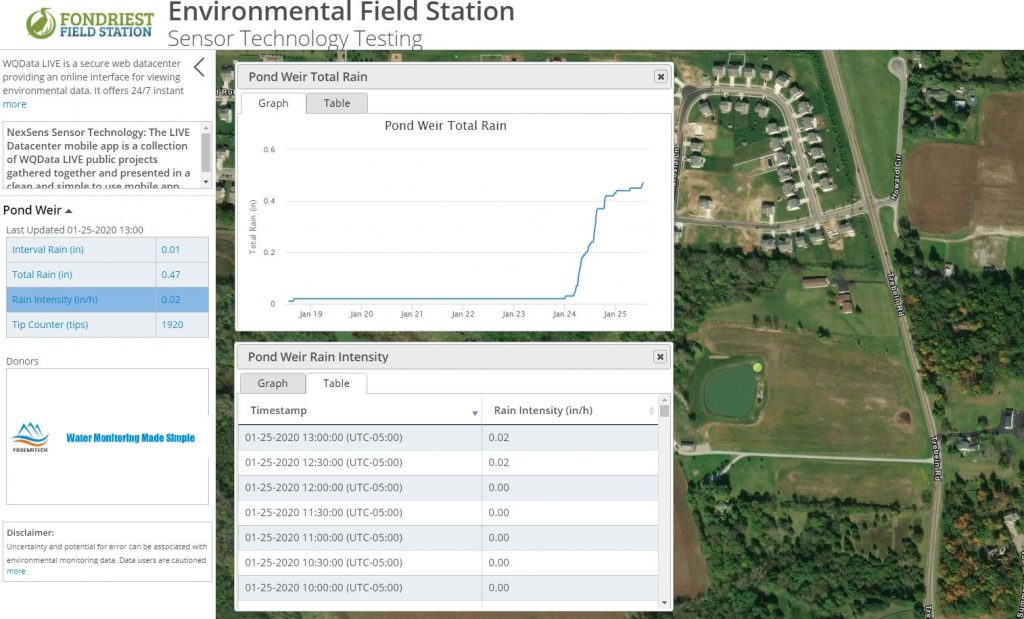
Figure 1: Example Public Portal display.
Accessing the Public Portal
- Click on the ADMIN tab at the top of the Project Dashboard and then select Public Portal.
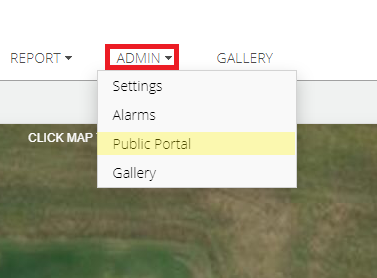
Figure 2: ADMIN | Public Portal.
- View the Public Portal configuration menu by selecting the Settings drop-down menu at the top of the page.
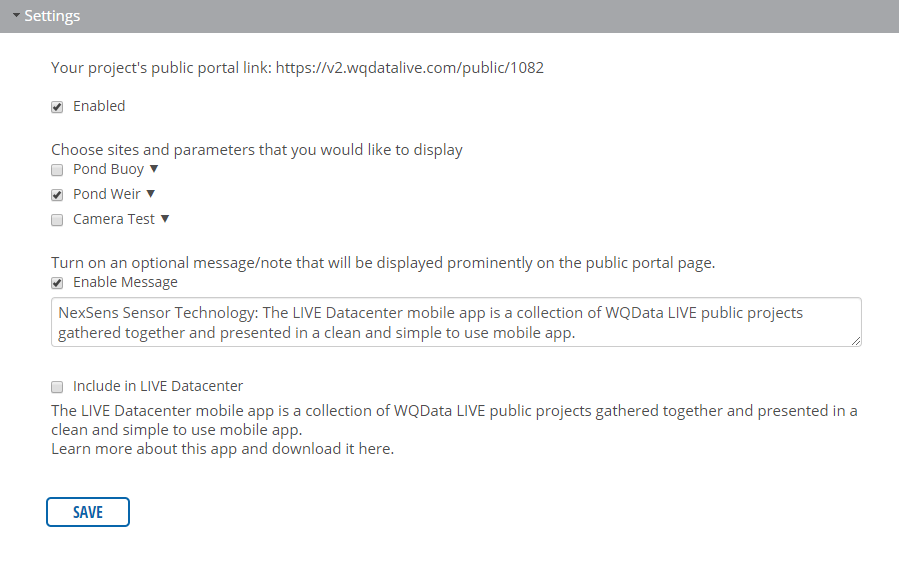
Figure 3: Public Portal Settings drop-down menu.
Adjusting Public Portal Settings
From the Settings menu, the user can then perform the following actions:
- Enable or disable the Public Portal link.
- Disabling the link will make the Project private thereafter. Entering the link into a browser will bring up the WQData LIVE main page and display a message stating that the Project is private.

Figure 4: Example of disabled Public Portal link.

Figure 5: This message will be displayed for any Project with disabled Public Portal link.
- Choose the Sites and parameters to display on the Public Portal.
- Any unchecked parameters will be excluded.
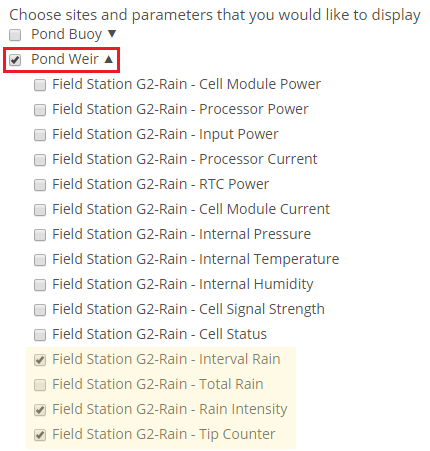
Figure 6: Example – Pond Weir Site has parameters for the G2-RAIN enabled to display.
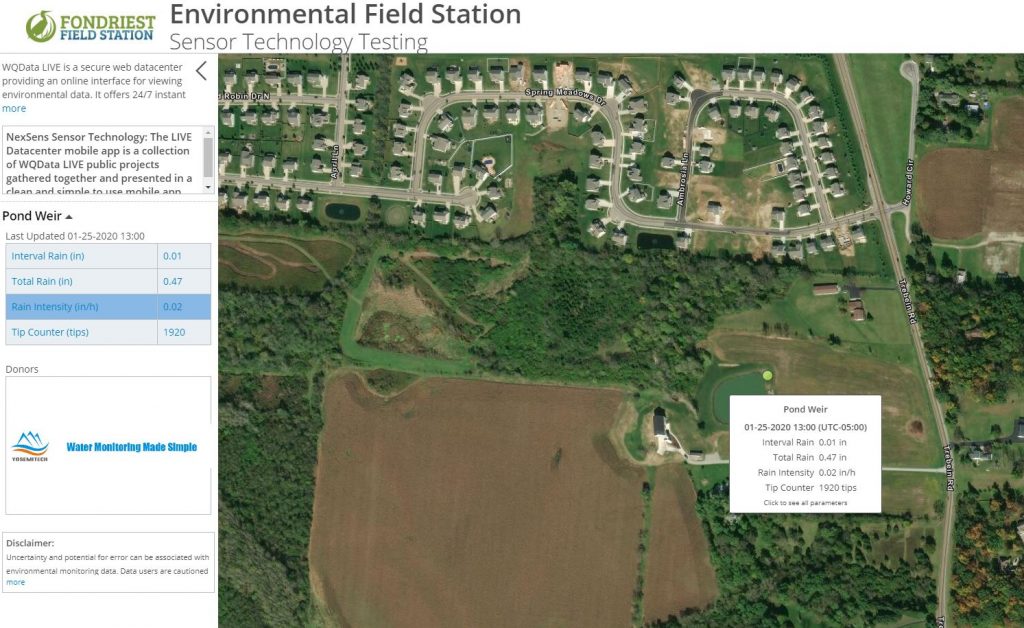
Figure 7: Public Portal view.
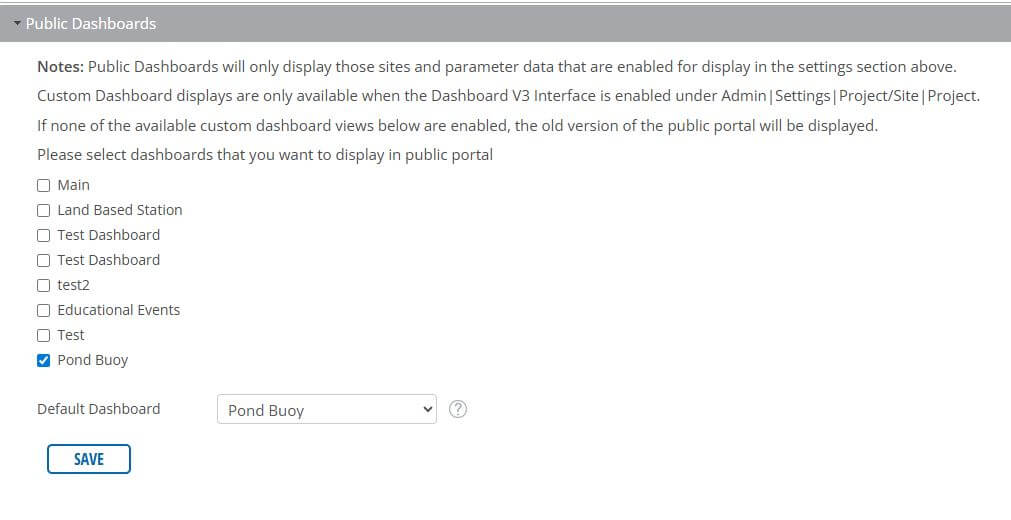
- For custom dashboards, enable them in the Public Dashboards section.
- Include an optional message to then display on the Public Portal page.

Figure 8: Enter a message for display on the Public Portal page (optional).
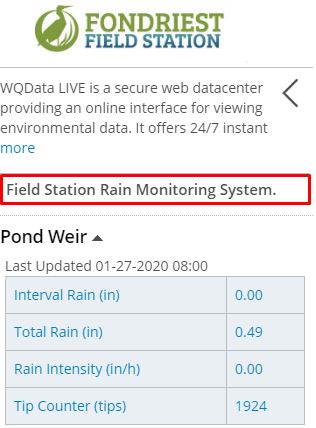
Figure 9: Public Portal message display.
- Change the displayed time zone and data range.
- Timestamps of the data will display according to the local time selected in the Timezone field.
- The Data Range option enables the user to select how much historical data to show on the Public Portal.
- Data range options are available for:
- Last 24 hours
- Last 7 days
- Last 14 days
- Last 30 days
- Data range options are available for:

Figure 10: Timezone and Data Range selection for last 7 days.
- Adjust the title and map display.
- Indent the page title as desired.
Figure 11: Option to indent title and description.

Figure 12: Example – indented title and description enabled.

Figure 13: Example – indented title and description disabled.
-
- When multiple sites are present, select a unique map zoom level for each (larger values correspond with closer views). The Display First option controls which site (both data and map zoom) will show by default when loading the Public Portal page.
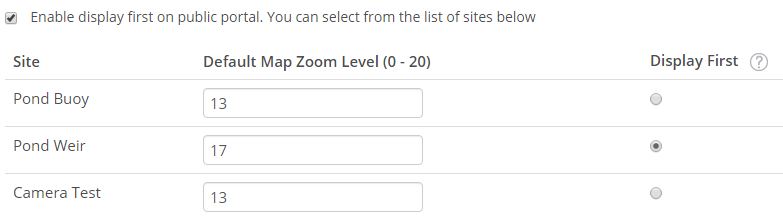
Figure 14: Map display settings.
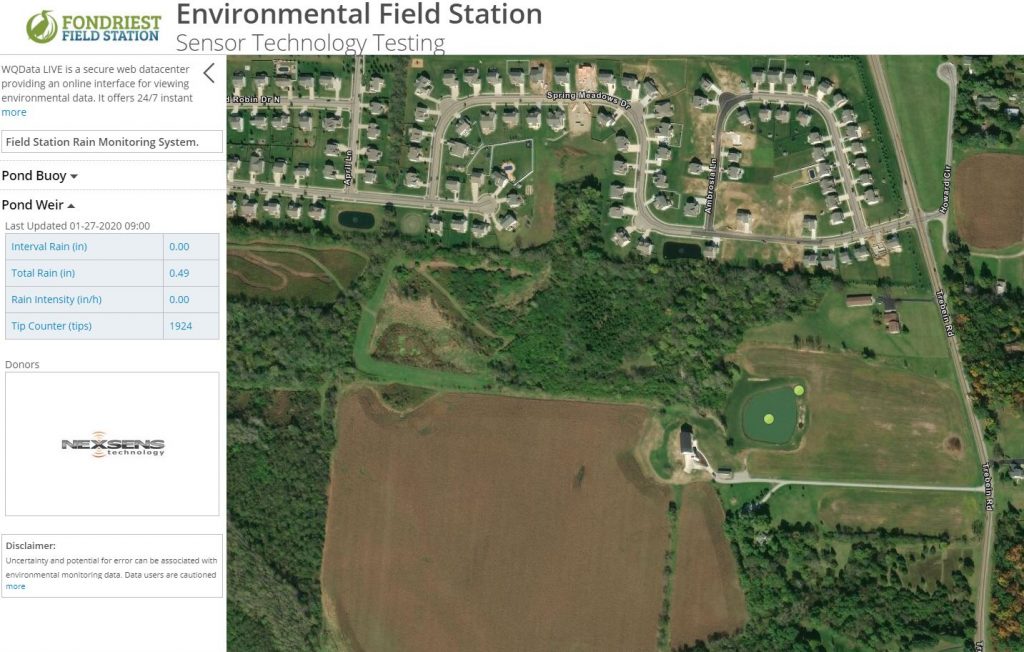
Figure 15: Pond Buoy and Weir sites both enabled, with map zoom level and data table for Pond Weir since it is selected as Display First.
- Add a project Sponsor logo to the Public Portal. If desired, additionally link the logo to the URL of the sponsor.
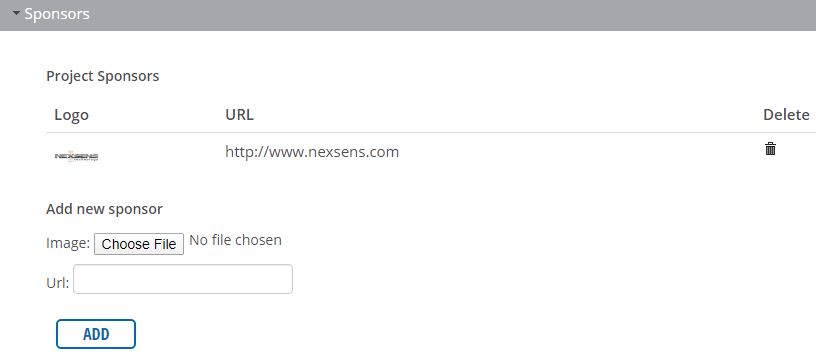
Figure 16: Add Sponsor logo and optionally link it to their home page.
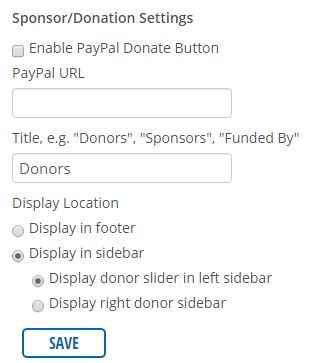
Figure 17: Add a PayPal Donation button for non-profit projects (optional).
- After updating any configuration options, then click SAVE at the bottom of the Settings menu to commit the changes.