
X2 SD Card Utility
The X2 SD Card Utility in CONNECT allows users to perform the following actions without needing to physically access the micro-SD card inside the X2 data logger:
- Send a file to the SD Card
- Transfer a file from the SD Card to the PC
- Delete a file off of the SD Card
Access X2 SD Card Utility
- Connect the X2 logger to a PC and launch the CONNECT software. Test connection by reading the RTC clock of the logger in the CONFIG tab.
- Navigate to Tool | X2 SDCard Utility.
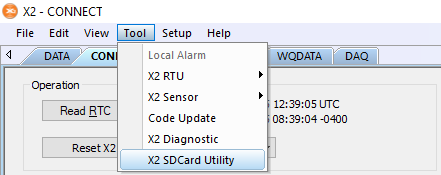
Figure 1: Navigate to Tool | X2 SDCard Utility.
- The X2 SDCard Utility menu will appear.
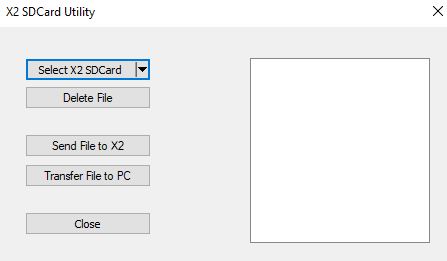
Figure 2: SDCard Utility Home screen.
File Menu Navigation
- Click the Select X2 SDCard button to show all available file folders in the root directory, or select the down arrow to the right of the button to jump directly to a child directory.
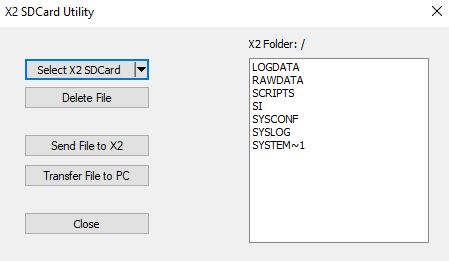
Figure 3: Read the available file folder list by clicking Select X2 SDCard.
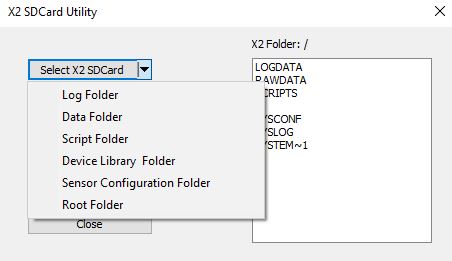
Figure 4: Select the down arrow to the right of the Select X2 SDCard button to jump directly to a folder location.
- Double-click on a file folder to read its contents.

Figure 5: Double-clicking on a folder (e.g. /SCRIPTS) will read the list of files within.
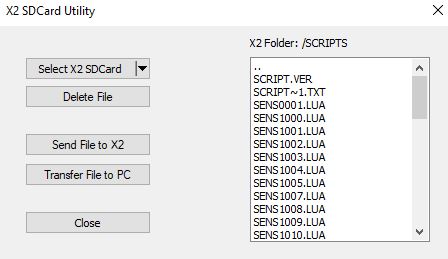
Figure 6: /SCRIPTS folder files successfully read and displayed.
- To navigate to a parent directory, double-click the ‘..‘ symbol at the top of a folder’s file list.
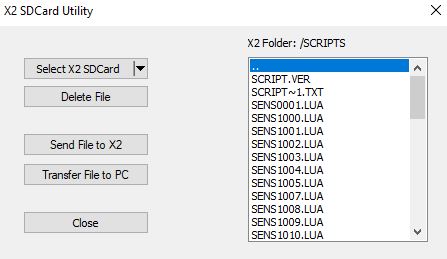
Figure 7: Double-click the dotted line at the top of a folder list to move up a directory.
Figure 8: Successfully moved from the Scripts folder to the SD Card Root Directory.
Send File to the SD Card
- Navigate to the proper file folder location on the SD Card.
Figure 9: SD card folders.
- Select the Send File to X2 option and locate the file to upload to the SD card from the local disk of the CONNECT PC.
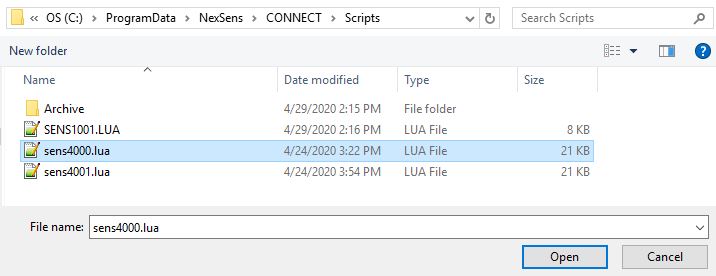
Figure 10: Locate and select the file to load onto the X2’s SD Card.
- After choosing the file, the download begins.
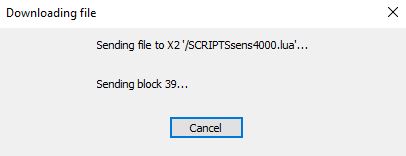
Figure 11: File download in progress.
- Once completed, a prompt will appear indicating that the action was successful.
Transfer File to PC
NOTE: Scripts transferred from an X-Series data logger are in a condensed format for memory optimization. These scripts cannot be modified and transferred back to the device. Only the original script can be modified and loaded onto the data logger since it is in the proper format.
- Navigate to the location of the relevant file to transfer from the X2 SD card to CONNECT.
Figure 12: SD card folders.
- Left click on the file to highlight it.
- Note: Data and syslog folder file names are based on the date of creation, which is in YYMMDD format.
Figure 13: Left click on the file to highlight it.
- Select Transfer File to PC, choose the directory on the CONNECT PC where the file should be saved, and rename it (if desired).
Figure 14: Select location where transferred file should be stored on the PC.
- After specifying the location, the file transfer will start.
Figure 15: File transfer in progress.
- Once completed, a prompt will appear indicating that the action was successful.
Figure 16: File transfer success.
Delete File
Note: Only delete files when directed to do so by NexSens Technology. Before deletion, transfer files to the PC as a backup. This allows for the possibility to restore files later if necessary.
- Navigate to the location of the relevant file on the X2 SD card.
- Left click on the file to highlight it.
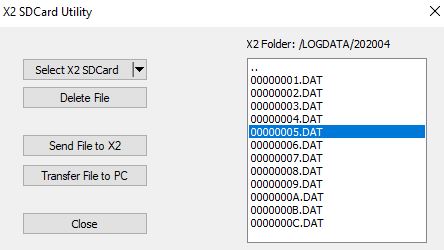
Figure 17: Select file that should be deleted.
- Select Delete File. A prompt will appear warning that the file deletion process is irreversible.

Figure 18: File deletion warning message.
- Once accepting the warning prompt, CONNECT erases the file from the X2’s SD card, and a prompt will appear indicating that the process finished successfully.
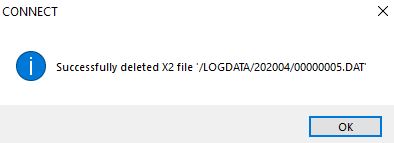
Figure 19: File deletion confirmed.