Pro-Oceanus Mini CO2 Sensor X-Series Integration Guide
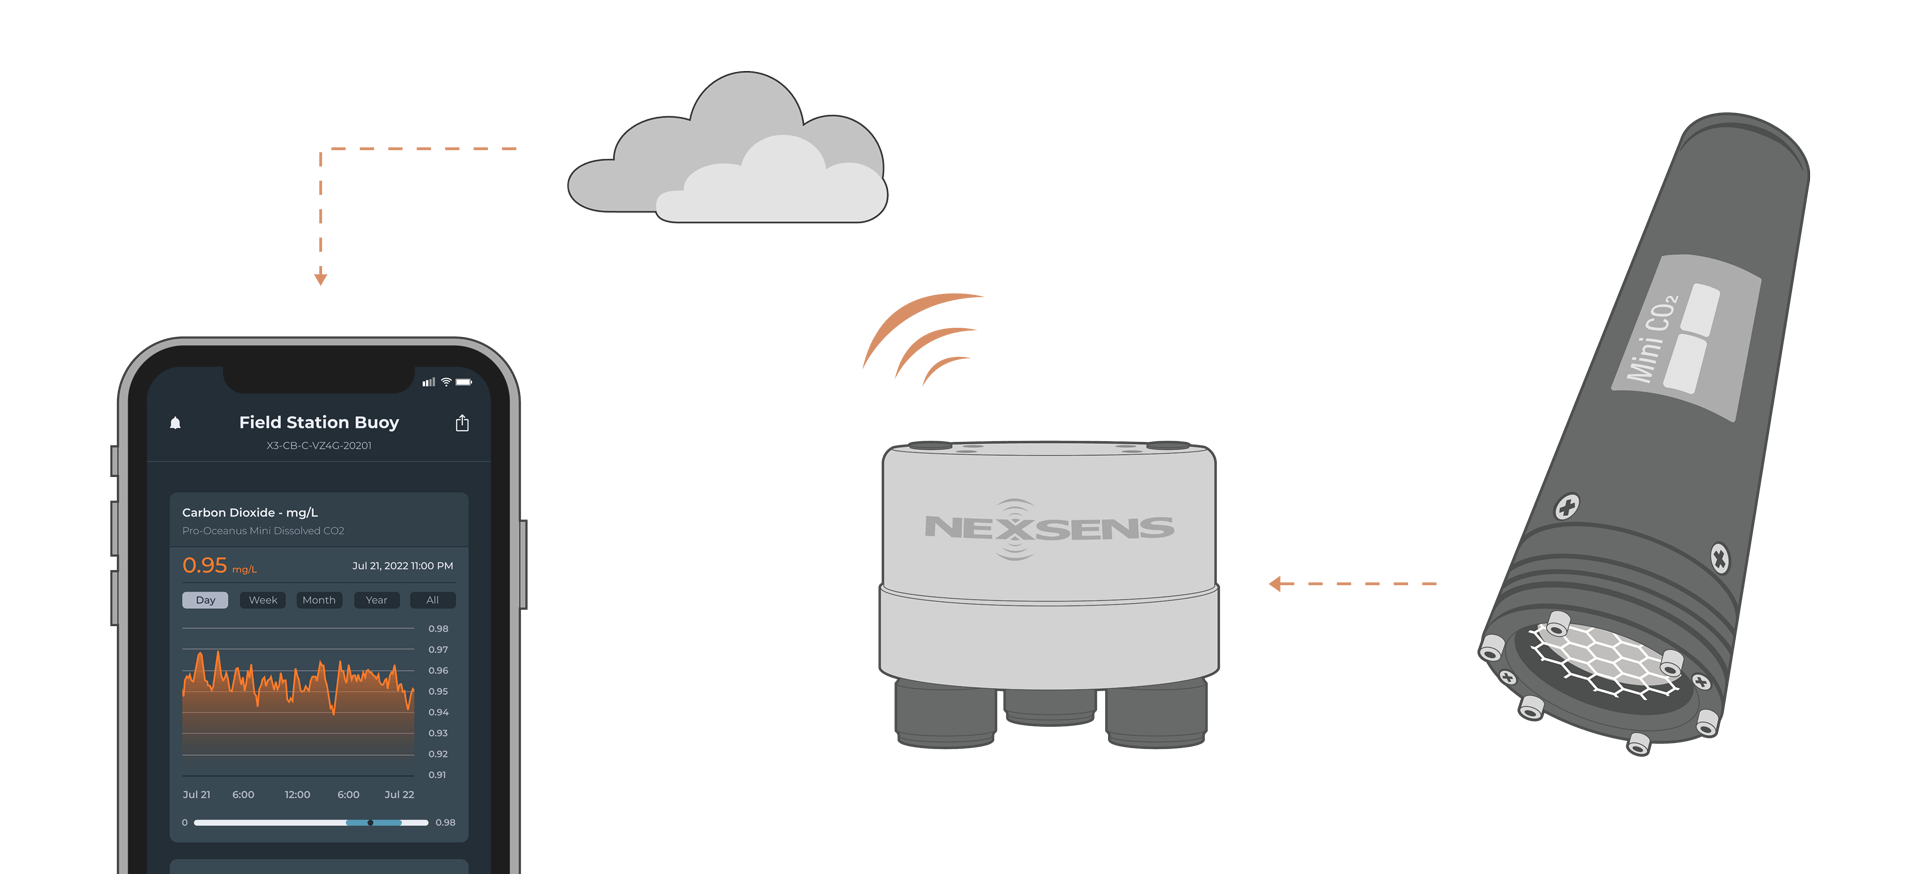
The Pro-Oceanus Mini CO2 Sensor measures dissolved carbon dioxide using infrared detection. It easily integrates with NexSens X-Series data loggers using the RS-232 sensor interface.
Sensor Setup
Follow the manufacturer’s guidelines for sensor setup.
Connecting with X-Series Loggers
Next, the sensor will need to be set up for the X-Series logger using CONNECT software. If you have not yet done so, set up the project in WQData LIVE.
- Connect the sensor using the supplied cable to one of the open sensor ports on the logger and note the port number.
- Plug the X3 into the USB port of the computer and power it on with the AC power cable.
- Open CONNECT and select the SENSOR tab.
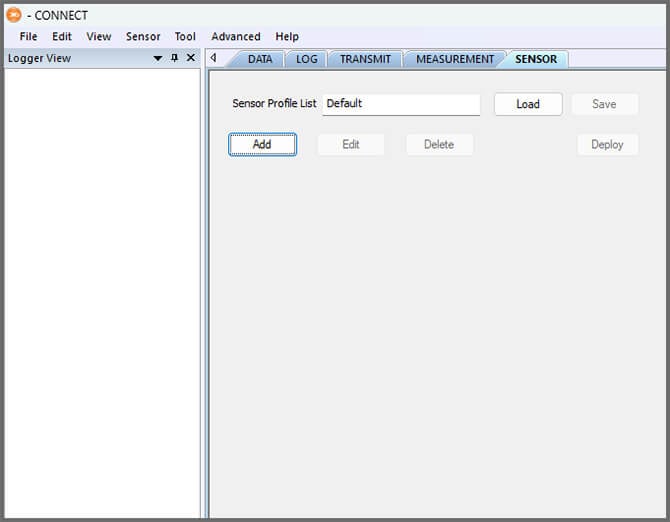
- Click Add and select Pro-Oceanus from the Manufacturer drop-down. Then select the appropriate model.
- Select the port number.
- Select either Continuous or Switch in the Power drop-down.
- Continuous is recommended.
- Add or remove sensor parameters as desired.
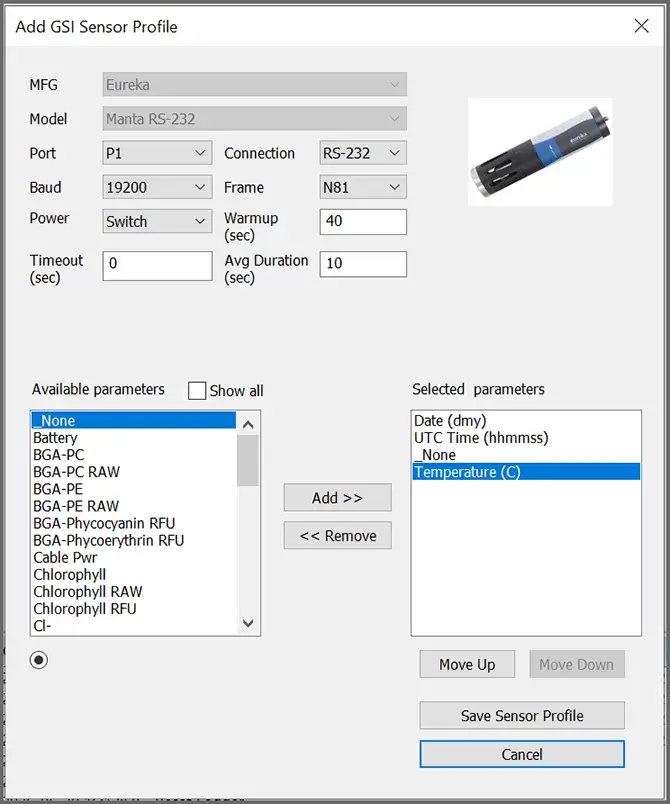
- Select Save Sensor Profile.
- Complete the setup for all other sensors, and then click Save.
- Name the Sensor Profile List and select Ok.

- Complete system setup by clicking Deploy.
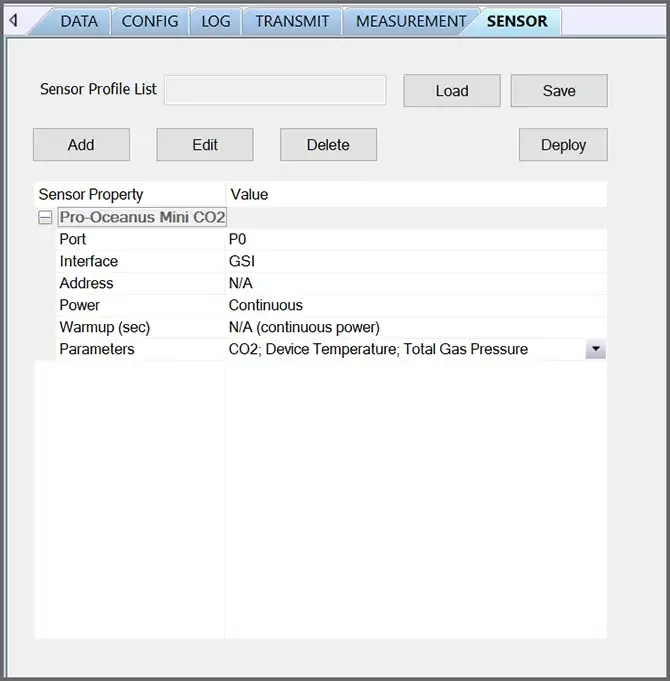
- Confirm that data is being transferred to WQData LIVE at the next interval (default is 10 minutes).
Mounting
Deployment setups will vary based on the platform, application, and site location. For general buoy mounting instructions and pole-mount assembly, see below.
Buoy-Based Deployments
First, follow the appropriate User Guide in the Knowledge Base for buoy assembly. There are two options for near-surface measurements and a third option for water column measurements:
1. Cage Mount
Use the NexSens Small Instrument Cage Mount to attach the sensor to the buoy cage.
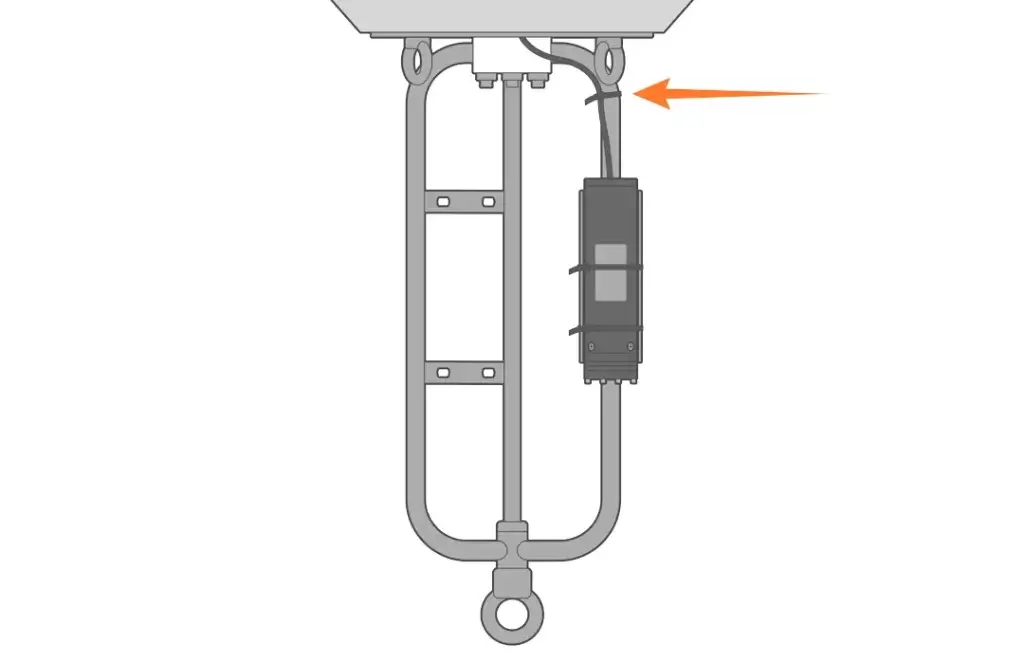
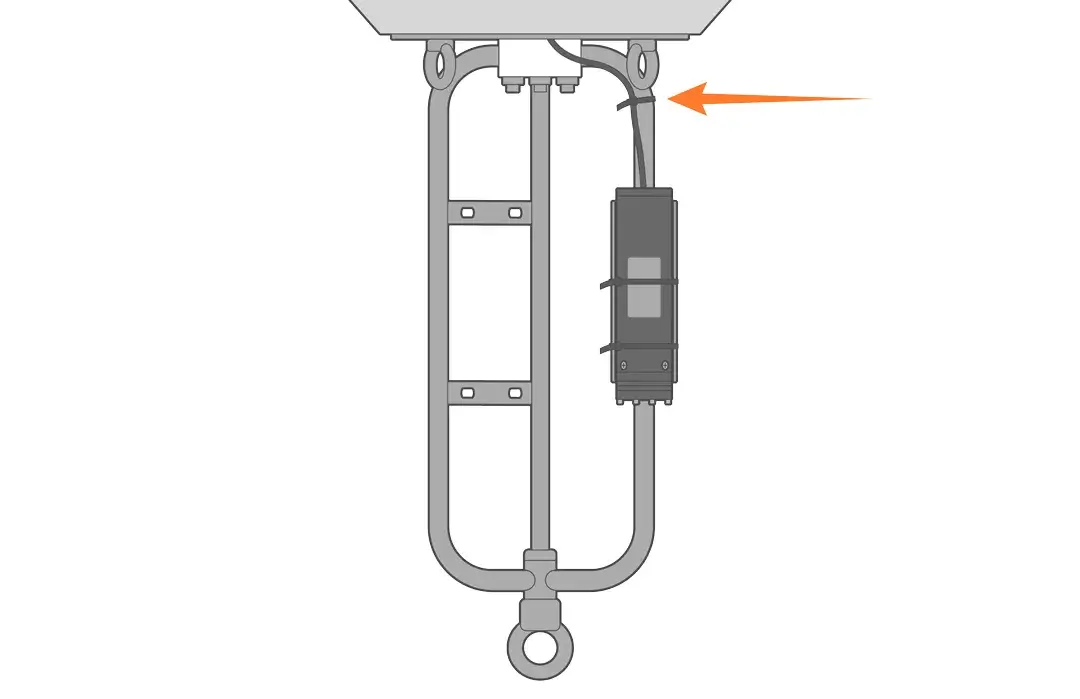
- Strap the sensor to the cage leg with the mount and cable ties (as shown). The mount is supplied with a rubber adhesive liner to prevent the sensor from sliding.
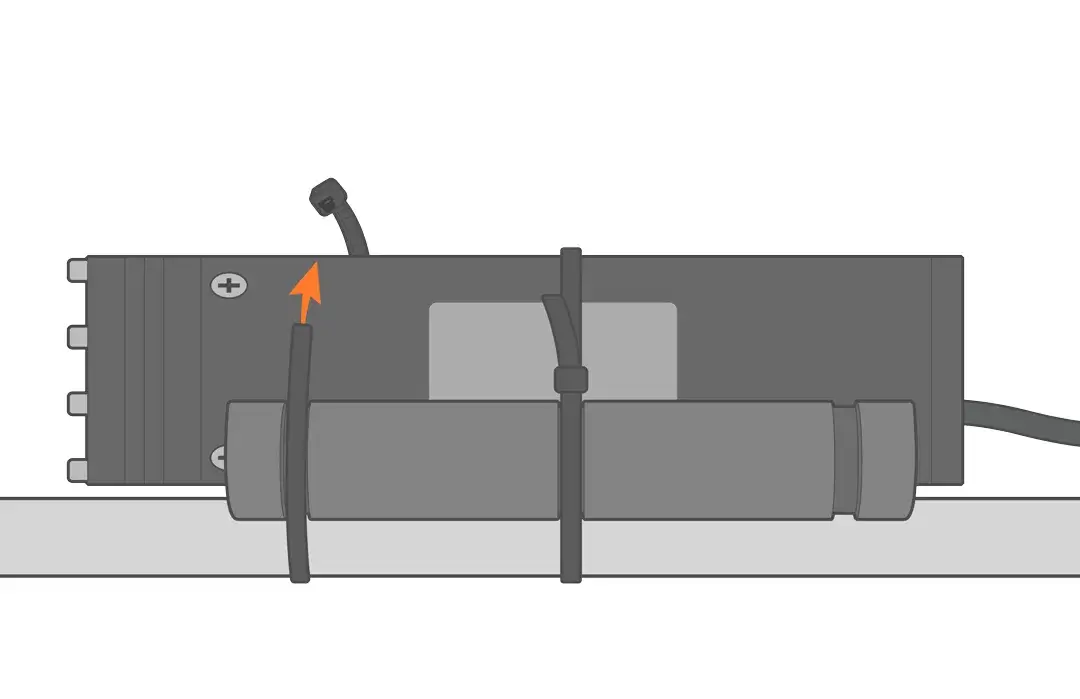
- Further secure the assembly by adding a few additional ties to the cable.
2. Buoy Deployment Pipe
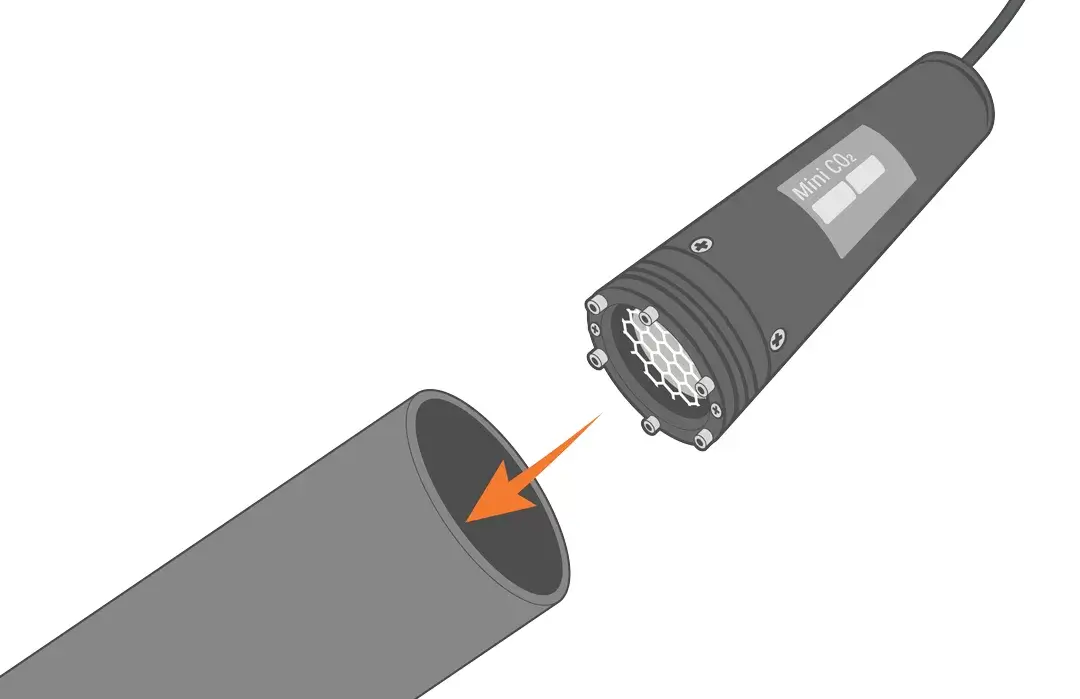
Optional perforated deployment pipes can be fitted to most NexSens CB– and XB-series buoys. Deploying the sensor inside the pipe provides easy access for maintenance and recalibration.
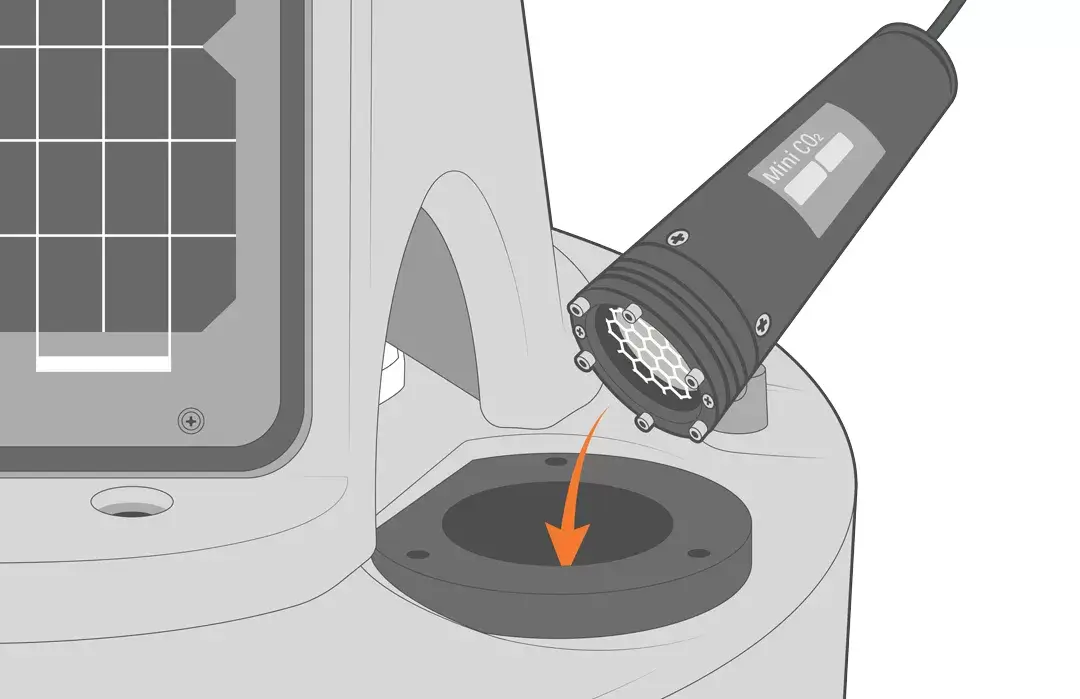
3. Water Column
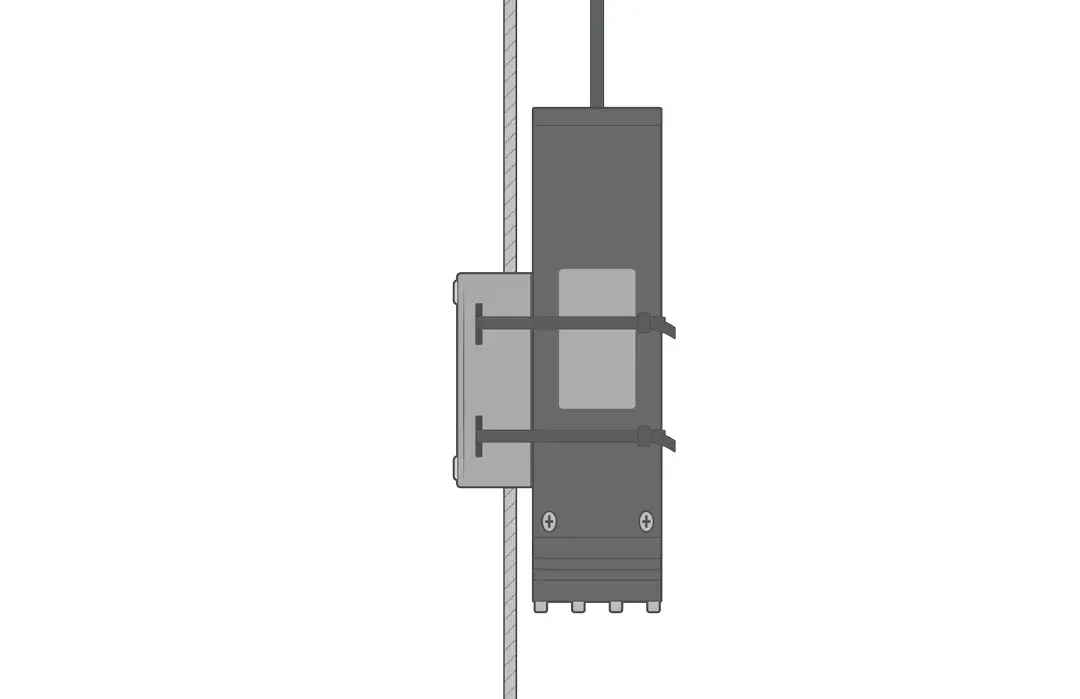
Use the NexSens Instrument Mooring Clamp to securely attach the sensor to a sensor mooring line at the desired depth in the water column.
Shore-based Deployments
For dock, pier, or bank deployments, it’s best to secure the sensor in a perforated PVC pipe. Extend the pipe into the water and deploy the sensor.