Manually Update RTU Firmware
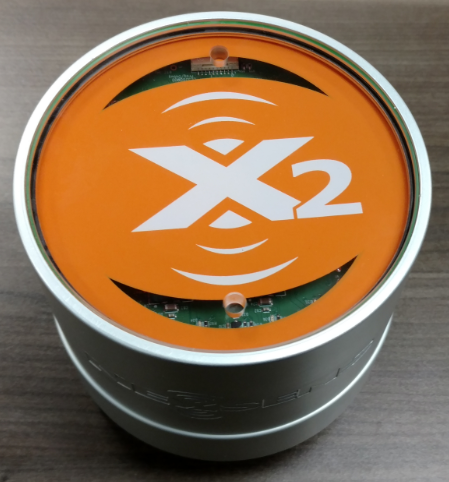
Caution!!!- Be sure to statically ground yourself prior to touching any of the electronics inside the X2 logger
Instructions
- Remove Power from the X2 by disconnecting any cable connected to the center 6-pin port.
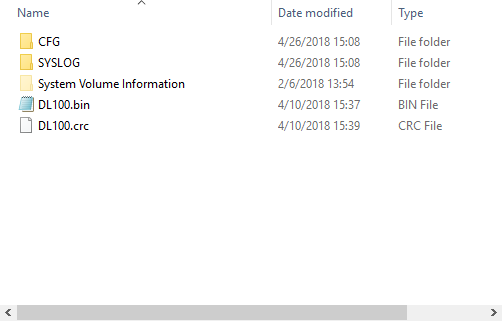
- Locate the green plastic wire from its track in the base of the X2’s aluminum housing.


- Locate the green plastic wire from its track in the base of the X2’s aluminum housing.
- Slide tweezers or the tip of the screwdriver packaged with the X2 beneath the wire to expose it.
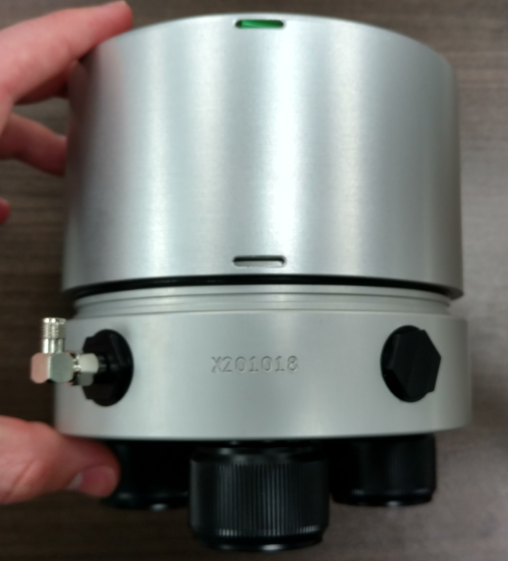
- Pull the end of the wire while applying pressure to the top of the X2 to remove it from the track. Tweezers or needle-nose pliers can be used if needed.
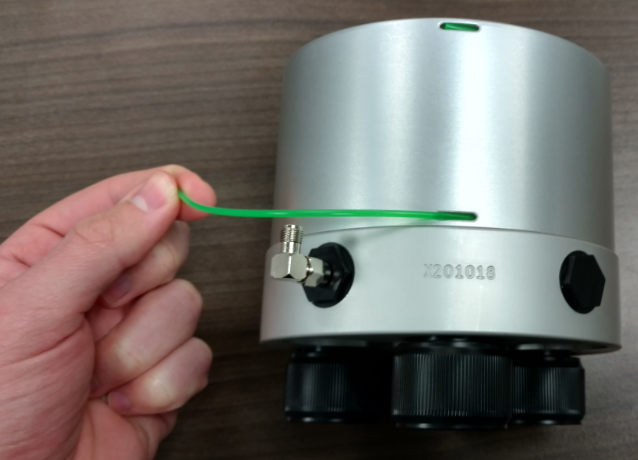

- Pull the end of the wire while applying pressure to the top of the X2 to remove it from the track. Tweezers or needle-nose pliers can be used if needed.
- Pull up on the enclosure to separate it from the X2 base.
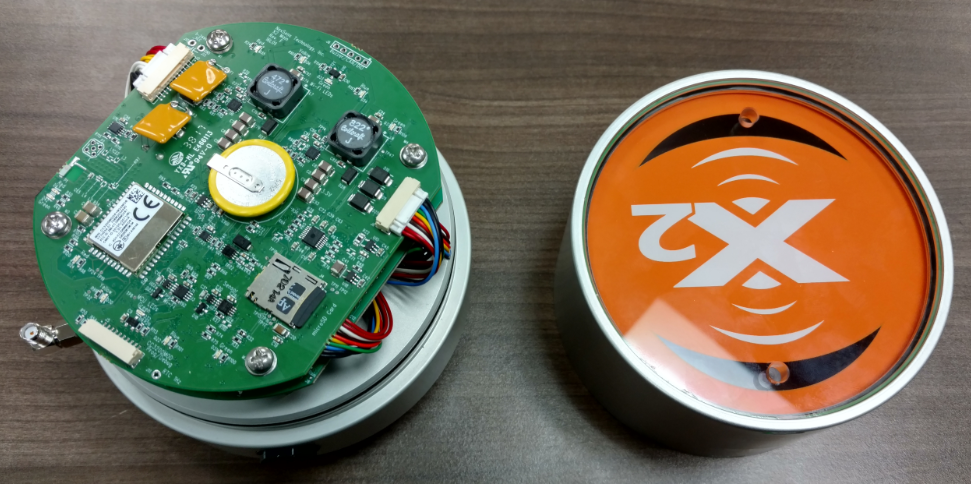

- Pull up on the enclosure to separate it from the X2 base.
- Locate the RTU’s SD card slot opposite the RF connector and on the topside of the lower board.
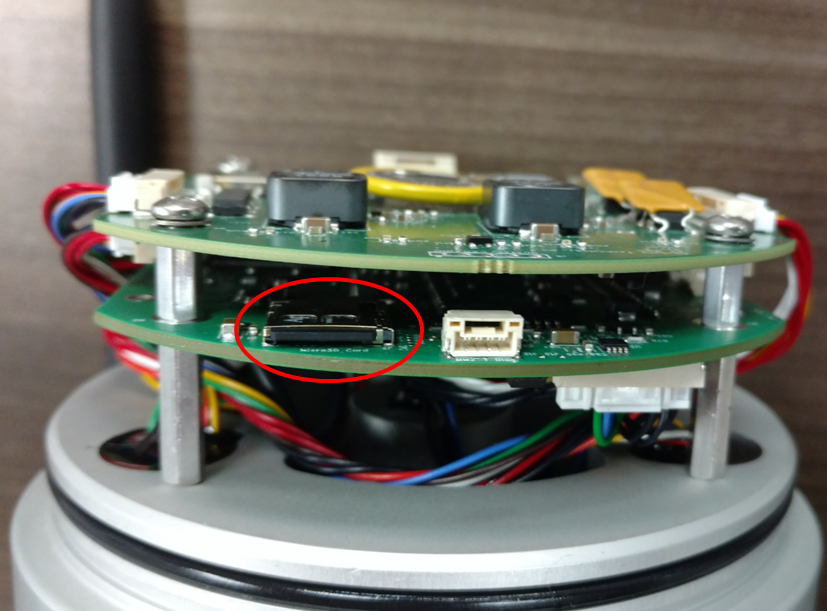

RTU-PCB SD Card Location
- Locate the RTU’s SD card slot opposite the RF connector and on the topside of the lower board.
- Push the SD card further into the mount to unlock it. Place the card into a micro-SD card reader to access its files.
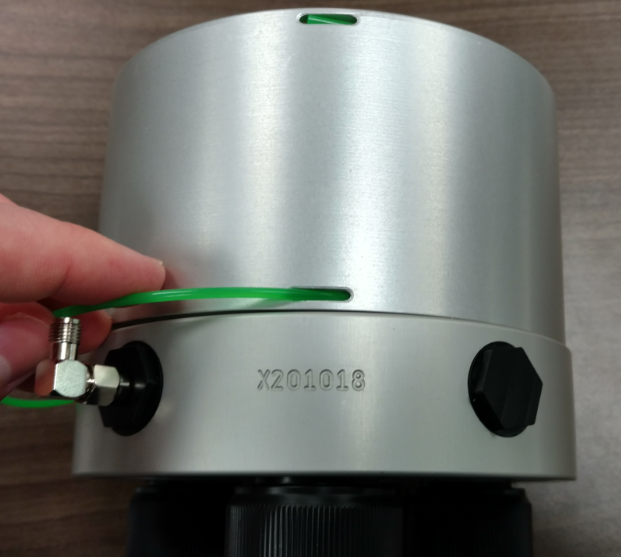
- Copy over NexSens-supplied DL100.bin and DL100.crc files into the root directory.

Root Directory of RTU SD Card
- Copy over NexSens-supplied DL100.bin and DL100.crc files into the root directory.
- Once the file modification(s) are complete, select the Eject option in Windows to safely remove the SD card.


Eject the SD card in Windows.
- Re-install the SD card back into the slot on the X2’s Main PCB.
- Align the wire entry with the machined body tag on the aluminum base.

- Slide the enclosure back over top the X2 base, ensuring that no wires are pinched.
- Push down on the top of the enclosure and feed the wire back into its track.

- Re-apply power to the system. The firmware update will be completed on power-up and the system will resume normal operation.