Check/Replace a Reed switch
If a G2-Rain system appears to be reporting less than the expected rainfall (or none at all) it is possible the magnetic switch responsible for registering the tipping arm movement is intermittent or non-functional. Reference the following steps to confirm the Reed switch status and install a replacement as necessary.
Testing a Reed Switch
- Remove the siphoning rain gauge bucket to reveal the tipping arm mechanism.
- Set a DC Multimeter to measure resistance Ω and place the leads between the Reed switch and the grounding screw of the bucket leads.
- Manually pin the tipping arm down to one side. With the Reed switch closed the observed resistance should be in the MΩ range.
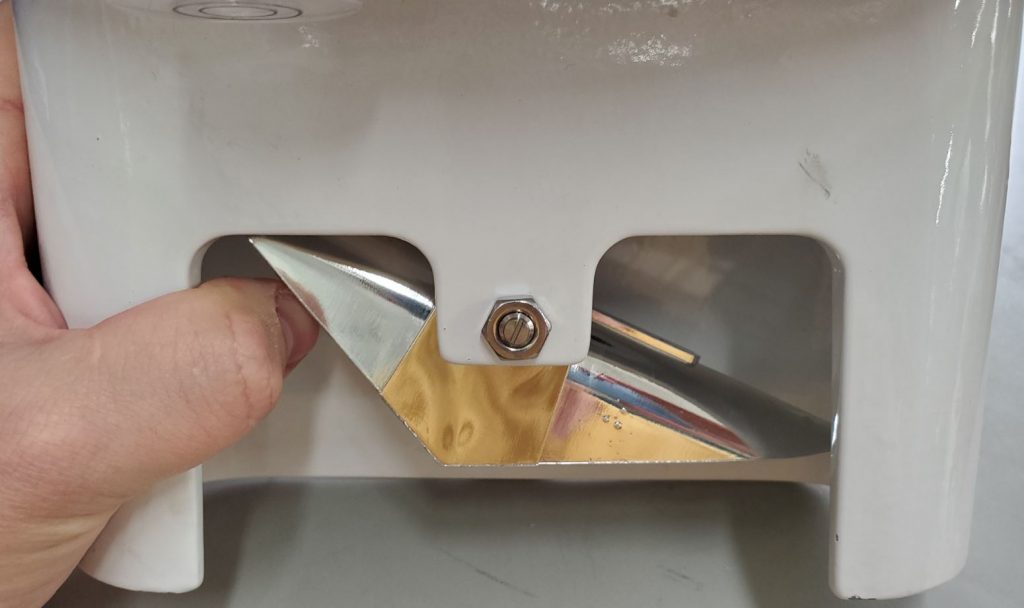
Figure 1: Tipping Arm Closed
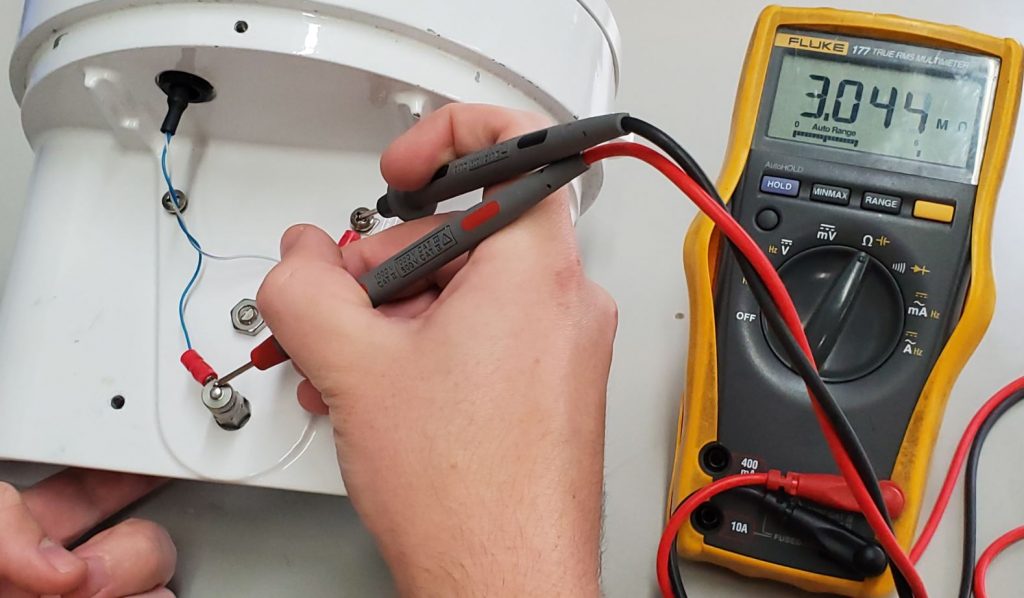
Figure 2: Resistances in the MΩ range will be observed for a functional switch when the tipping arm is closed
- Hold the tipping arm so that is rests horizontally. In this orientation the switch will be open and resistance should be low (<5Ω).
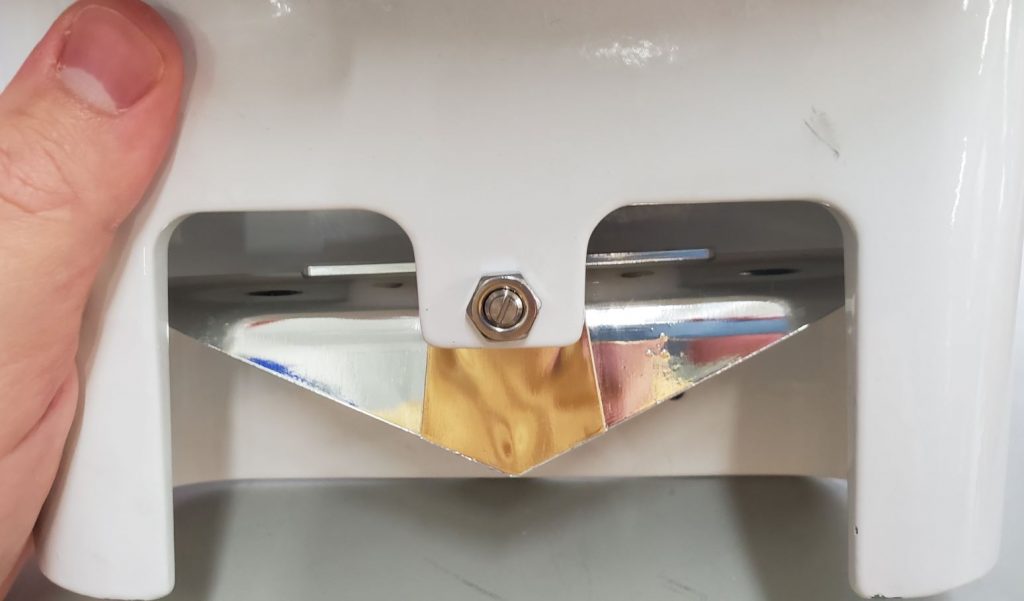
Figure 3: Tipping Arm Open

Figure 4: Resistances <5Ω will be observed for a functional switch when the tipping arm is open
Replacing a Reed Switch
If the resistance does not change in response to movement of the tipping arm as shown above, the switch will need replaced.
- Turn the top thumb screw of the switch counterclockwise to release the tipping bucket lead.
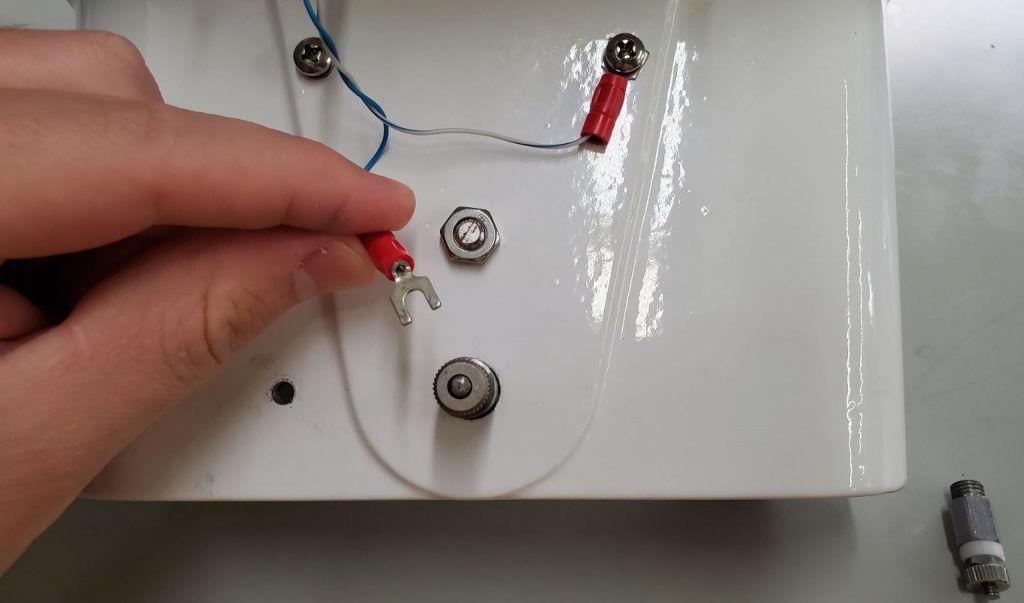
Figure 5: Remove tipping bucket lead from the faulty Reed switch
- Grab the base of the switch and turn it counterclockwise (by hand) to remove it from the bucket.
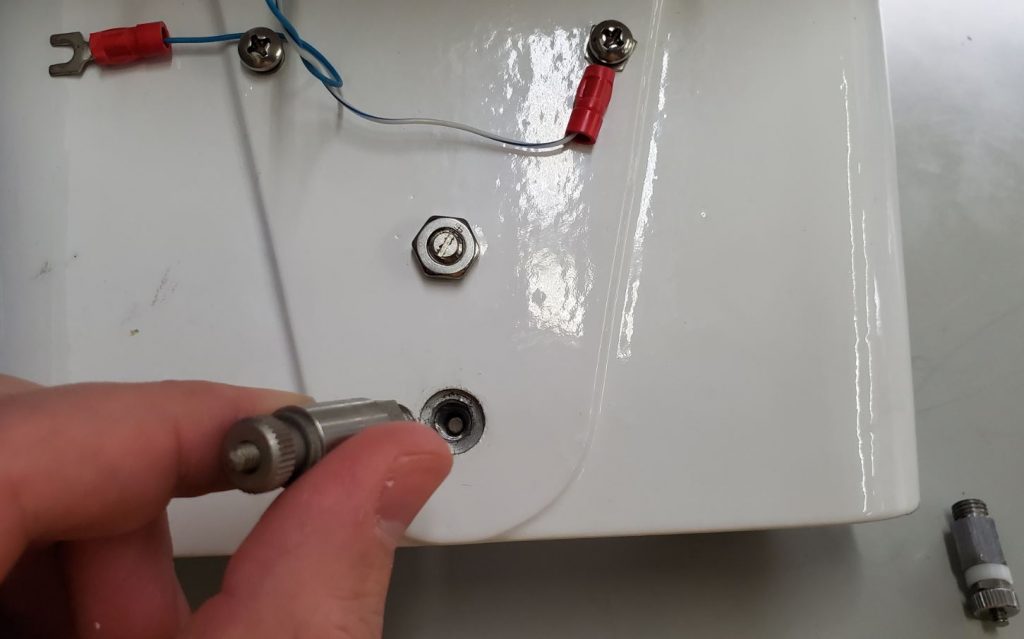
Figure 6: Remove faulty Reed switch
- Thread the replacement switch into the bucket, tightening it by hand as securely as possible. Do not use any wrenches or other tools as the switch could potentially be damaged by the force.

Figure 7: Install replacement switch
- Reconnect the loose tipping bucket lead to the switch. Turn the top thumb screw of the switch clockwise until hand-tight such that the bucket lead cannot be easily pulled out.
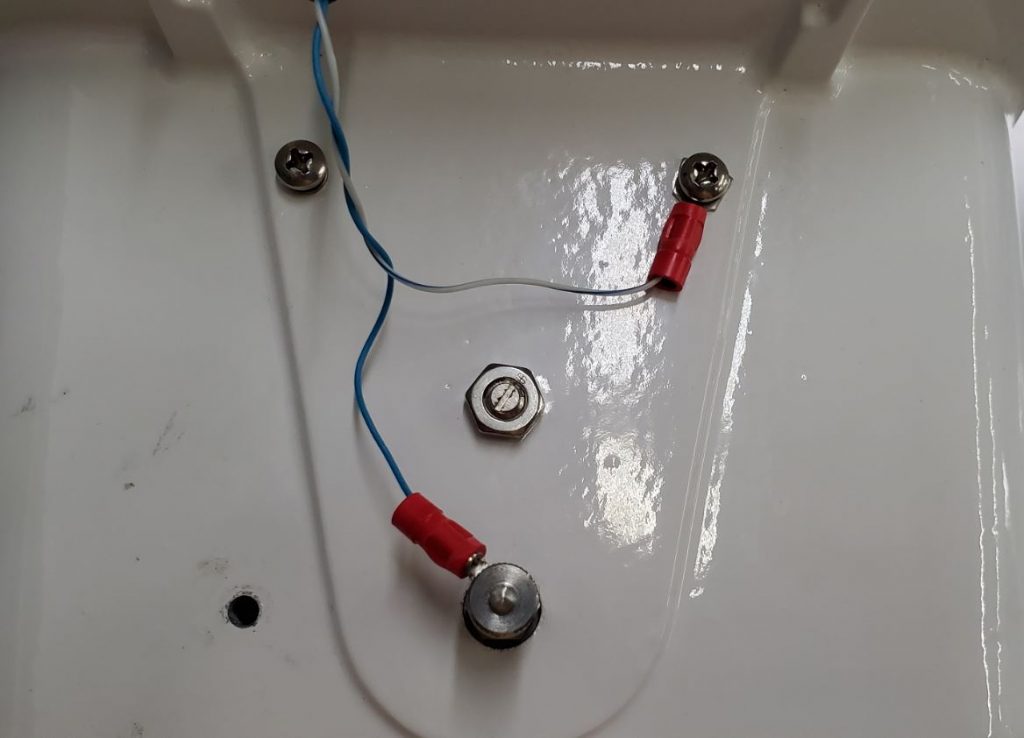
Figure 8: Re-connect the tipping bucket lead to the new switch
Conduct the same resistance testing using a voltmeter as discussed in the first portion of the article to confirm the newly-installed switch is functioning properly.