
Replace a Desiccant in a G2-RAIN Data Logger
Each G2-RAIN ships with a bag of desiccant placed underneath the data logger circuit boards. This desiccant bag should be replaced whenever:
- The G2-RAIN-RTU enclosure is opened.
- The Internal Humidity diagnostic parameter reads 40% or greater.
Any appropriately sized desiccant pack (the included pack is 2.8″x 1″ for reference) can be used as a replacement.
Desiccant Replacement Process
- If the G2-RAIN is utilizing an internal battery, remove power from the system by using a flat head screwdriver to turn the powerplug counter-clockwise until the top of the plug is above the RTU plate.
- If the G2-RAIN is powered through an external connection with a solar panel, ensure to unplug the G2-RAIN before beginning this process.

Disconnect power before continuing
- Using a 3/16″ hex head driver, remove the (4) bolts on top of the G2-RAIN-RTU enclosure.
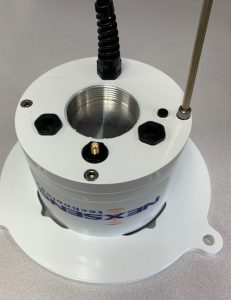
Remove the four enclosure bolts
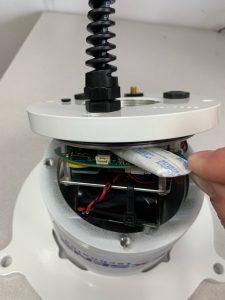
- Carefully set down the G2-RAIN PCB in a manner that does not harm the PCB, the internal battery pack, the external cable or the antenna.
- Remove the antenna completely for easier handling.
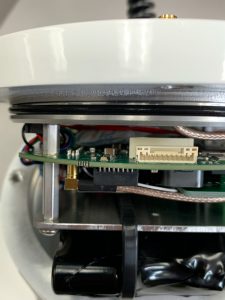
The example above shows the G2 PCB resting diagonally on the G2-RAIN-RTU bulkhead.
- Locate the desiccant in between the PCB and the top G2-RAIN plate.
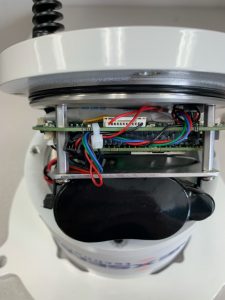
The desiccant rests above the PCB and below the top G2-RAIN plate.
- Using a pair of tweezers, carefully remove the desiccant.
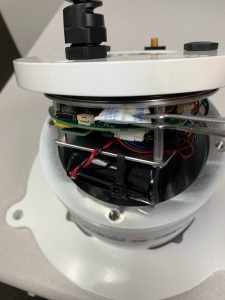
- It is recommended to remove the desiccant in the open space on the opposite side of the SD card holder as there are no wire obstructions.
Use tweezers to remove the desiccant. |

Locate the opening opposite of the SD card holder. |
- Reinsert a fresh desiccant into the same opening as above.
- Stop and reposition the desiccants’ entry if it is difficult to insert the desiccant.
Insert the fresh desiccant into the same opening.
- Carefully reinsert the G2-RAIN PCB into the enclosure while ensuring that no wires are caught between the PCB plate and the enclosure.
- Use the hex head driver and bolts in step 2 to seal the enclosure.