
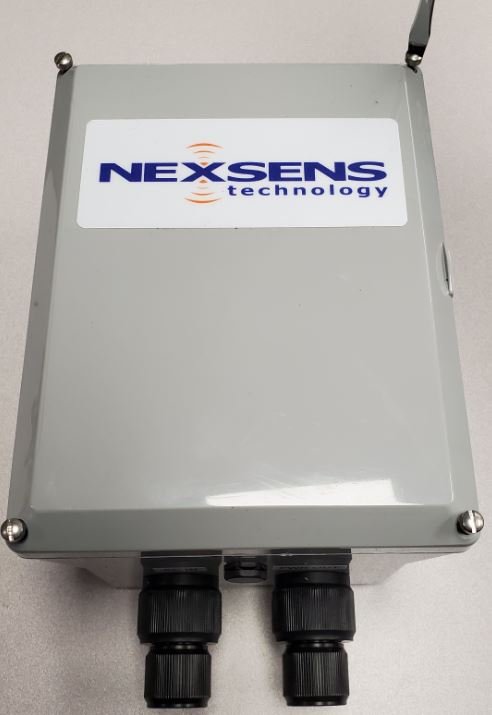
Replace a Vent in a UW6-BB Battery Backup
The A70 enclosure vent in the UW6-BB should be replaced every 2-3 years, or in the event it becomes cracked or damaged.
- Open the battery backup enclosure lid using a Flathead screwdriver.
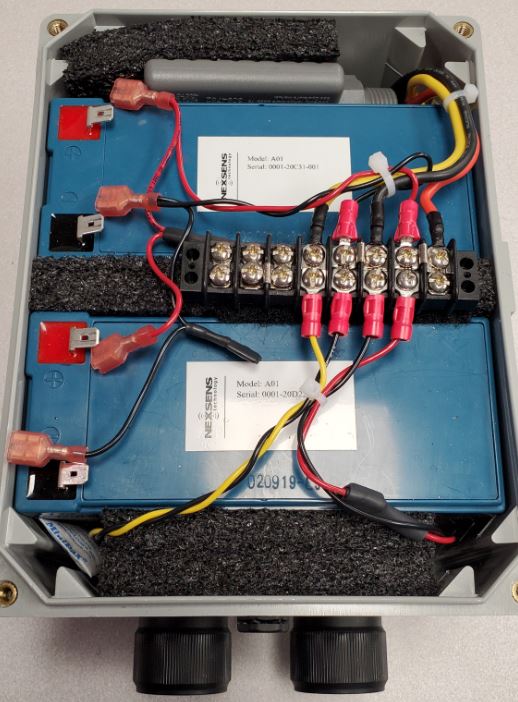
Remove UW6-BB enclosure lid.

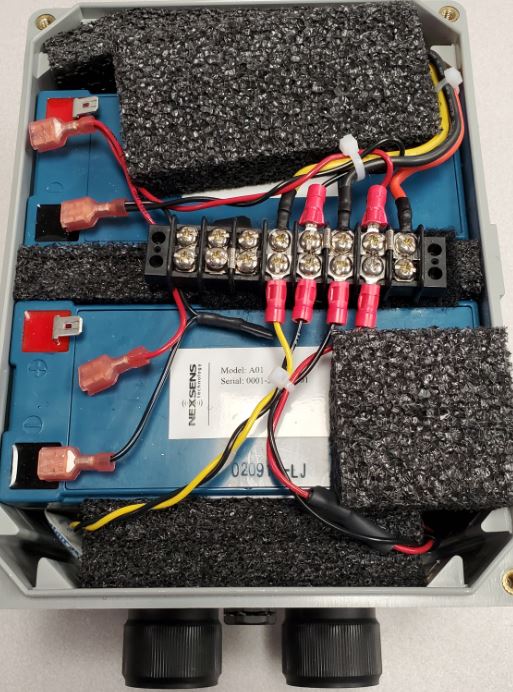
Enclosure lid removed.
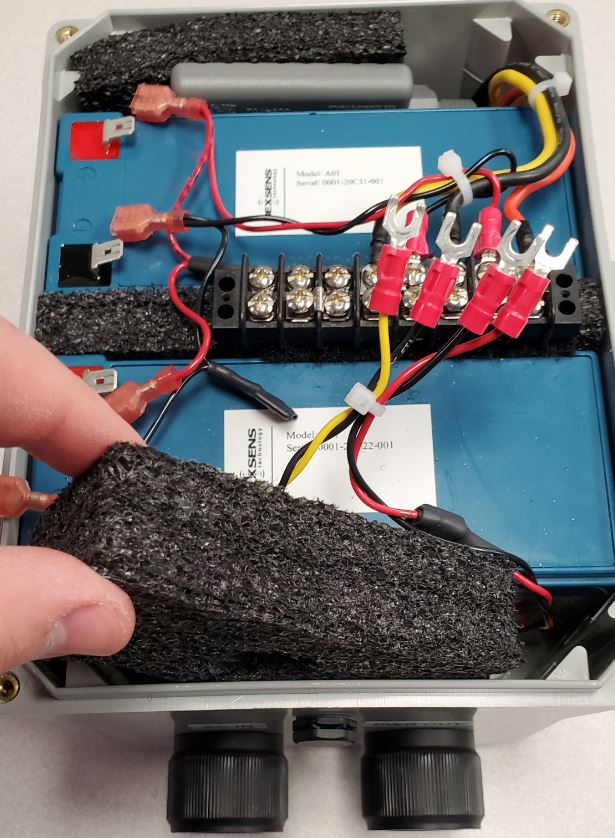
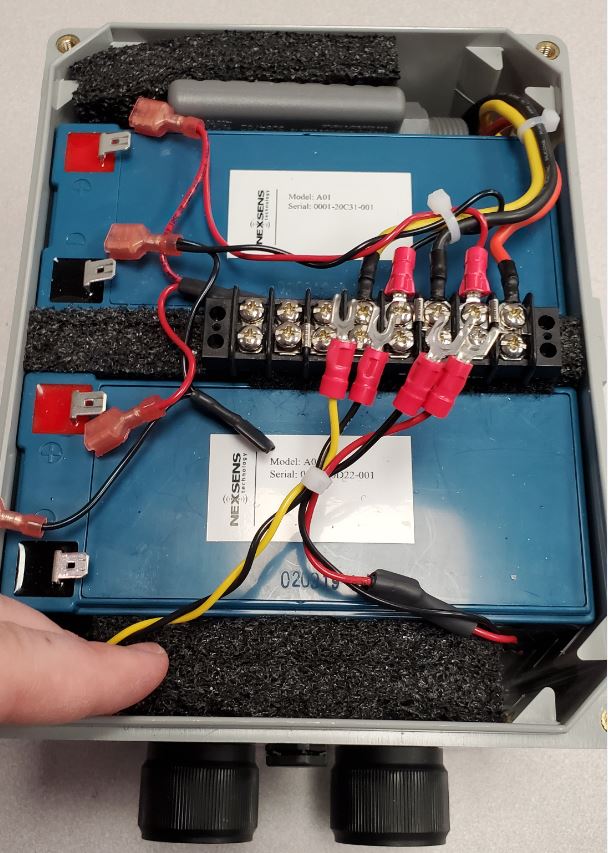
- Remove the pieces of spacing foam on top of the batteries and disconnect the leads from the batteries to remove power. If the AC adapter is plugged in to the box, disconnect it at this time as well.
Unplug the AC Adapter from the ‘AC IN’ port and disconnect the leads from both batteries to remove power.
- Use a Phillips screwdriver to remove the four connections at the bottom of the terminal. This will make it easier to remove, and later replace, the spacing foam.
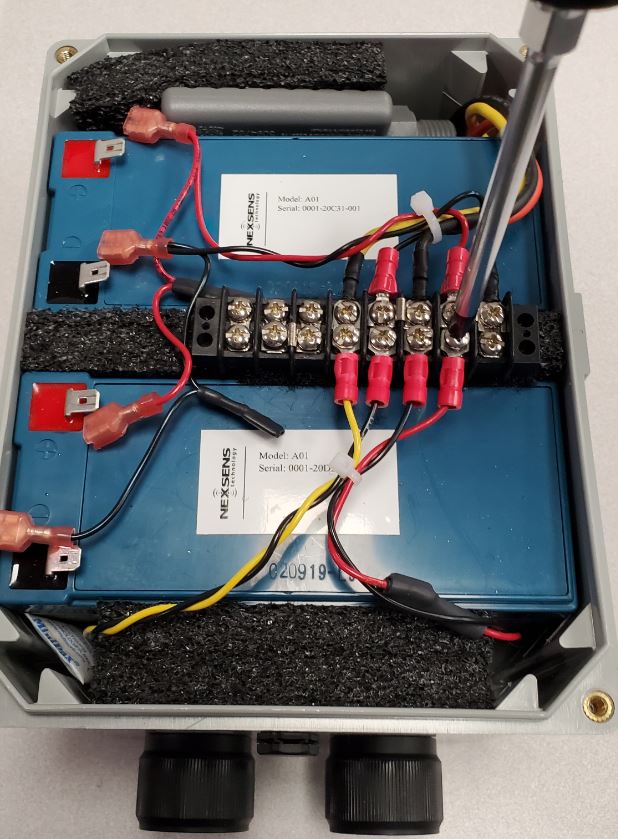
Use a Phillips head screwdriver to loosen and remove the four connections on the bottom of the terminal strip.
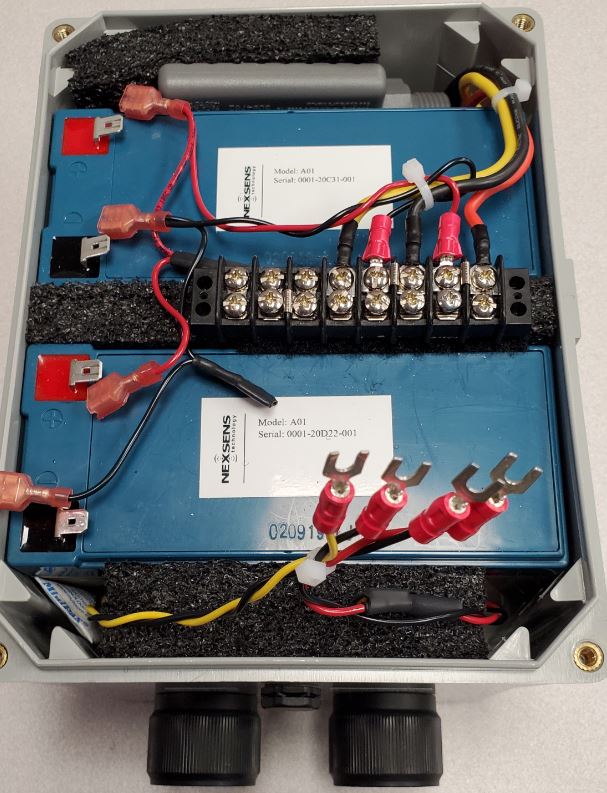
Bottom terminal connections removed.
- Remove the bottom piece of spacing foam seated between the vent and the lower battery.
Remove the bottom piece of spacing foam to gain access to the vent.
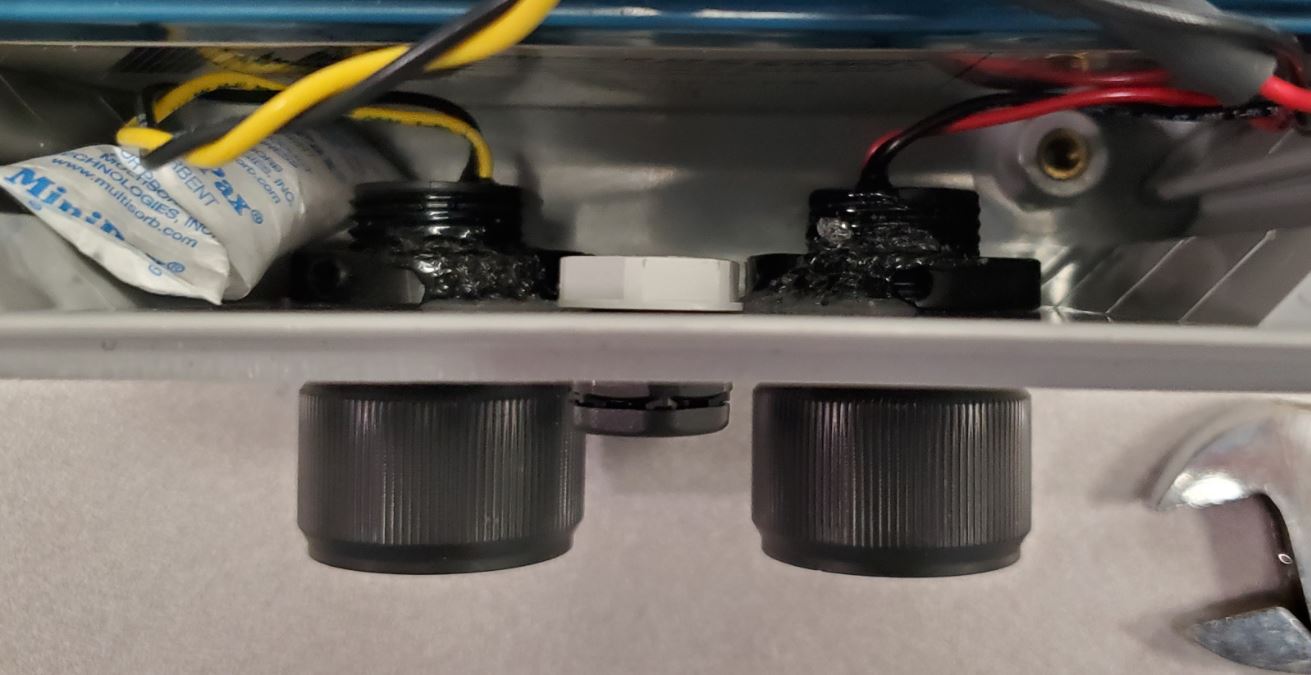
- Locate the enclosure vent and its white backing nut between the two external 6-pin ports on the enclosure.

Locate the vent at the center of the enclosure.
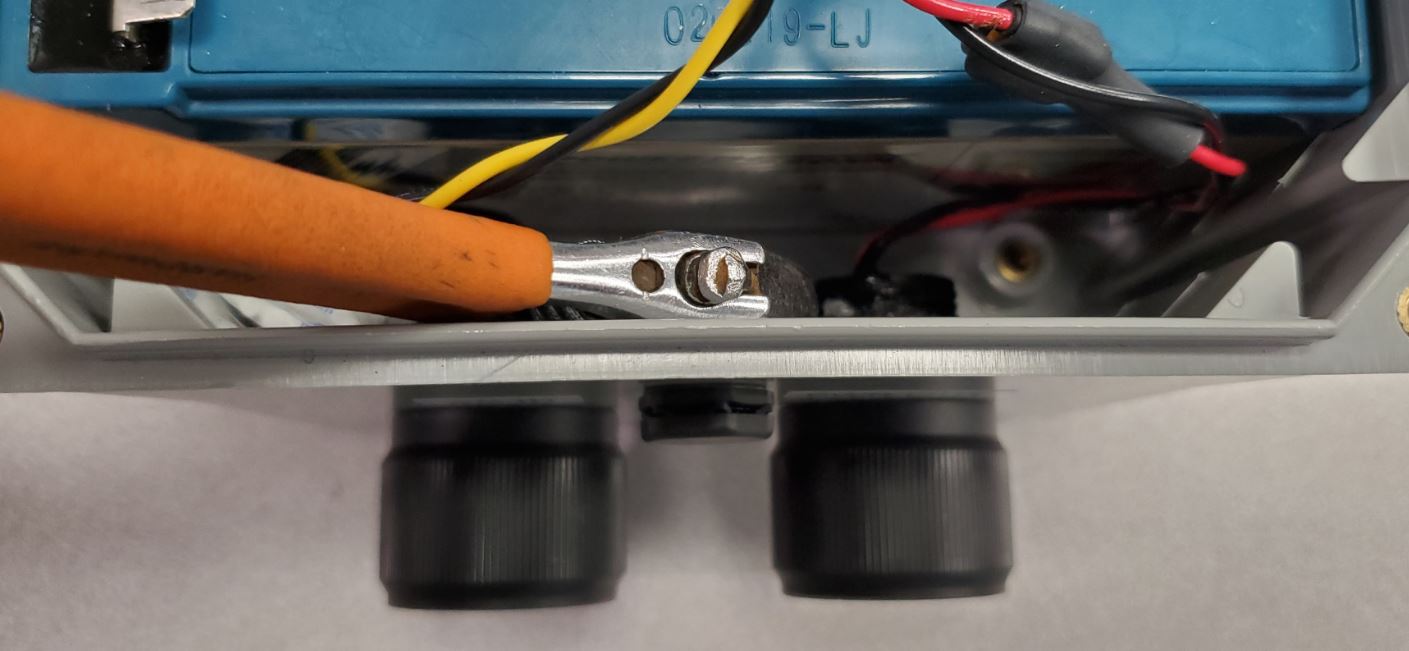
- Use a crescent wrench to loosen the nut on the back of the old vent and remove it.
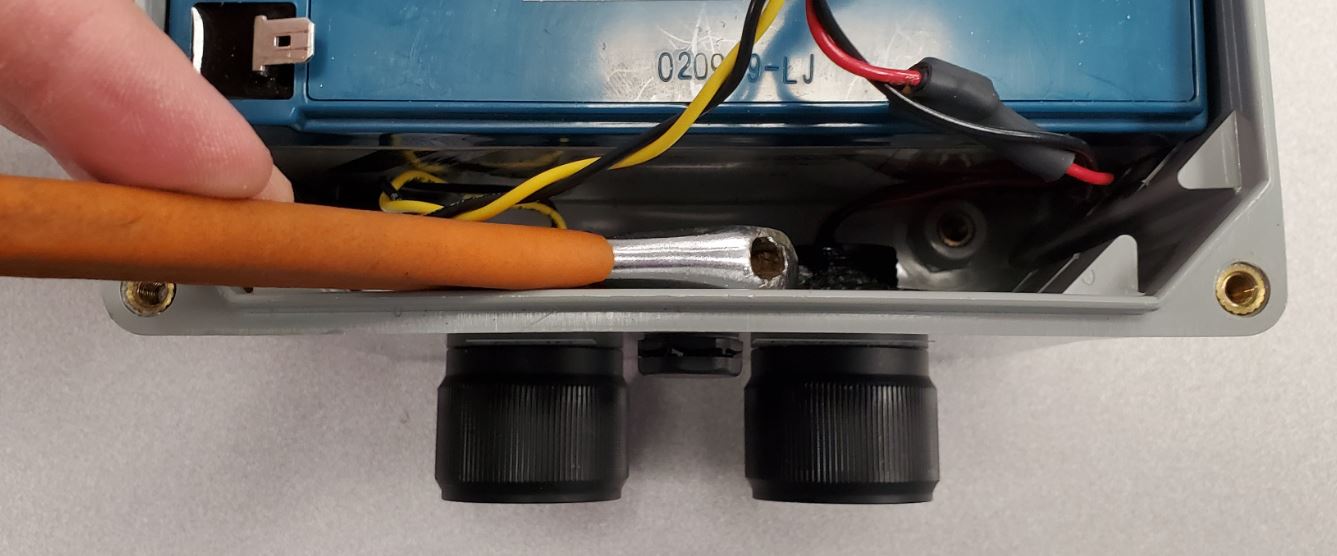
Use an adjustable wrench to loosen the backing nut of the old vent and remove it.
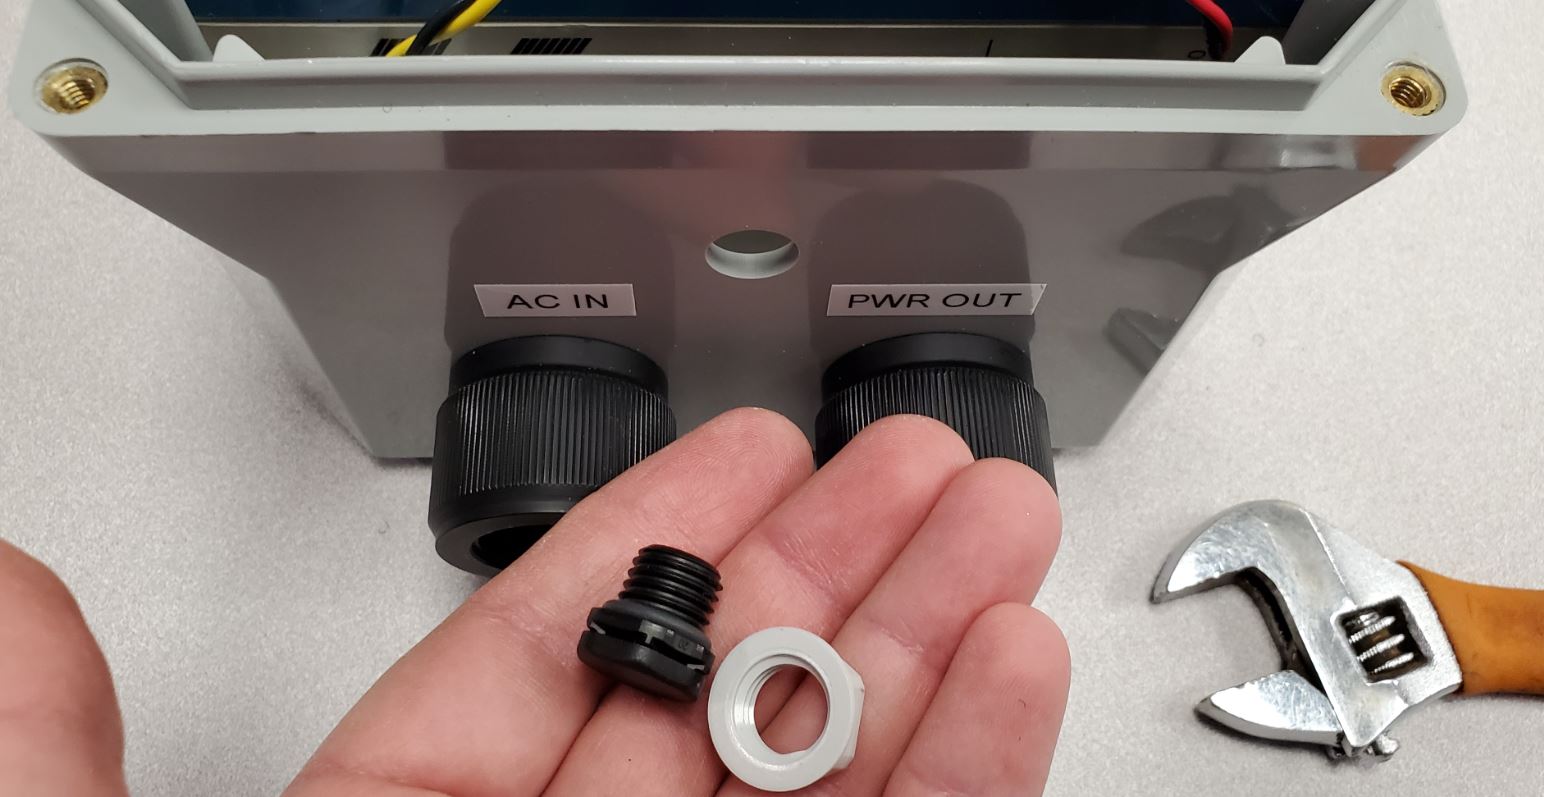
Old vent removed.
- Feed the new vent into the enclosure and hand tighten its backing nut to seat it in place.
Insert the replacement vent into the hole in the enclosure.
Hand-tighten the backing onto the vent.
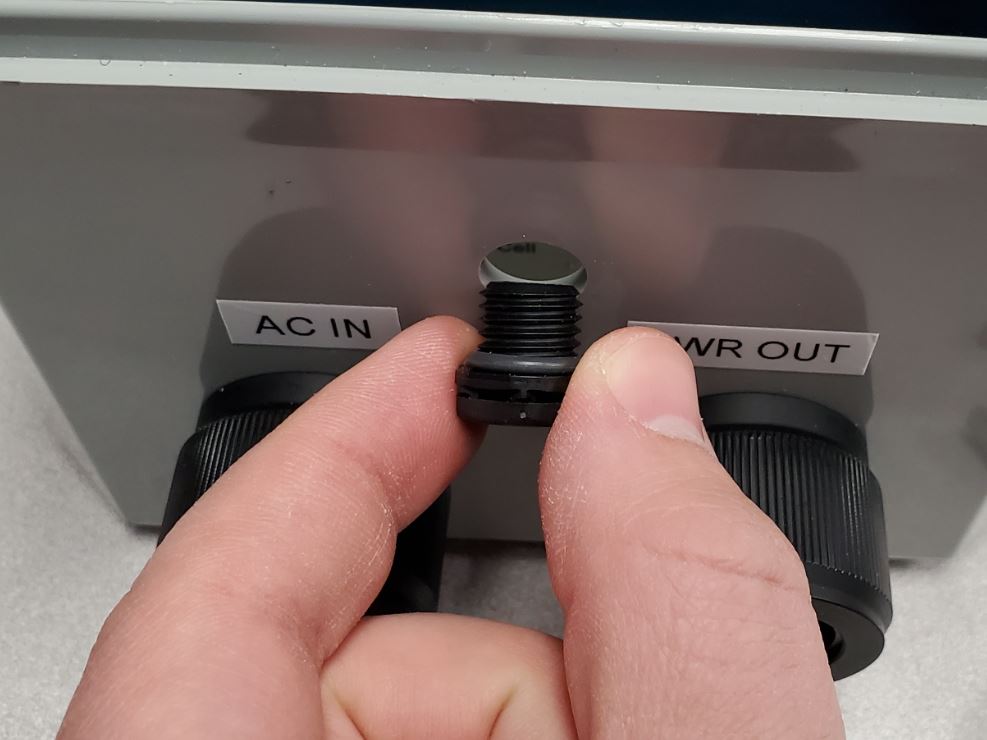
- Use an adjustable wrench to tighten the vent nut ~1/4 turn past hand-tight. It should not be able to be loosened by hand.
Tighten the vent nut slightly past hand-tight.
- Replace the bottom piece of spacing foam. There will be a cutout in the foam that aligns with the vent.
Replace the bottom foam spacer.
- Use a Phillips head screwdriver to re-establish the terminal connections that were removed earlier.
Re-connect the terminal screws.
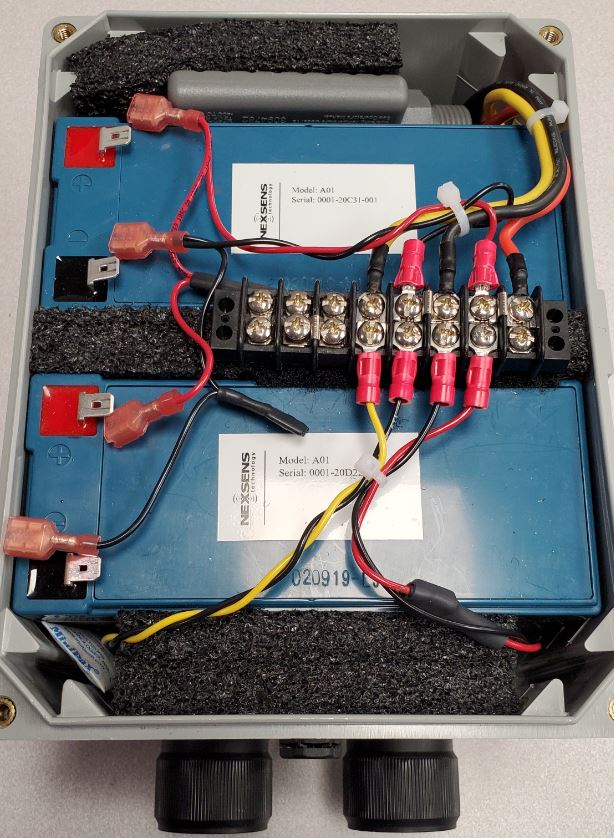
- Set the remaining pieces of spacing foam on top of the batteries in the same positions as before.
Return the remaining pieces of spacer foam to their positions on top of the battery.
- Reconnect the leads to both batteries.

Re-connect the battery leads.
- Place the lid back on the enclosure, making sure no wires will be pinched in the process, and tighten the four Flathead screws evenly in a cross pattern.
- Re-connect the AC Adapter cable to the ‘AC IN’ port on the enclosure to resume charging.