Replace a Solar Regulator
The 6A solar regulator inside the SP32 battery box does not require regular maintenance. Regulator failure, generally indicated by a flashing or solid red LED, is rare but can occur.
- Open the battery box enclosure lid using a Flathead screwdriver.

Figure 1: Remove Battery Enclosure Lid.

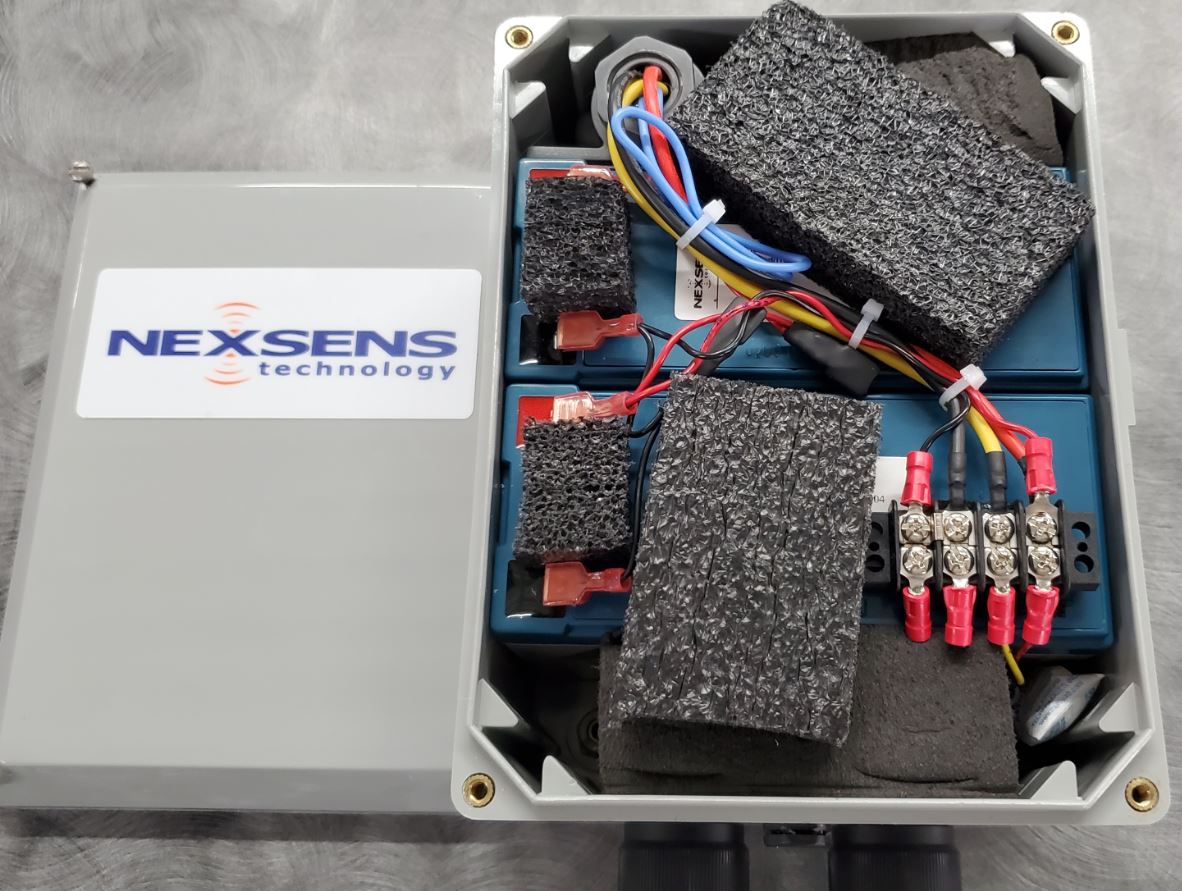
Figure 2: Battery Box Lid Removed.
- Remove the foam spacer pieces positioned between the lid and batteries.
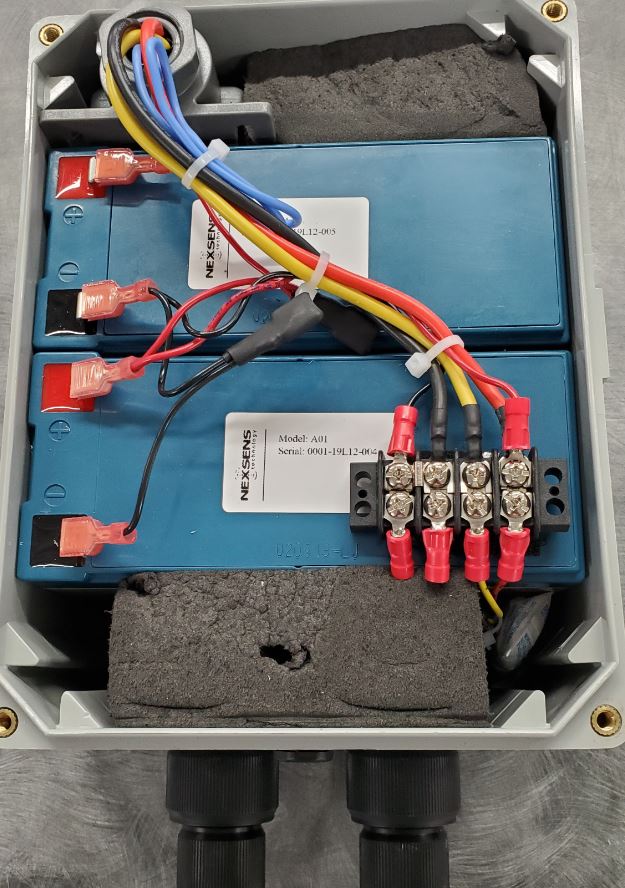
Figure 3: Remove foam lid-spacing pieces.
- Use a Phillips screwdriver to loosen the terminal screw associated with the red solar regulator (bottom) and battery terminal (top) connectors.
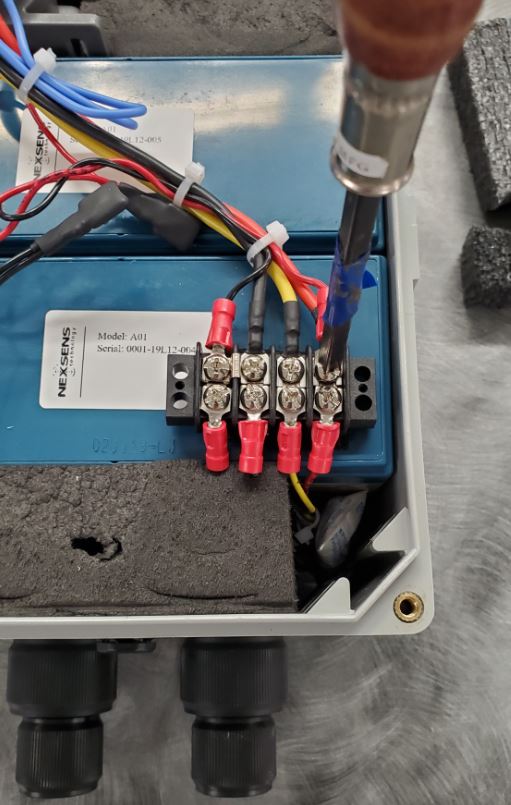

Figure 4: Loosen positive battery solar regulator terminal screw.
- Disconnect the red solar regulator lead and re-connect the red battery lead (to prevent accidental shorting to ground).
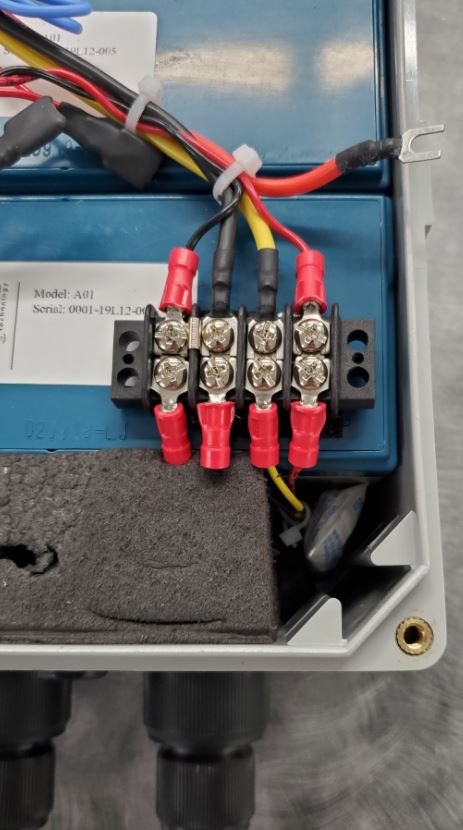
Figure 5: Remove the red solar regulator lead and re-connect the positive battery lead.
- Remove the yellow and black solar regulator leads from the terminal strip.
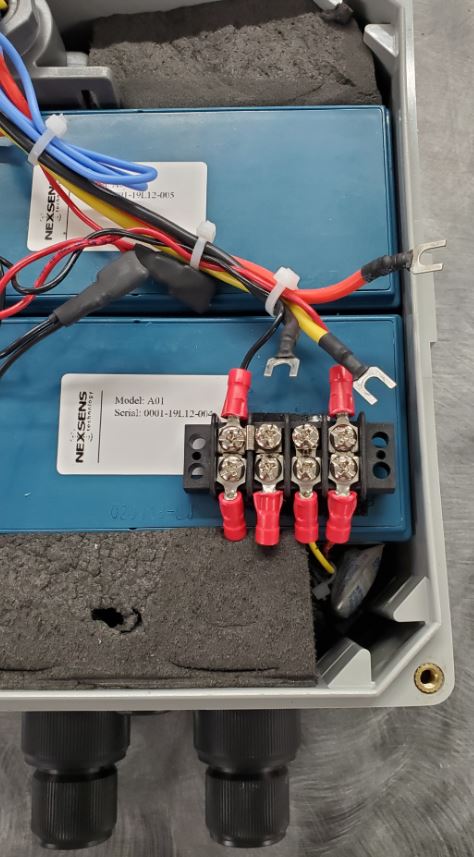
Figure 6: Red, Yellow, and Black solar regulator leads removed.
- Cut the two cable ties tethering the old regulator wires to the battery cables. Take care to not nick any of the wires in the process.
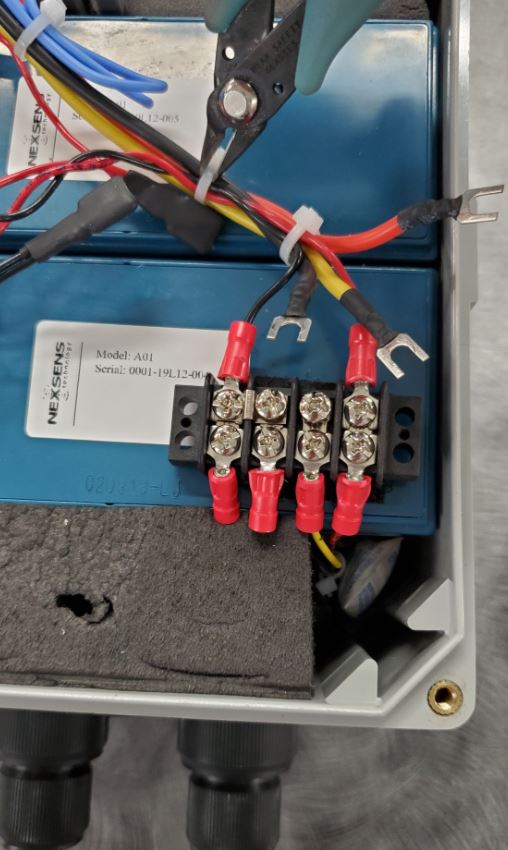
Figure 7: Cut cable ties to free the old regulator.
- Remove the old solar regulator.
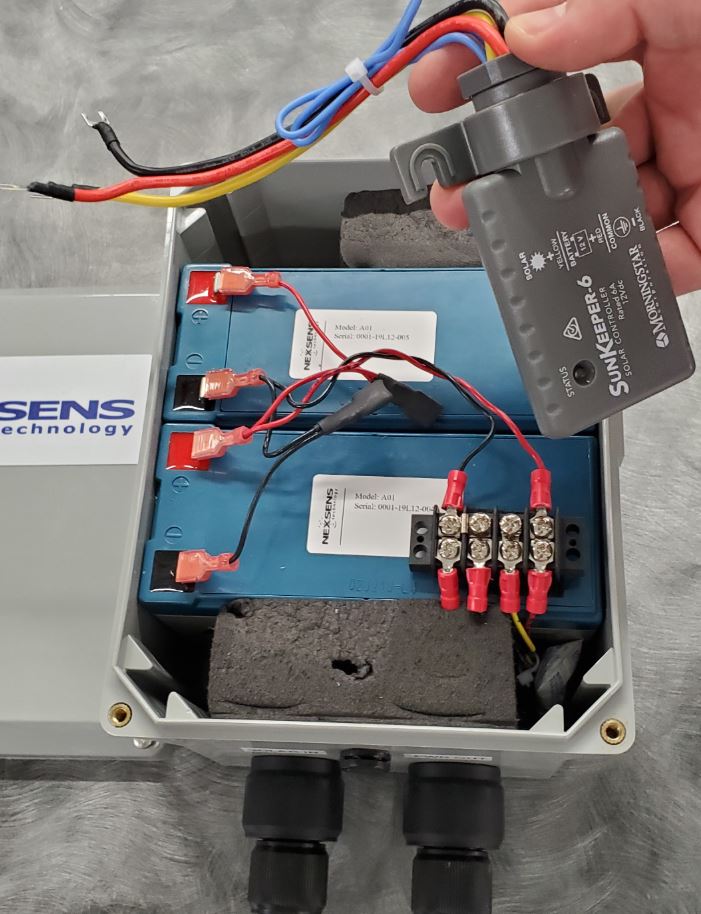
Figure 8: Solar Regualtor removed.
- Establish the original connections to the new solar regulator and tighten down the terminal screws firmly. Gently pull on the connections to confirm they do not come loose.
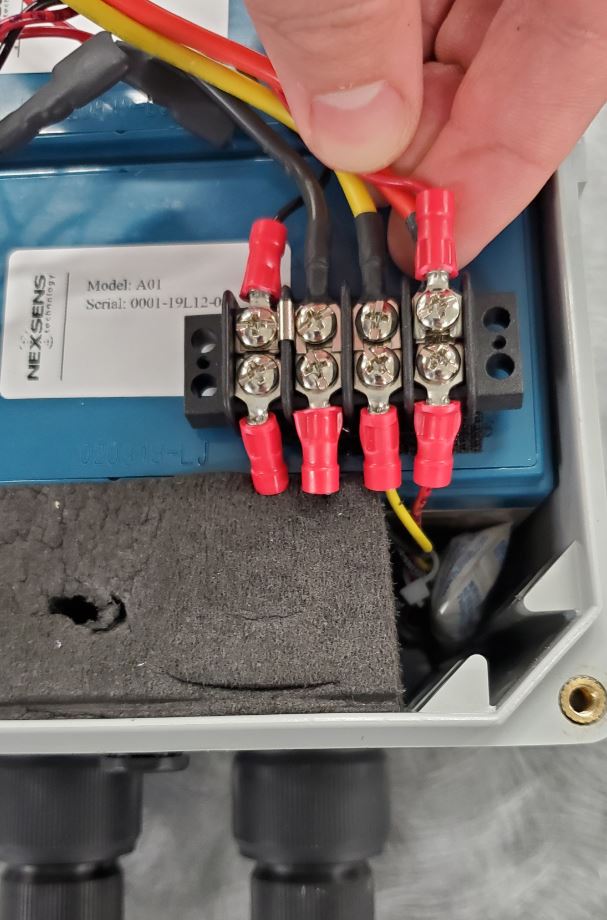

Figure 9: Wire new regulator to the terminal strip.
- Re-seat the regulator into the vacant spot next to the top piece of dense battery spacing foam and replace the cable ties removed during step 6.
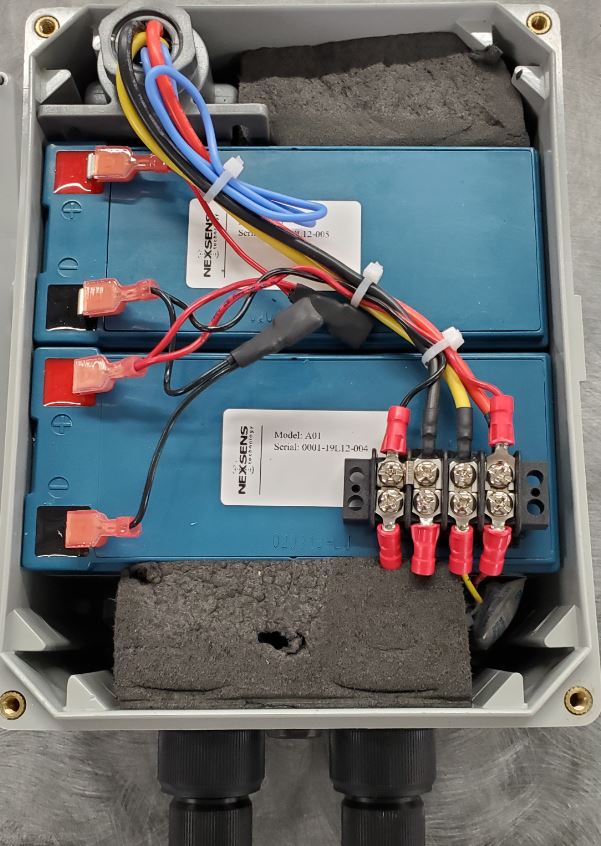
Figure 10: Seat the solar regulator back in the battery box.
- Replace the lid spacing foam pieces back on top of the battery in the approximate positions shown.
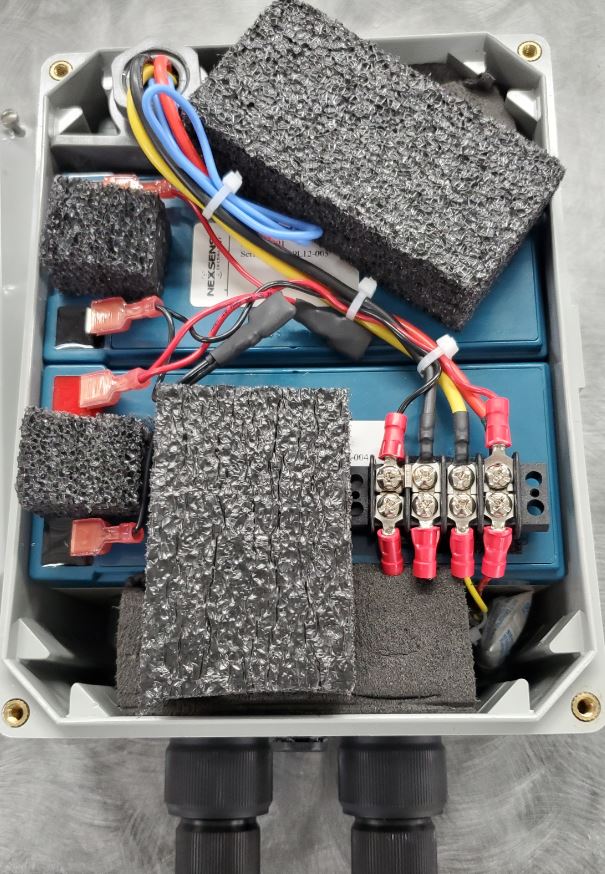
Figure 11: Replace lid spacing foam.
- It is recommended that the bag of desiccant (typically positioned in the lower left or right corners of the battery box) be replaced at this time, especially if any condensation is observed internally.
- Replace the enclosure lid and evenly tighten all four Flathead screws in a cross pattern. Take care that no wires or pieces of foam are pinched between the lid and housing.