Geolux Non-Contact Level Sensor X-Series Integration Guide
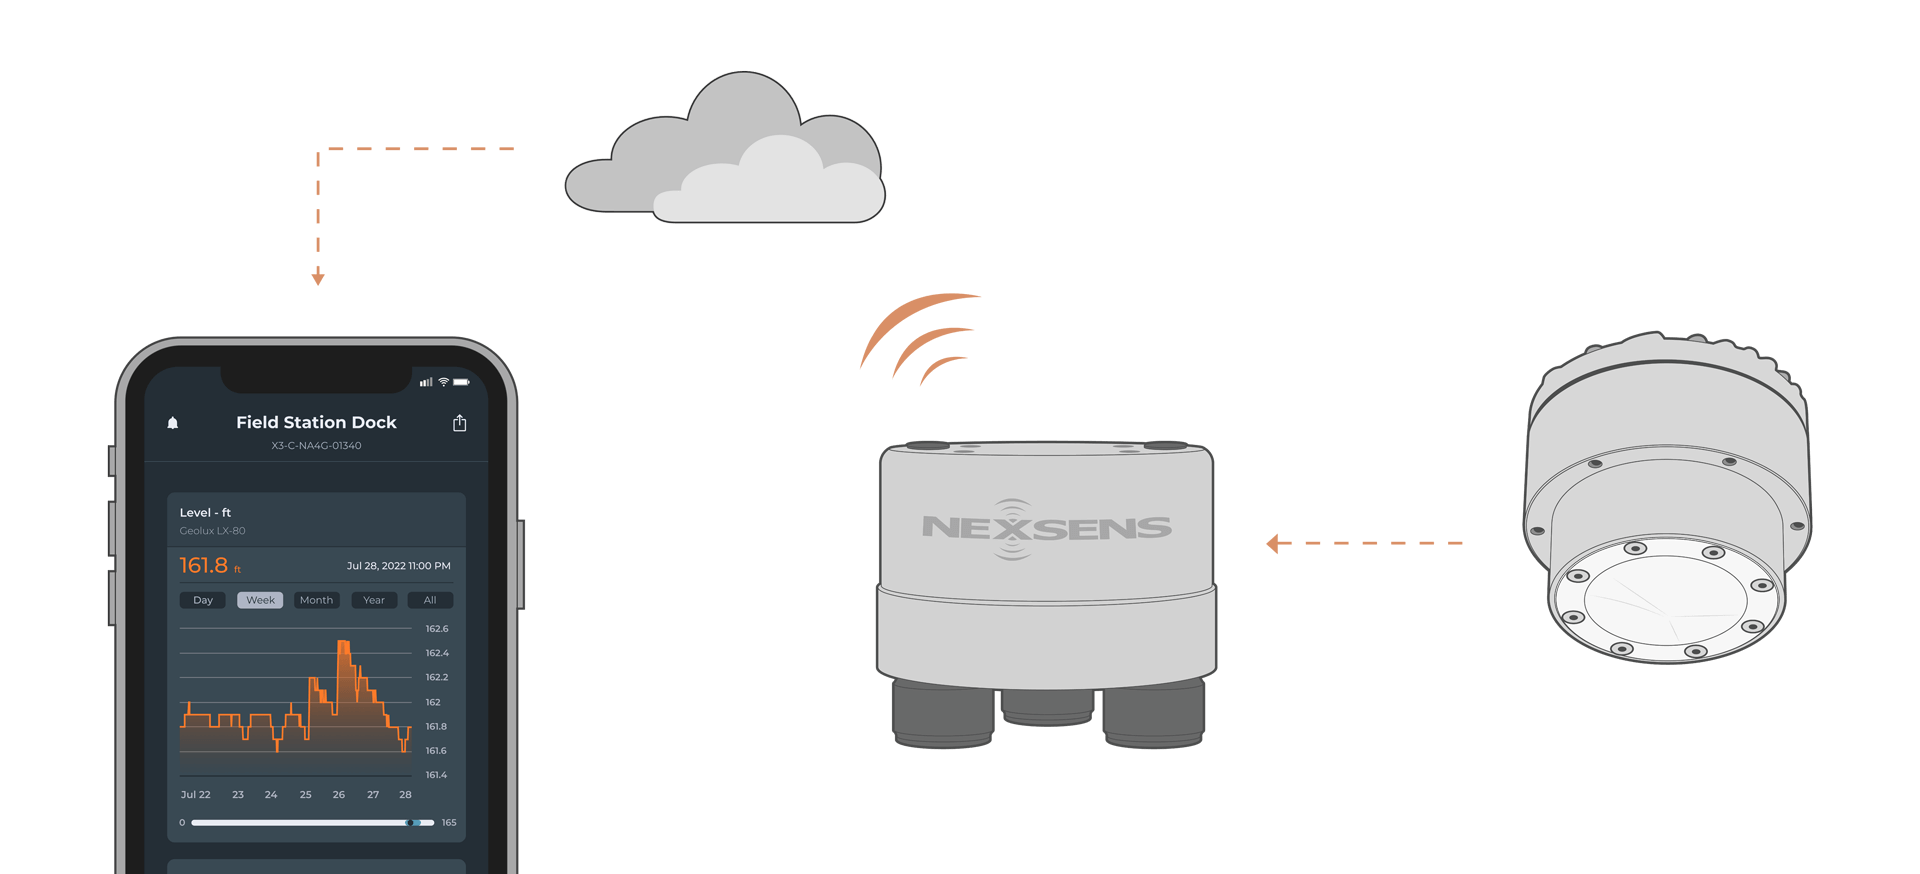
The Geolux Non-Contact Level Sensor uses advanced contactless radar technology to measure water level. The sensor is compatible with NexSens X-Series data loggers using the SDI-12 sensor interface.
Sensor Setup
Follow the manufacturer’s guidelines for sensor setup, ensuring that the sensor is in SDI-12 Automatic Sleep Mode.
Note: Be sure to document the SDI-12 address.
Connecting with X-Series Loggers
Next, the sensor will need to be set up for the X-Series logger using CONNECT software. If you have not yet done so, set up the project in WQData LIVE.
- Connect the sensor using the supplied cable to one of the open sensor ports on the logger and note the port number.
- Plug the X3 into the USB port of the computer and power it on with the AC power cable.
- Open CONNECT and select the SENSOR tab.
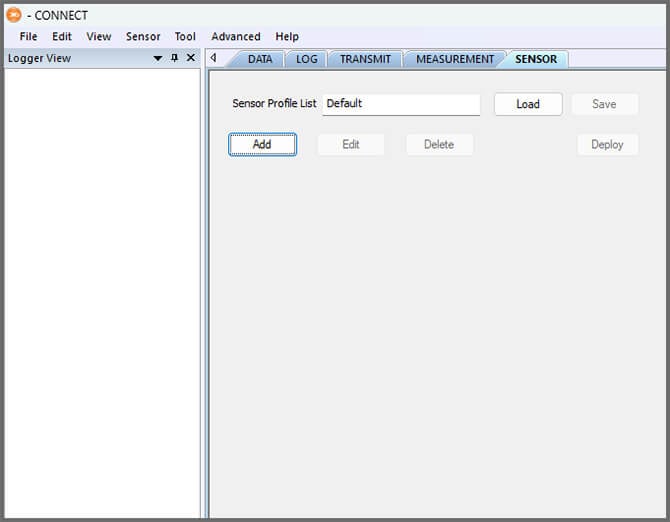
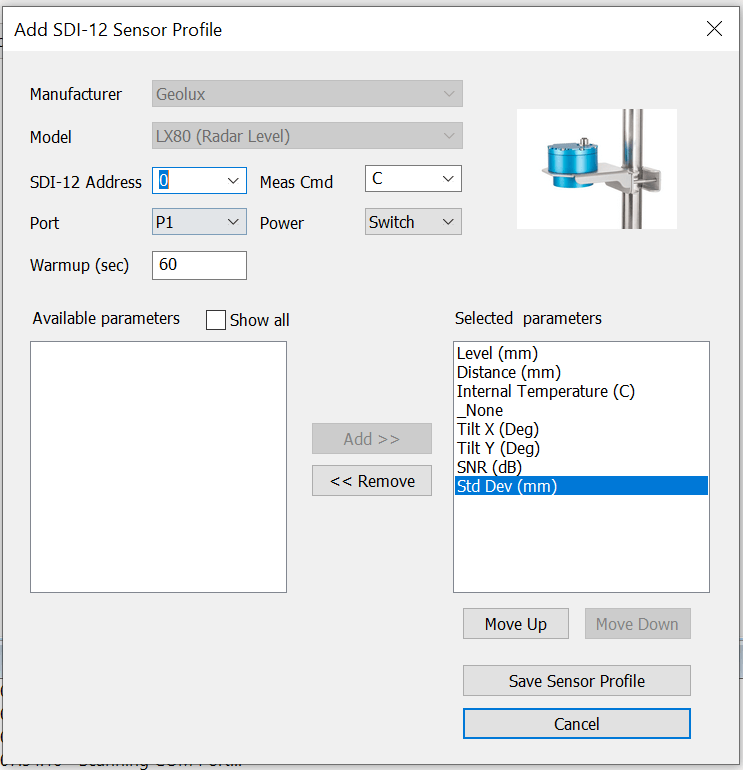
- Click Add and select Geolux from the Manufacturer drop-down. Then select the appropriate model.
- Adjust the SDI-12 address if needed and select the port number.
- Select either Continuous or Switch in the Power drop-down.
- Switch power is recommended for the sensor.
- Switch power is recommended for the sensor.
- Select Save Sensor Profile.
- Complete the setup for all other sensors, and then click Save.
- Name the Sensor Profile List and select Ok.

- Complete system setup by clicking Deploy.
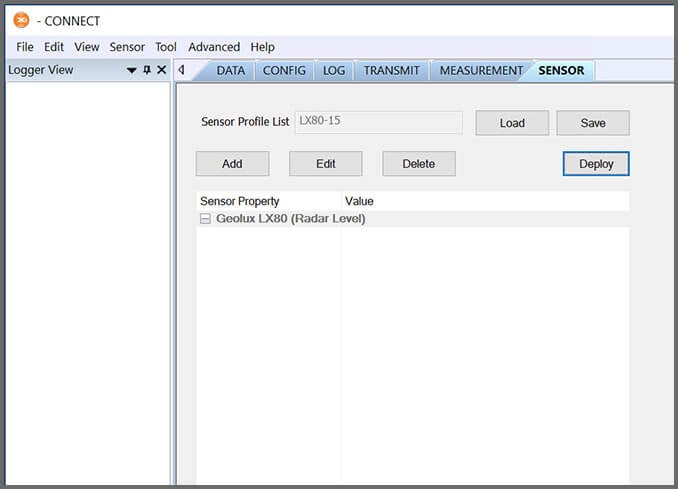
- Confirm that data is being transferred to WQData LIVE at the next interval (default is 10 minutes)
Mounting
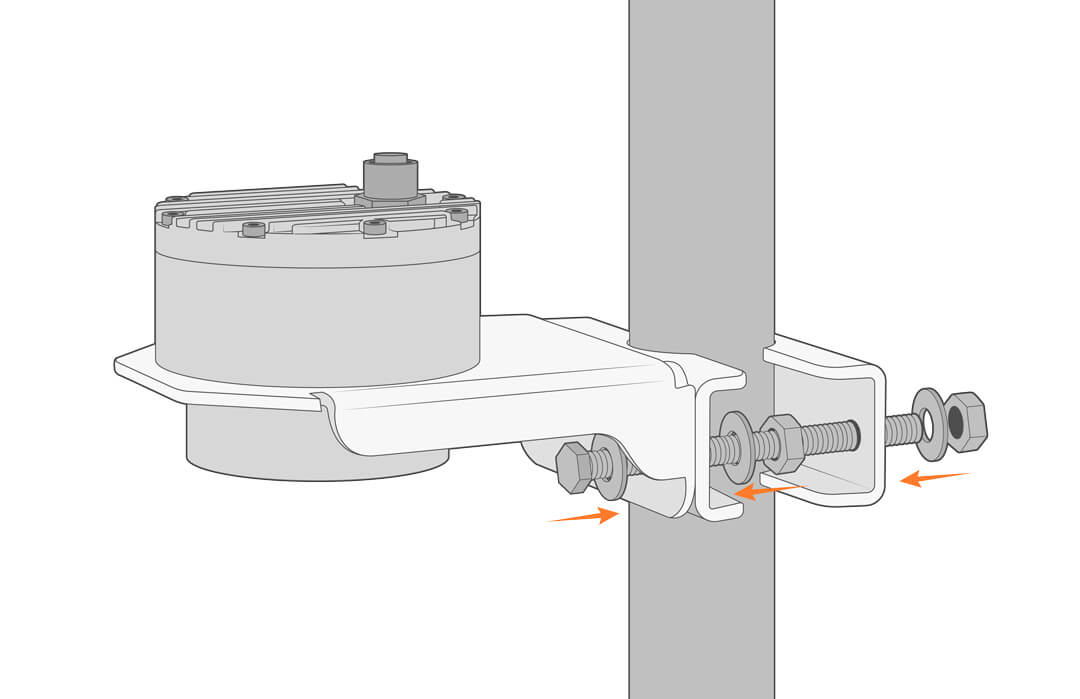
The sensor can be mounted on existing structures or the NexSens MAST Aluminum Mounting Pole. If paired with the NexSens MAST, follow the instructions below for mounting.
- Place the Geolux sensor on the mount with the sensor facing down and tighten it in place.
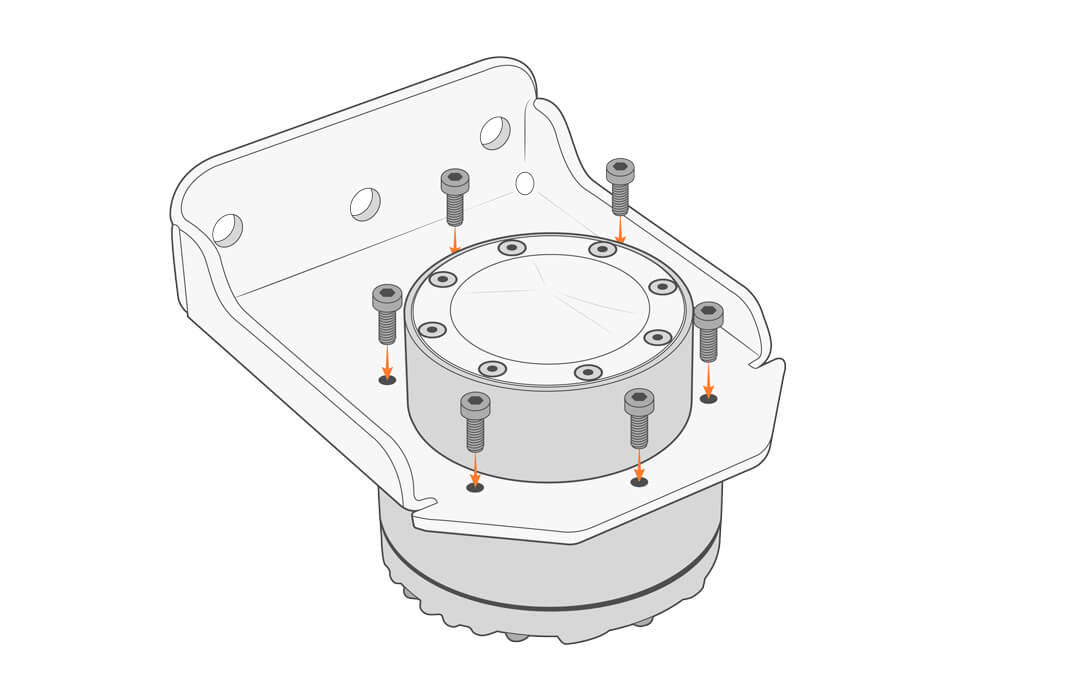
- Attach the mounting bracket to the pole using the included hardware.