
Tipping Bucket Rain Gauge X-Series Integration Guide
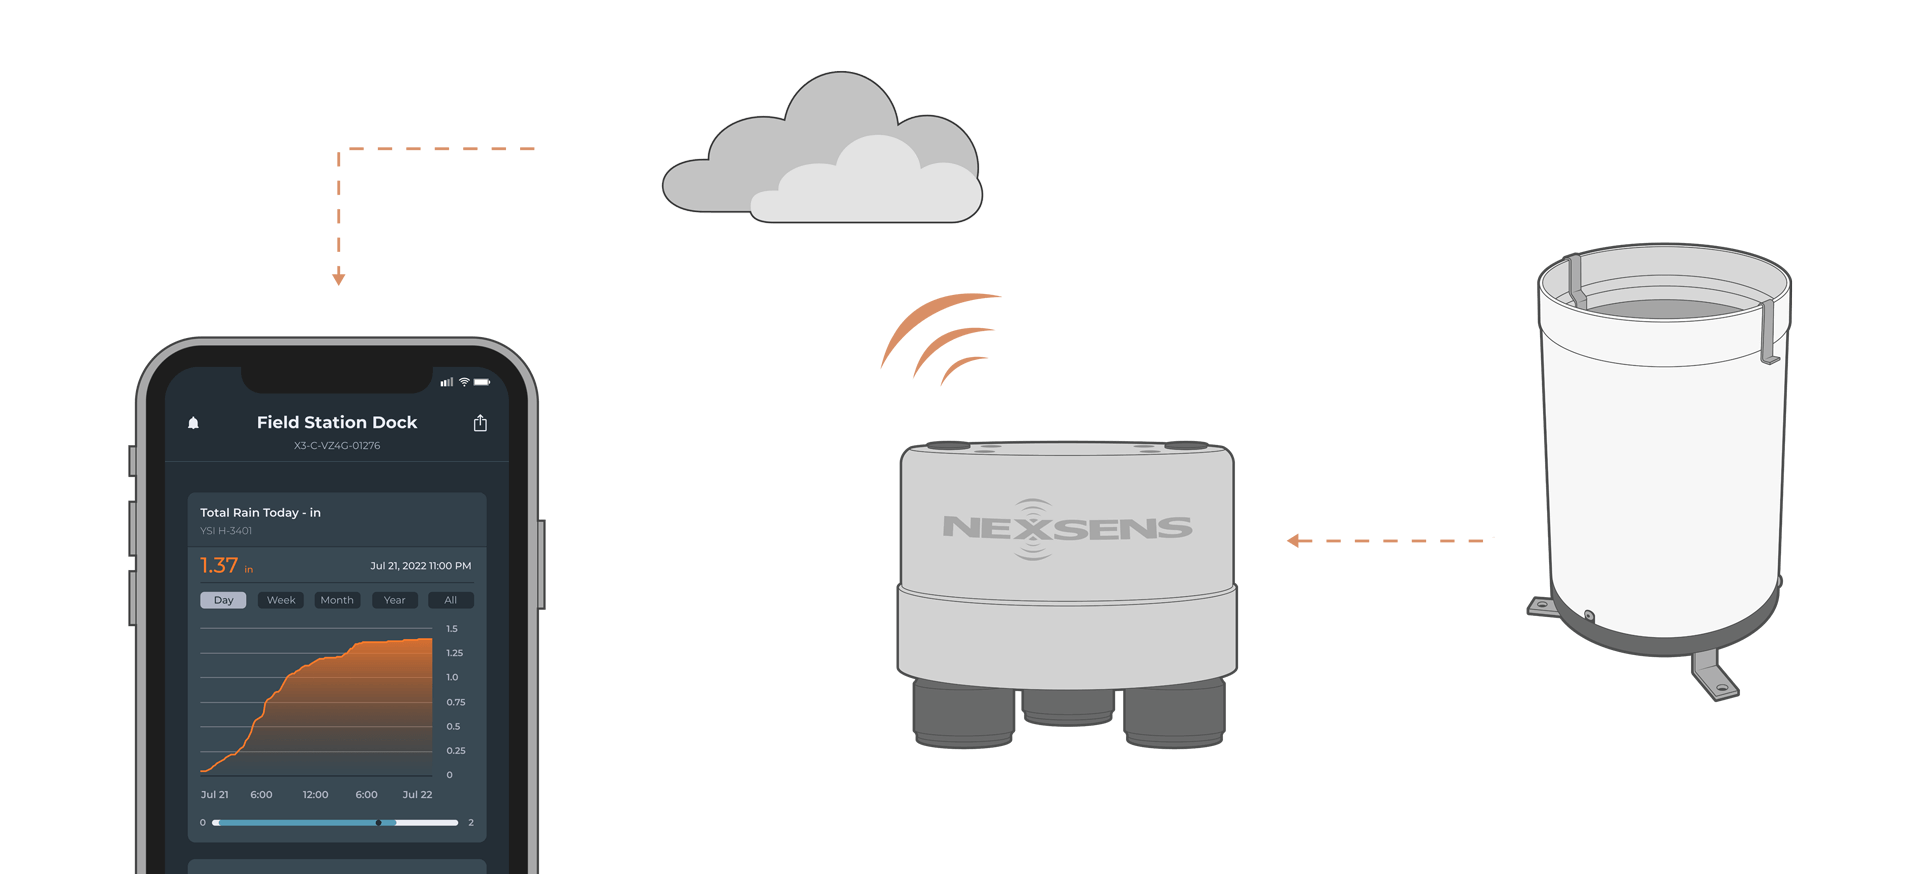
The X3 Environmental Data Logger features an input for recording tips from tipping bucket rain gauges. The logger can be configured to measure various rain parameters, including interval rain (mm or in), daily rainfall (mm or in), rain intensity (mm/hr or in/hr), and cumulative tips.
Sensor Setup
Before the sensor can be deployed, it must first be set up following the manufacturer’s guidelines.
Use a NexSens UW-8 plug with two flying leads to connect the sensor to the logger. Plug both wires into the terminal within the rain gauge. Orientation of the two cables does not matter.

Connecting with X-Series Loggers
Next, the sensor will need to be set up for the X-Series logger using CONNECT software. If you have not yet done so, set up the project in WQData LIVE.
- Connect the sensor using the supplied cable to one of the open sensor ports on the logger and note the port number.
- Plug the X3 into the USB port of the computer and power it on with the AC power cable.
- Open CONNECT and select the SENSOR tab.
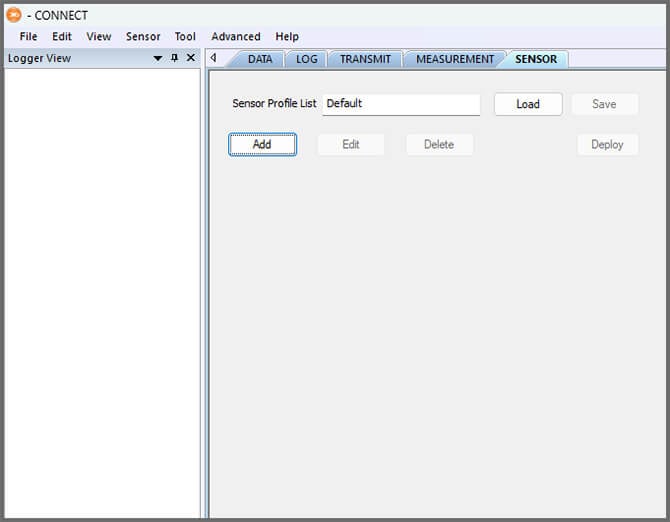
- Click Add and select Generic from the Manufacturer drop-down. Then select “Tipping Bucket Rain Gauge”.
- Enter the Rain per tip amount and select the Unit.
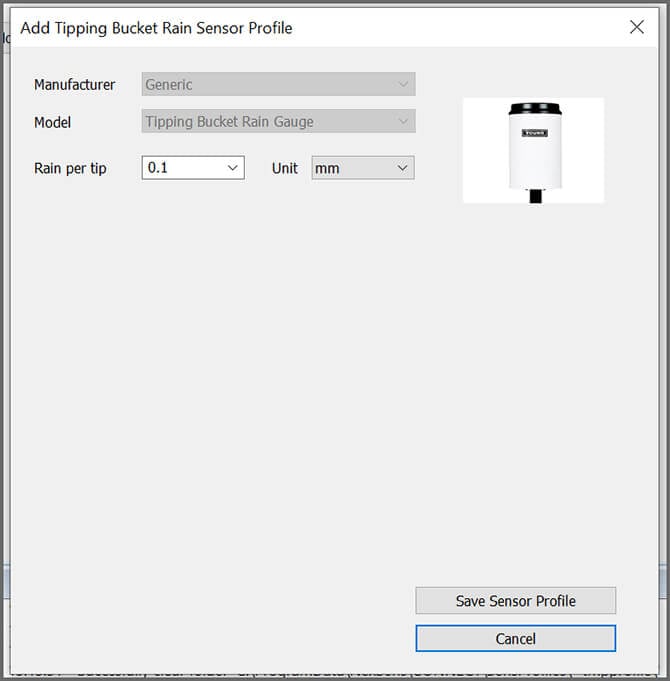
- Select Save Sensor Profile.
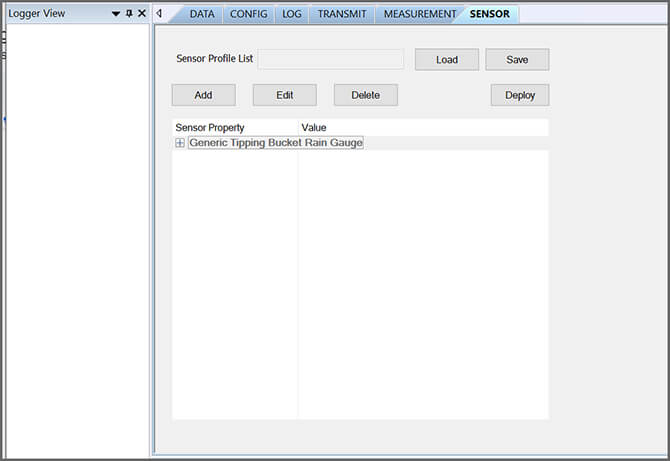
- Complete the setup for all other sensors, and then click Save.
- Name the Sensor Profile List and select Ok.

- Complete system setup by clicking Deploy.
- Confirm that data is being transferred to WQData LIVE at the next interval (default is 10 minutes).
Tipping Bucket Diagnostics
Follow the steps below to view the live tip counter, reset the counter, and set the local timezone for daily rain calculations.
- In CONNECT, go to Tool | Diagnostic
- Select the tipping bucket icon and click Refresh to see the current data.
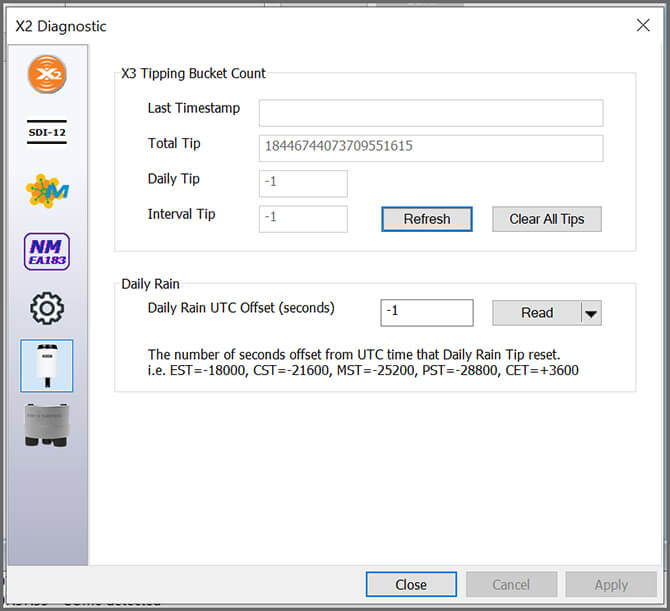
- The last timestamp will show the time from the latest tip.
- Total Tip = The cumulative number of tips since the last reset to the tip counter.
- Daily Tip = The number of tips that have occurred since midnight of the local time zone.
- Interval Tip = The number of tips that have occurred within the latest logging interval (e.g., every 60 minutes).
- If you wish to reset the counter, click Clear All Tips.
- Click Read in the Daily Rain box to view the UTC Offset (seconds).
- Adjust the Daily Rain UTC Offset as needed for the local timezone.
- Note: if the timezone is not set, the daily tip counter will reset if the X3 loses power.
- In the dropdown, select Set.
- Click Apply to save all changes.
Note: If the data logger loses power before it can save the latest tips, it will reset the counter back to the last saved reading.