
NexSens CB-Series Data Buoy Pass-Through Lid Installation Guide
The NexSens Data Buoy Pass Through Lid (CB-PTL) facilitates wire penetration into CB-Series Buoy battery wells for custom electronics integration.
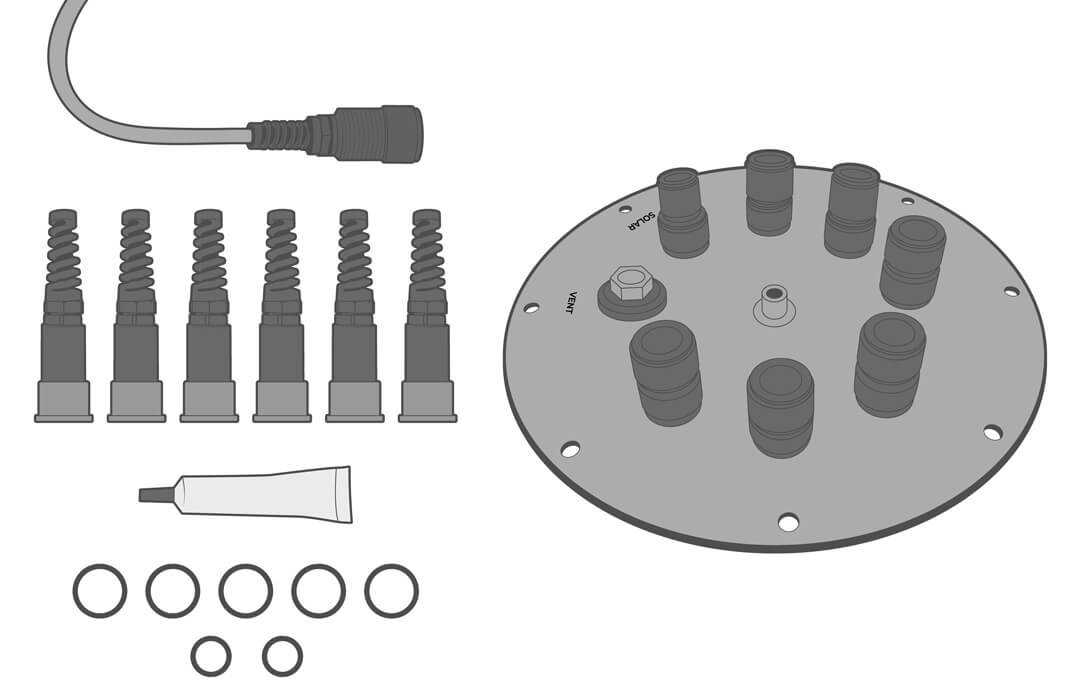
Installation
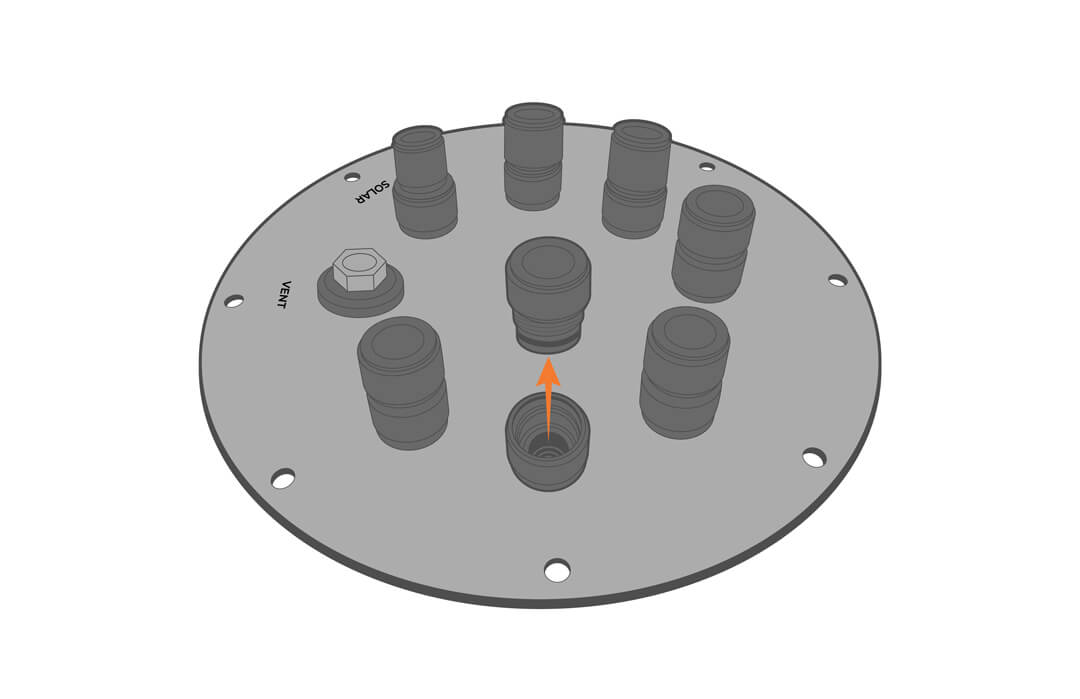
- Unscrew the port plug and remove the blank retainer.
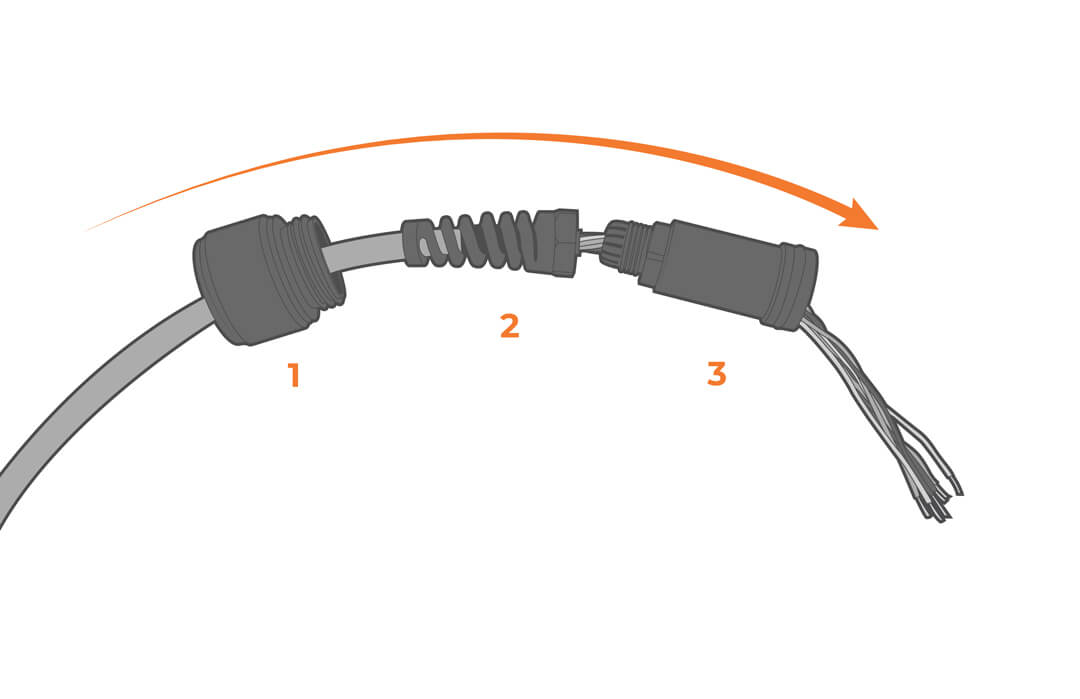
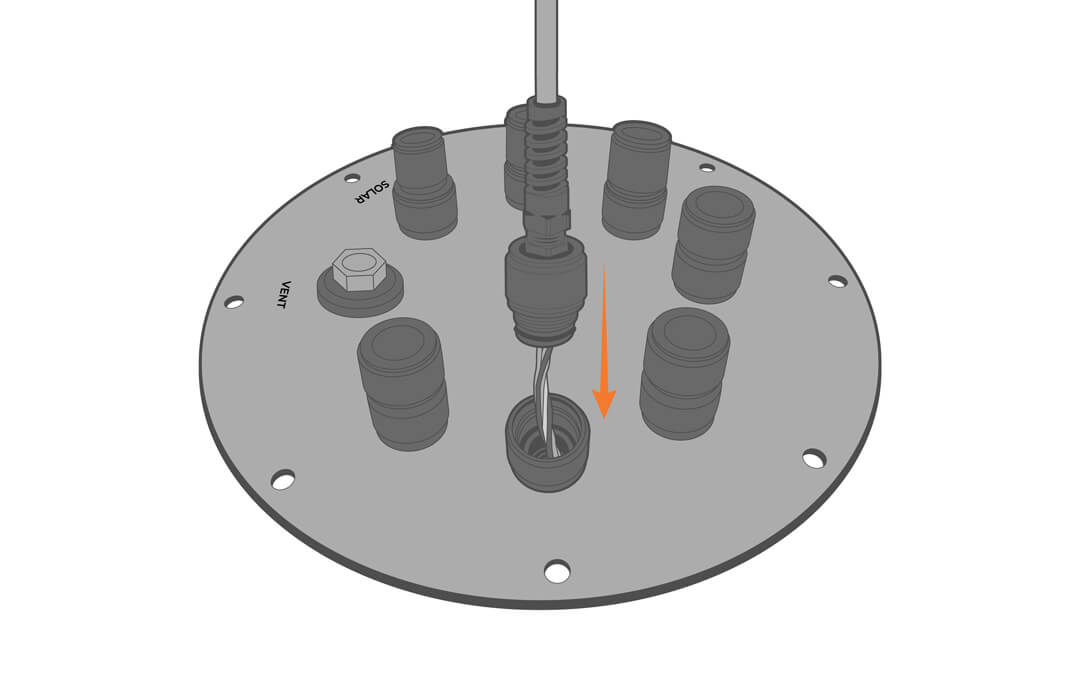
- Loosen or remove the flex fitting from the pass-through retainer and slide the cable through the components as shown. Allow enough wire length to accommodate electronic hookups inside the well.
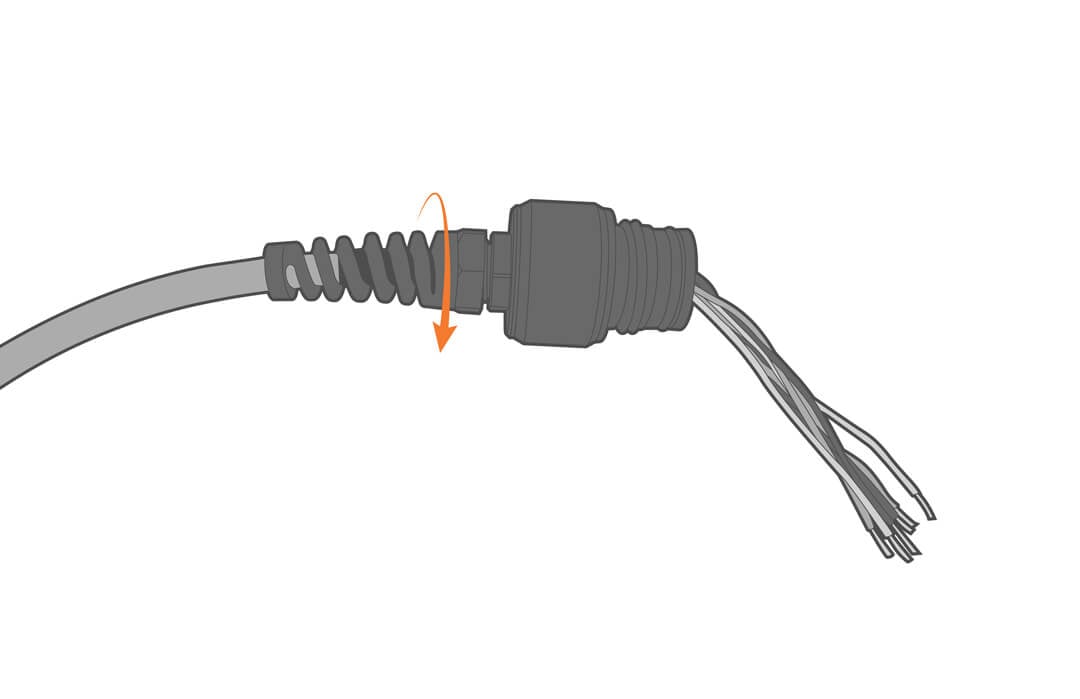
- Tighten the flexible fitting to secure the assembly.
- NOTE: The cable jacket will relax with time and may lead to water leakage in the battery well. For the best long-term and leakproof results, backfill the wire side with a 2-part epoxy.
- NOTE: The cable jacket will relax with time and may lead to water leakage in the battery well. For the best long-term and leakproof results, backfill the wire side with a 2-part epoxy.
- Tighten the bulkhead onto the open port, taking care not to pinch any wires and ensuring the o-ring is in place.
- Repeat this process as needed.
Wiring and Pinout
For the solar connector, see wiring below.
| Receptacle Pin | Wire Color | Description |
| 1 | N/C | N/C |
| 2 | N/C | N/C |
| 3 | Red (only on molex connector) | Battery Positive |
| 4 | Black (both black wires) | Battery Negative (Ground) |
| 5 | Yellow | Solar in |
| 6 | Orange | Power to the device |
- For connection with a NexSens solar tower:
- The solar tower plug is connected to both black wires (ground) and the single yellow wire (power).
- The orange wire and the red flying lead wire are shorted together.