
SP15 Solar Power Pack Repair Manual
If a NexSens SP15 solar power pack becomes damaged or is no longer performing as intended, repair or replacement may be necessary. Many repairs are preventable with proper maintenance and regular upkeep. However, equipment can still be damaged by environmental conditions, deployment issues, or normal wear and tear, in which case repair or replacement will be required.
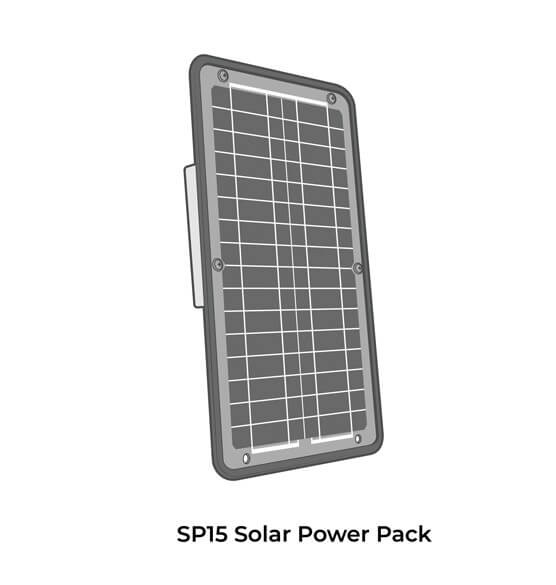
Replacement Parts
- A04 Battery
- Solar Regulator for SP15 (SA3018)
Tools and Supplies
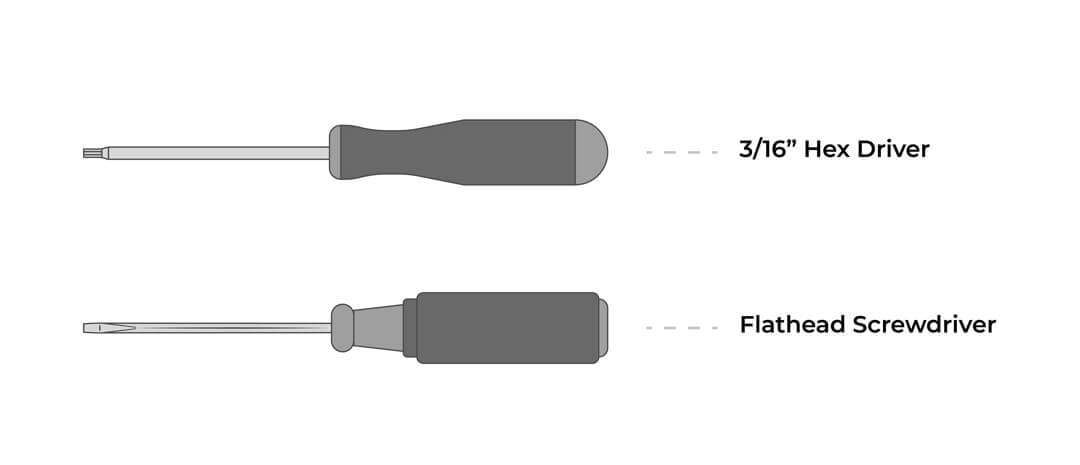
Checking Voltage on an SP15 Solar Power Pack
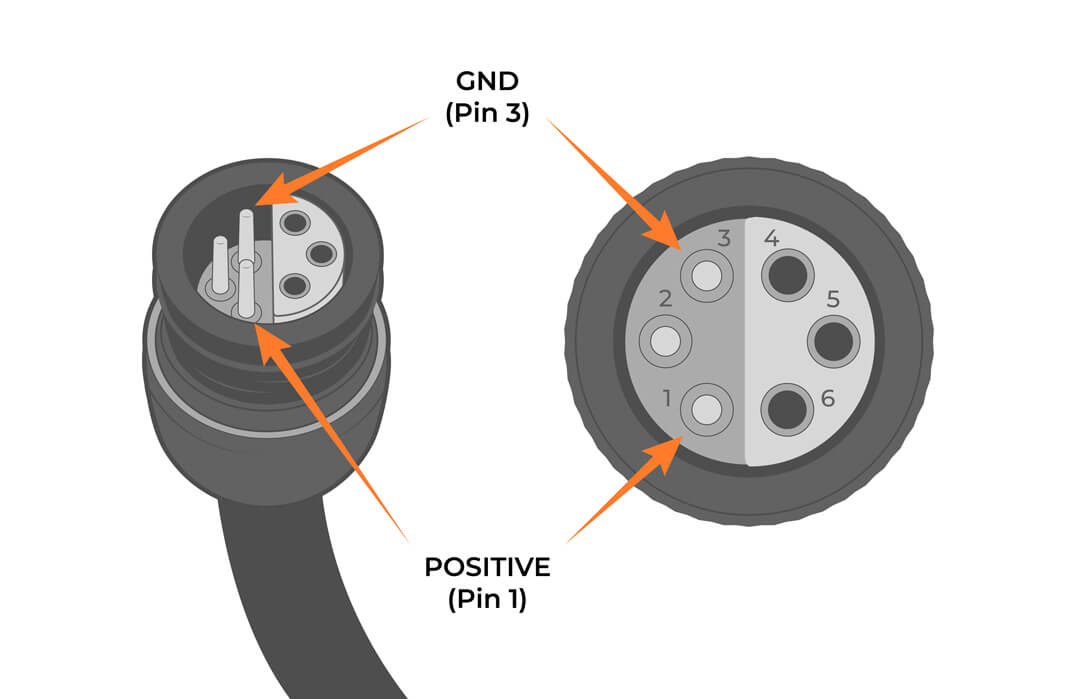
In the event of insufficient or unstable battery voltage from an SP-series solar power pack, check the output voltage by measuring directly on the UW-6 plug. Test the pack both in and out of direct sunlight to fully assess the functionality of the solar panel.
Measure the voltage between Pins 1 and 3 of the pack’s UW-6 plug connector. Healthy operational pack voltages range from 12-15V. The voltage depends on the amount of direct sunlight and the age/health of the installed battery.
SP15 Battery Replacement
The SLA battery in the SP-series solar power packs requires replacement in the event of failure, moisture intrusion, or every 3-5 years at a minimum. Use a NexSens A04 or equivalent size 12V SLA battery.
Remove the Old Battery
- Remove the solar power pack from its mount and place it face down on a flat surface.
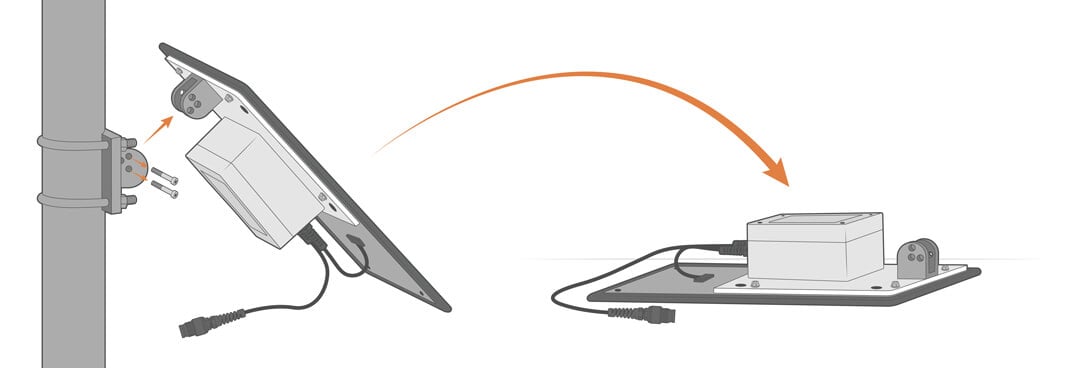
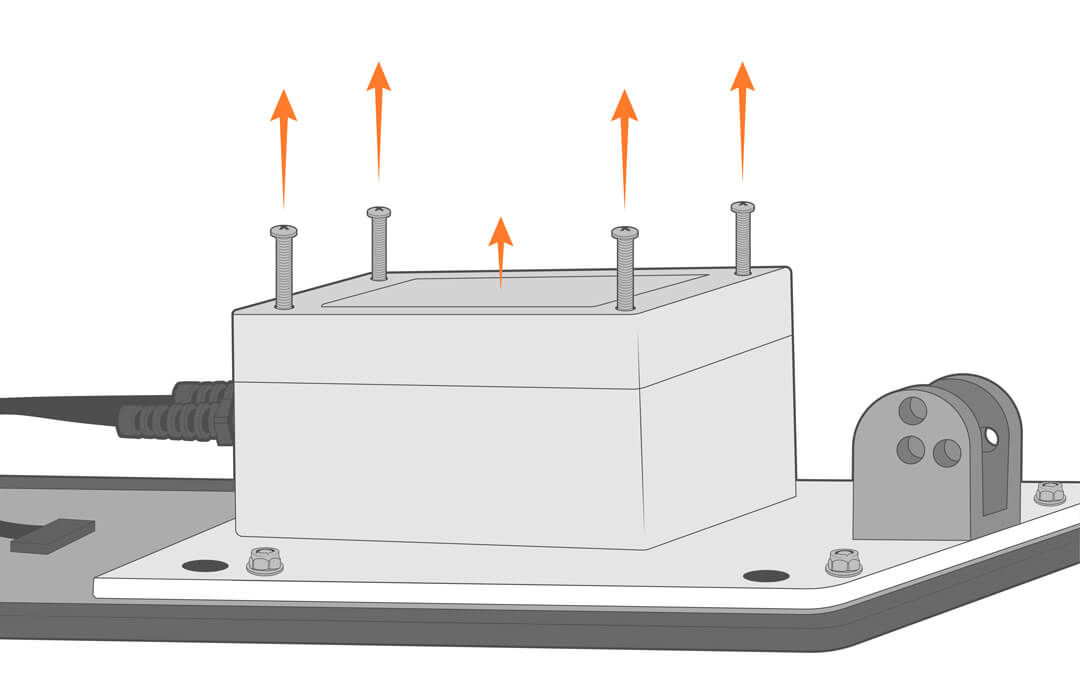
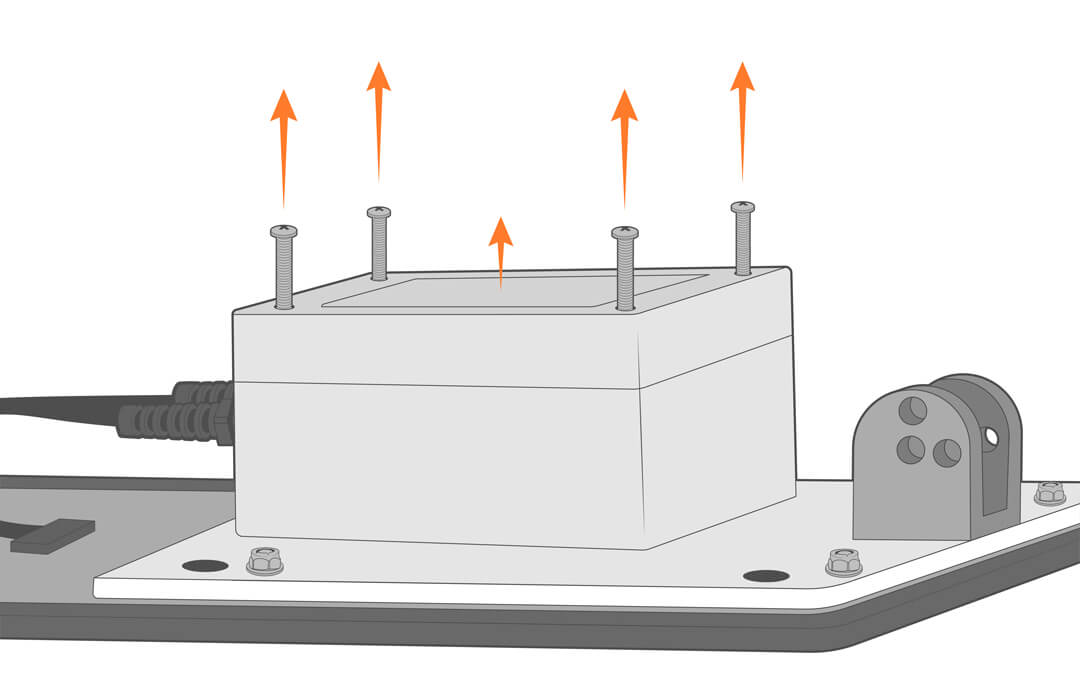
- Loosen the four screws securing the battery housing to the panel mount.
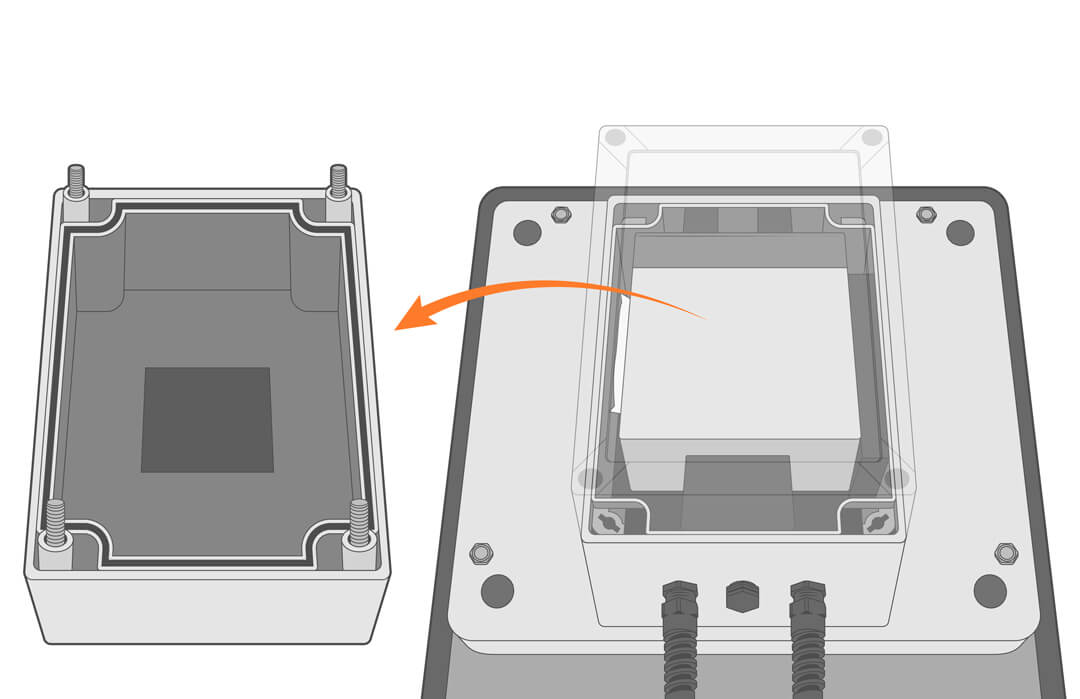
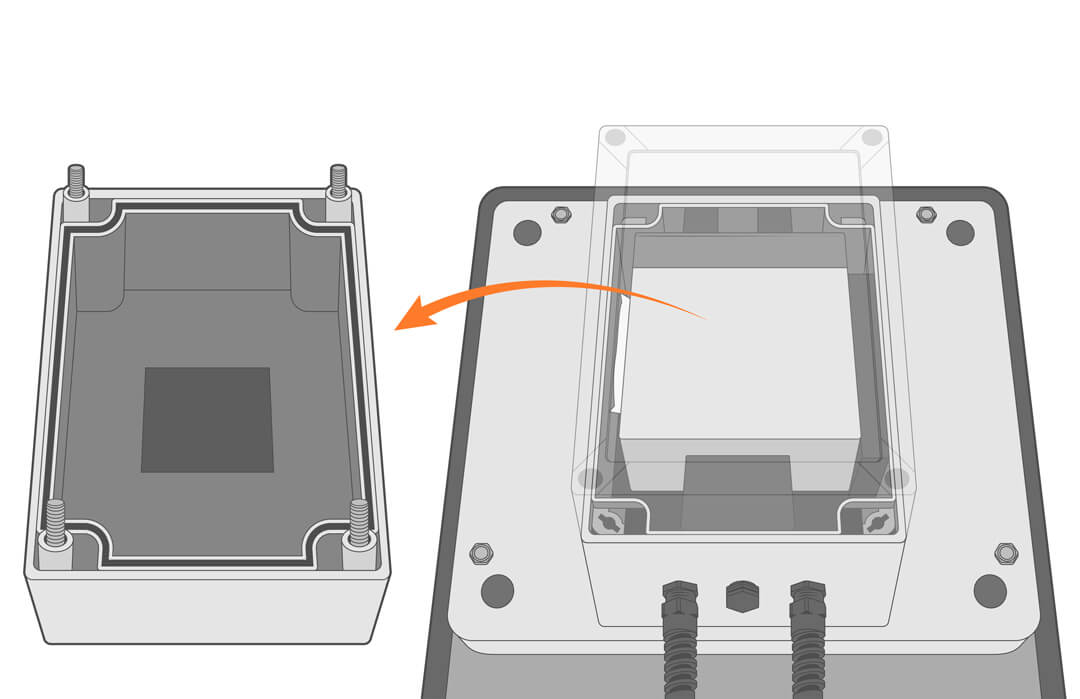
- Carefully lift up on the enclosure and set the housing to the side.
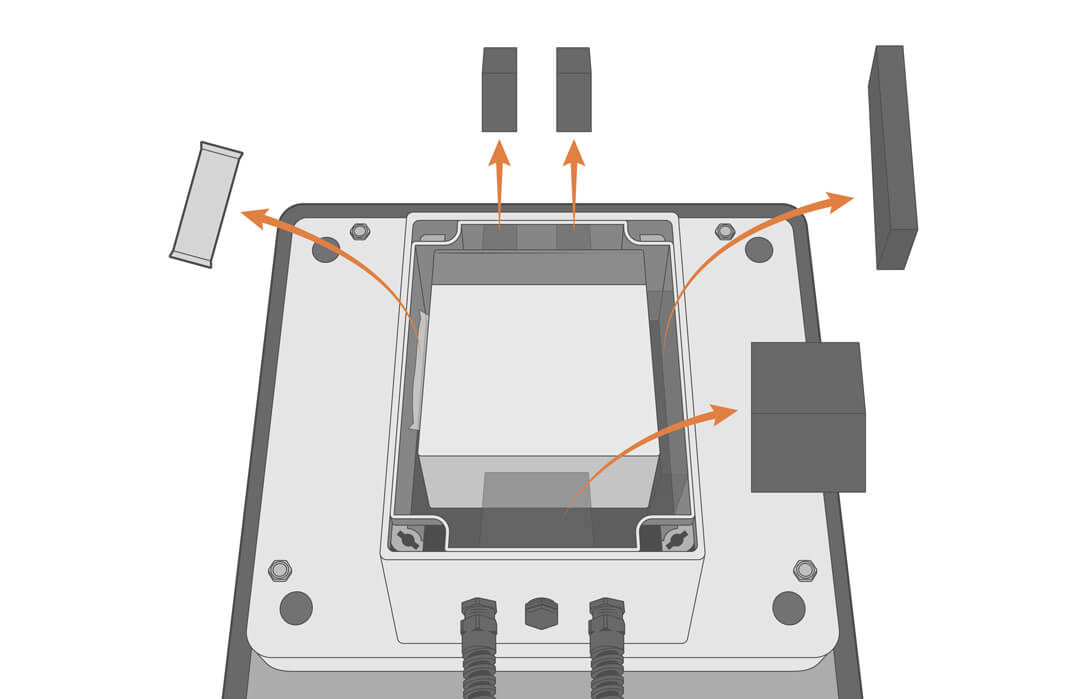
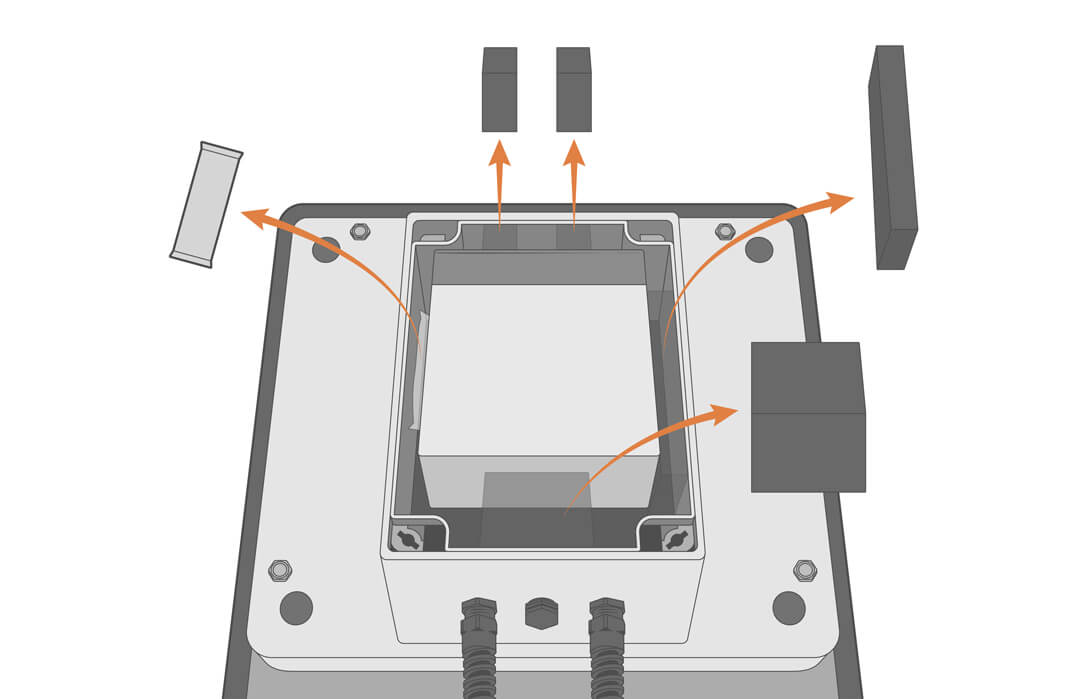
- Remove the foam spacer pieces and desiccant.
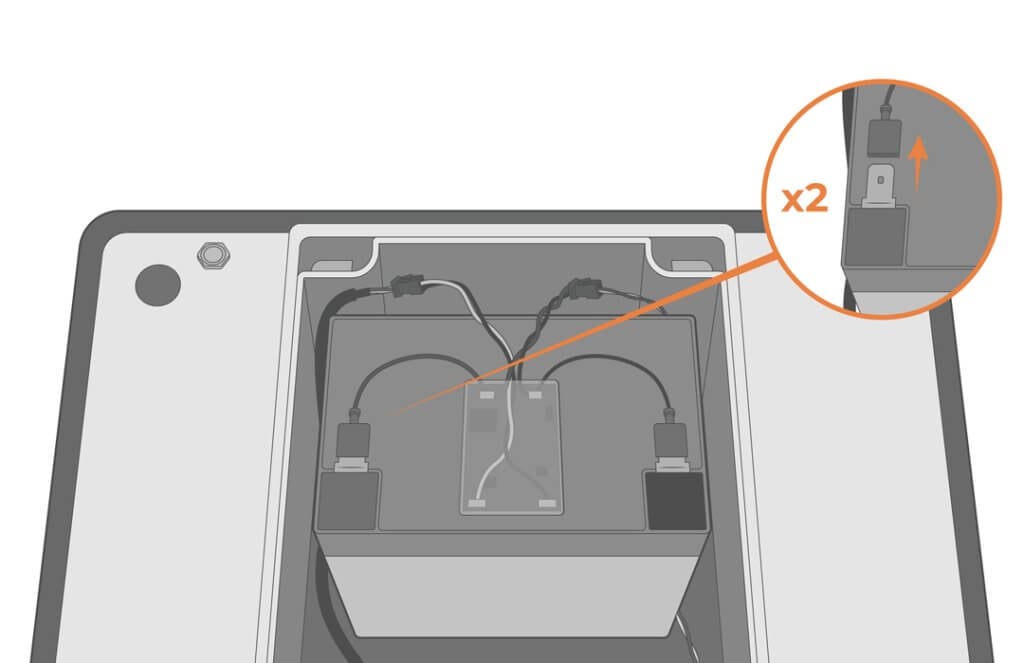
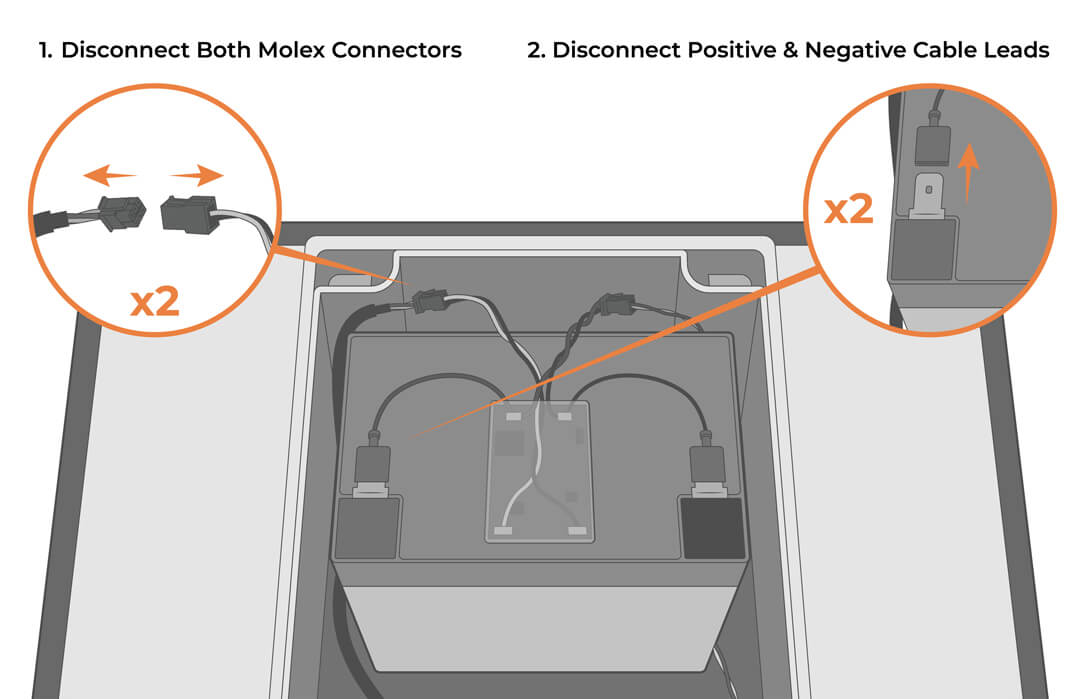
- Disconnect the negative and positive cable leads.
- Remove the old battery.
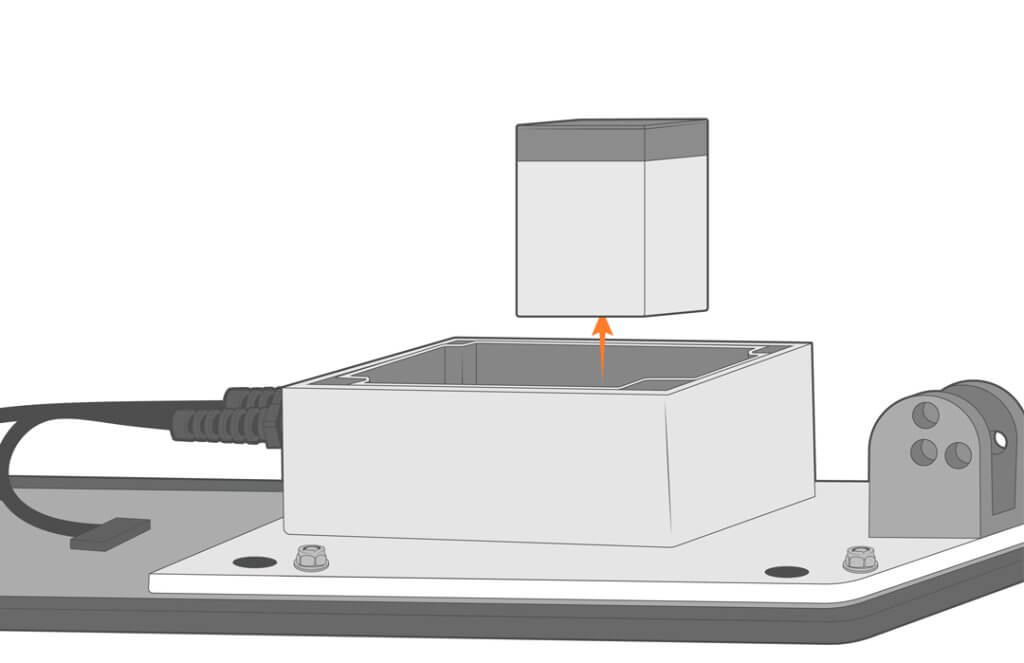

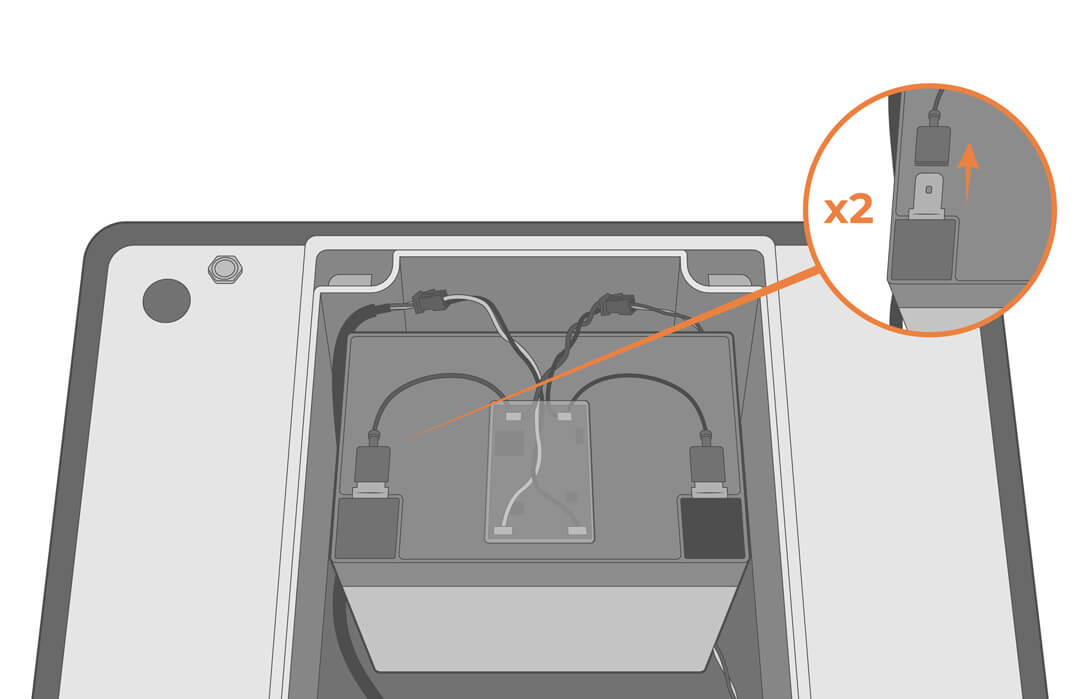
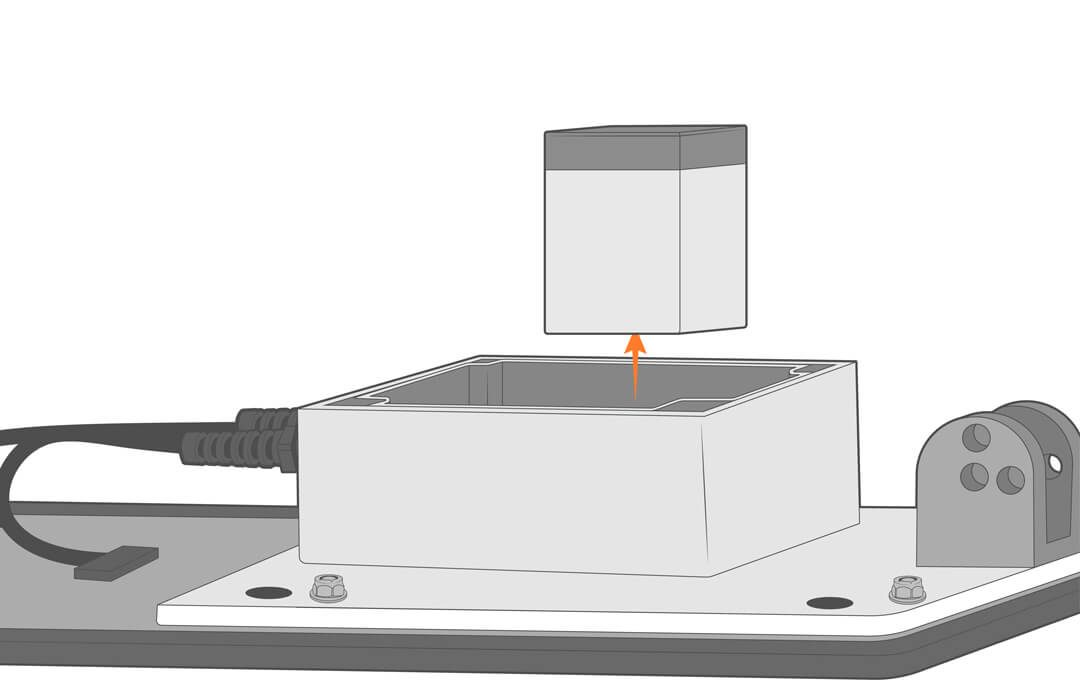
Install a New Battery
- Connect the leads to the new battery and carefully place it back inside the housing. Ensure none of the cabling is pinched.
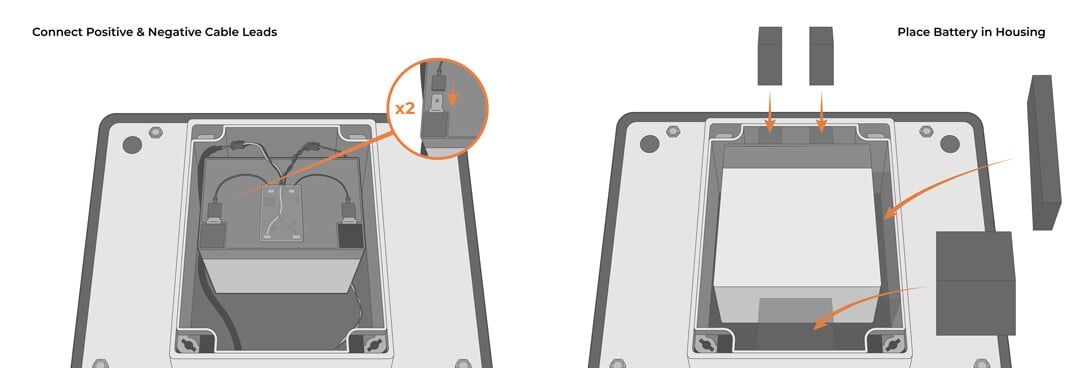

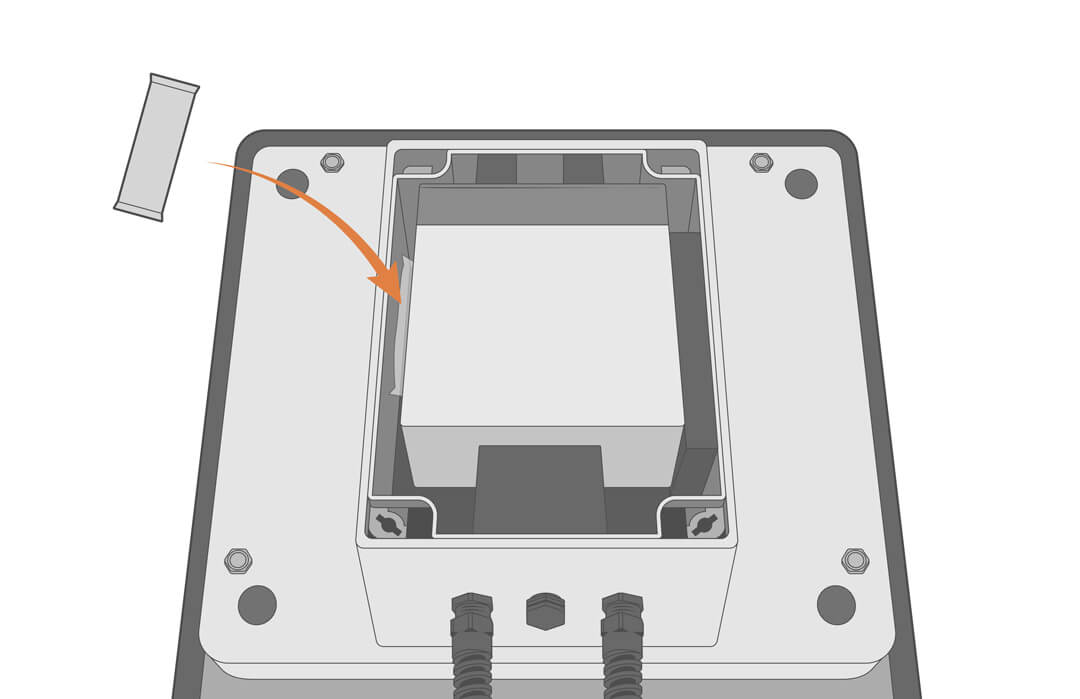
- Replace the small bag of desiccant in the enclosure.
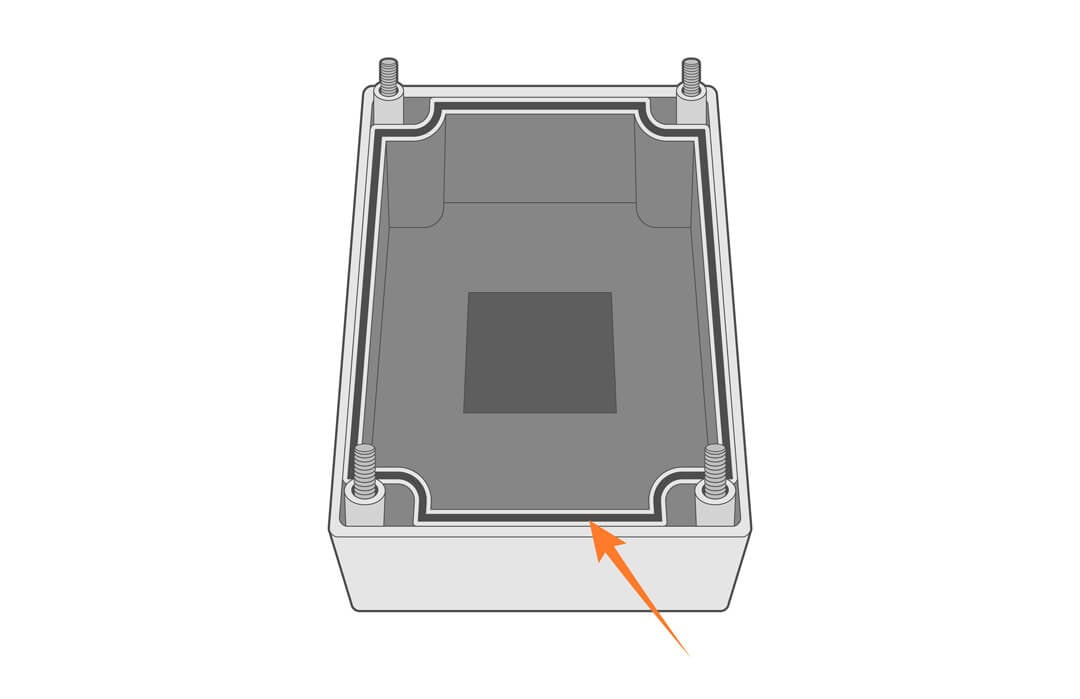
- Verify the panel bracket’s O-ring is free from debris and damage. Be sure to seat it properly in the groove.
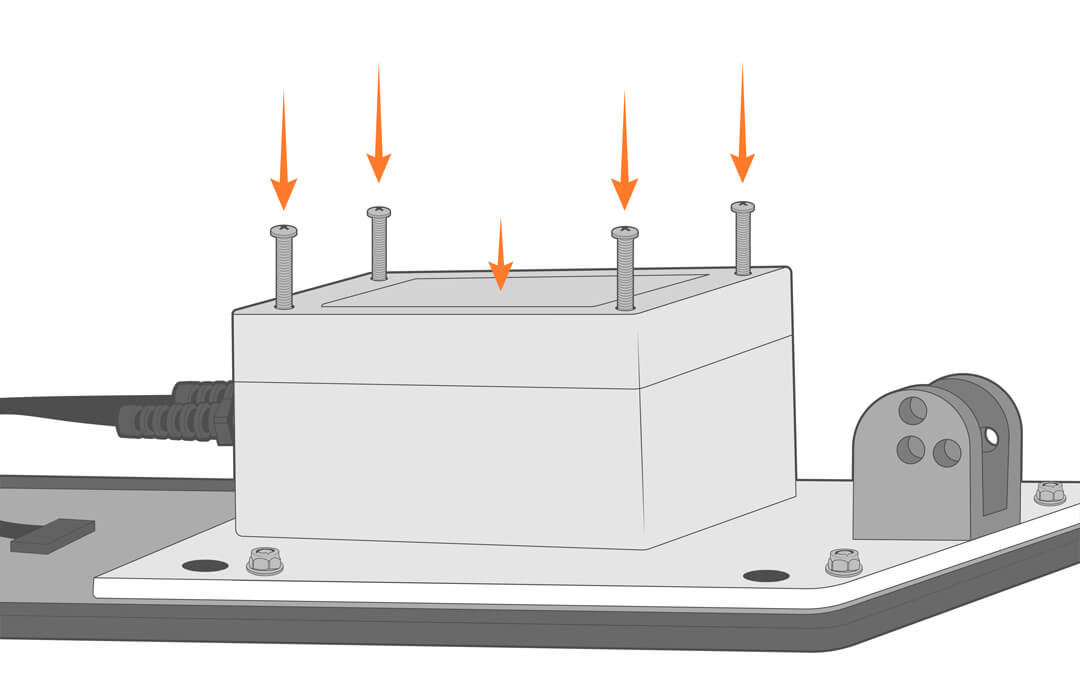
- Realign the battery enclosure with the solar panel mount and tighten down the four screws evenly.
- Check the pack voltage again to verify proper connection of the new battery.
- Place the pack outdoors, exposed to sunlight for a couple of hours. Compare the starting and ending voltages afterward to confirm the system is charging properly.
SP15 Solar Regulator Replacement
Solar regulator replacements do not follow a regular maintenance schedule. Regulator failures are rare and normally only necessary when a system demonstrates improper charging behavior, such as:
- Weak or no charging response on an unloaded battery with a clean panel in direct sunlight.
- Excessively high charging voltages on the battery (significantly greater than 15V).
Remove the Old Solar Regulator
Should a regulator require replacement, contact NexSens to source an SA3018 solar regulator.
- Remove the solar power pack from its mount and place it face down on a flat surface.
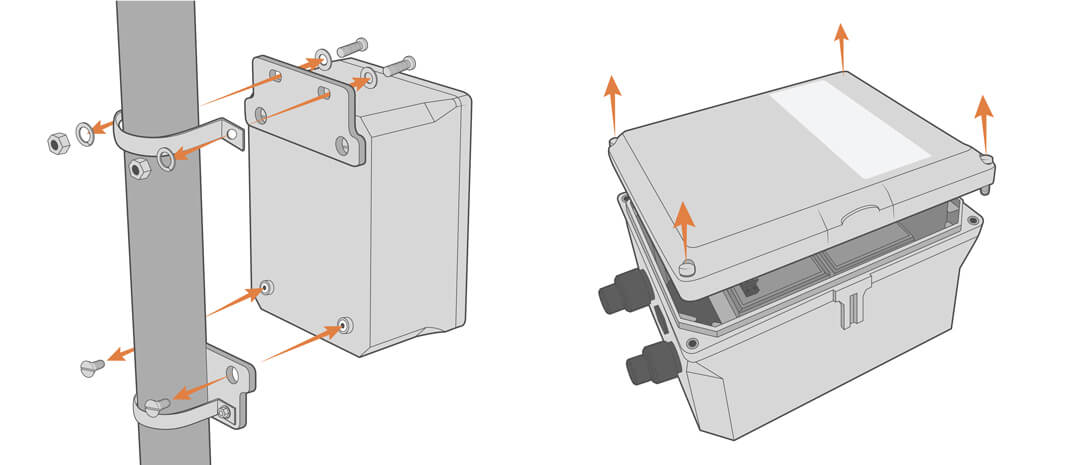

- Loosen the four screws securing the battery housing to the panel mount.
- Carefully lift up on the enclosure and set the housing to the side.
- Remove the foam spacer pieces and desiccant.
- Disconnect both molex connectors and the negative and positive cable leads.
- Remove the solar regulator.
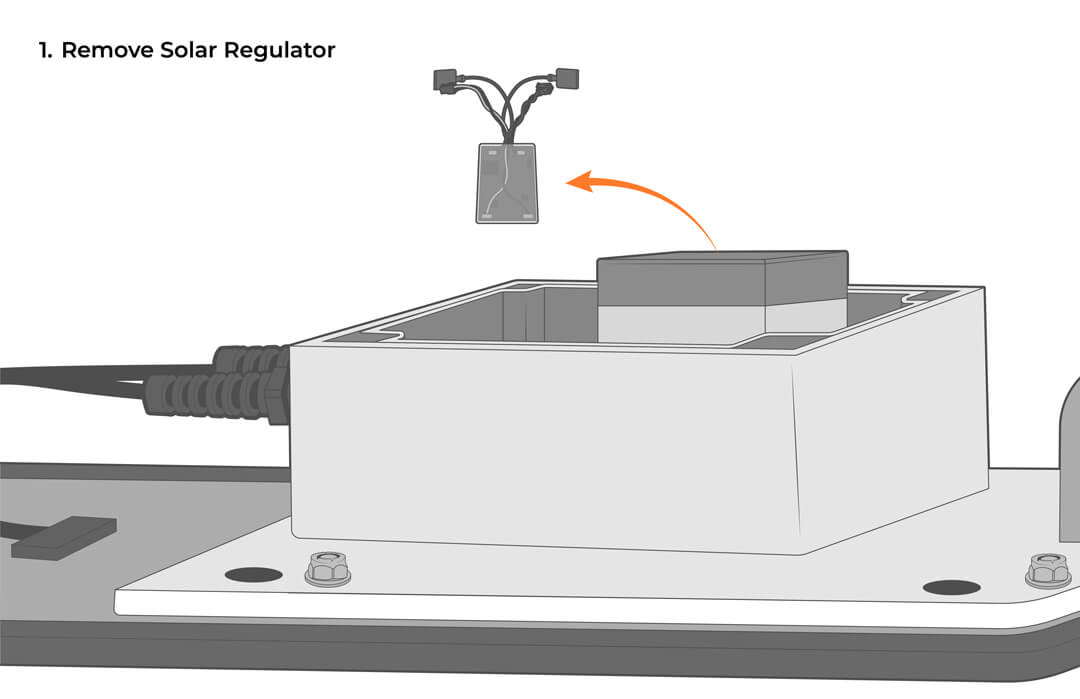
Install the New Solar Regulator
- Connect the new regulator.
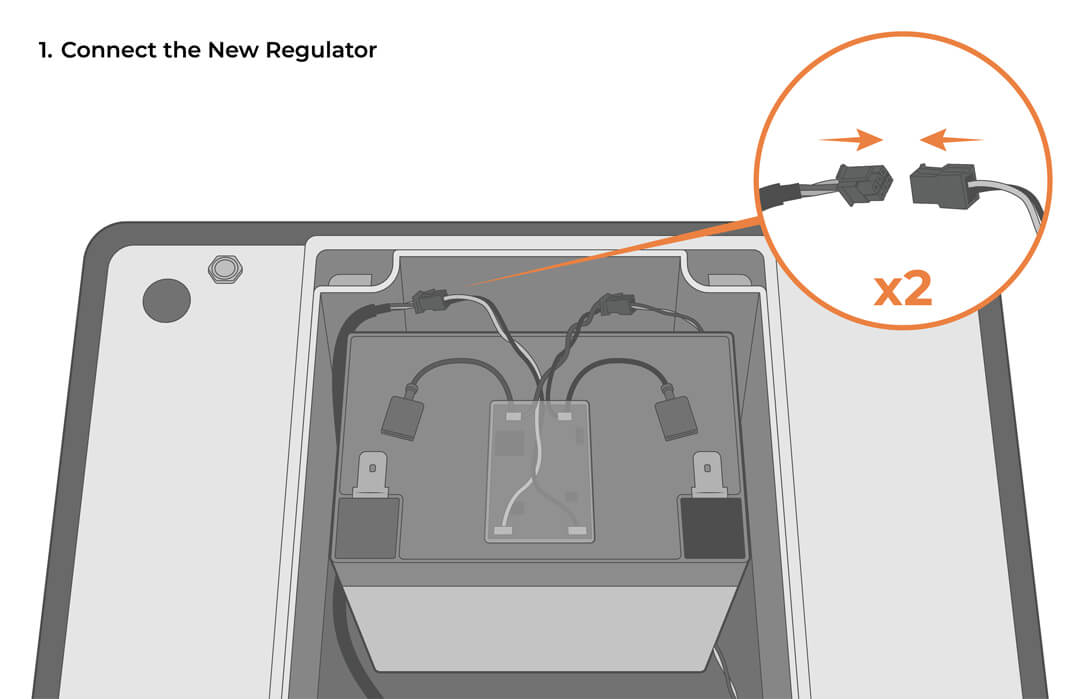
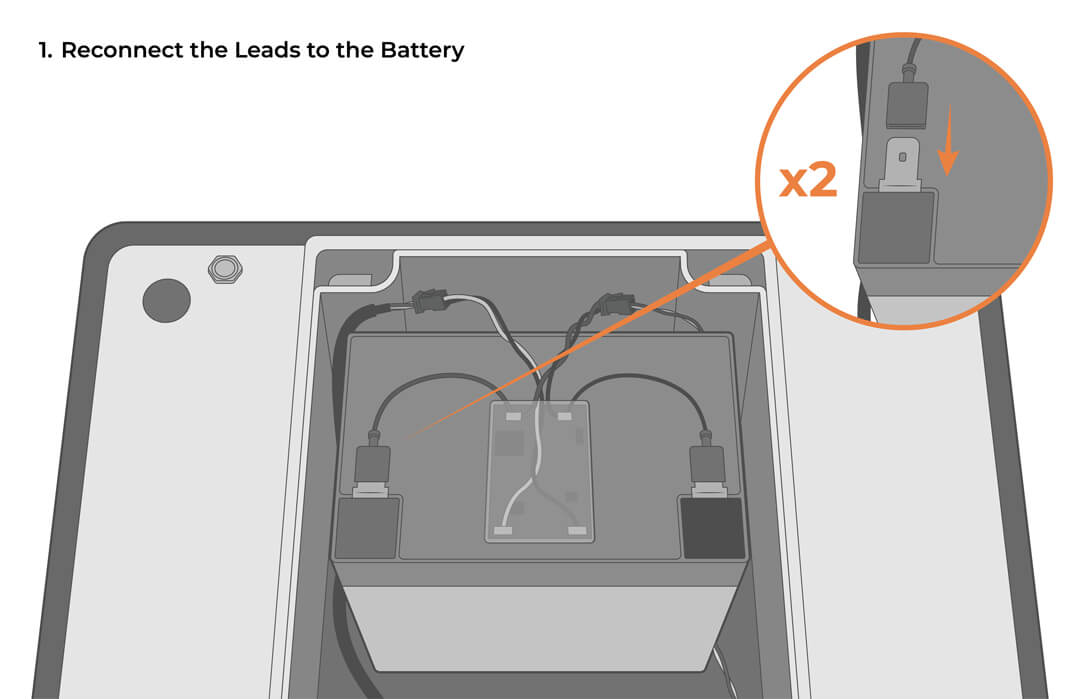
- Reconnect the leads to the battery and carefully place it back inside the housing. Ensure none of the cabling is pinched.
- Replace the small bag of desiccant in the enclosure.
- Verify the panel bracket’s O-ring is free from debris and damage and is seated properly in its groove.
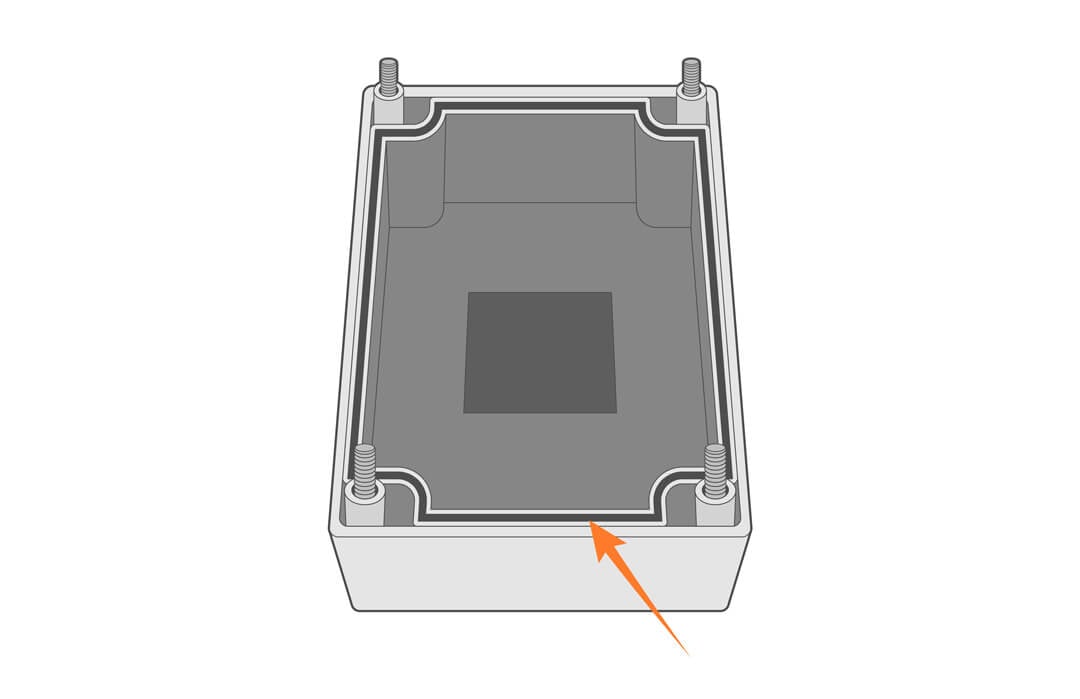
- Re-align the battery enclosure with the solar panel mount, then tighten down the four screws evenly.
- Check the pack voltage to verify proper connection of the battery.
- Place the pack outdoors, exposed to sunlight for a couple of hours. Compare the starting and ending voltages afterwards to confirm the system is charging properly.