There are instances such as when a modem transfers cellular accounts that require a hard reset of the device. The following process will reset the device to manufacturer’s defaults and allow it to re-register on the network.
- Remove both black fuses (Battery and External) to disconnect power while taking the logger apart
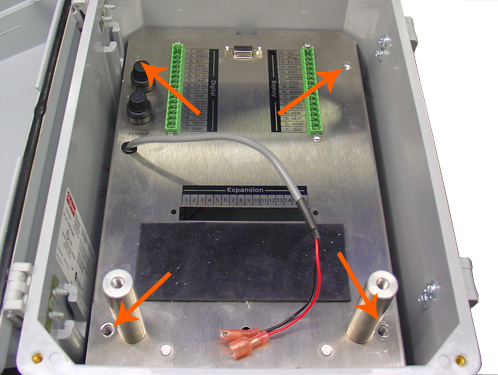
- Remove the (4) mounting screws and lock washers with a #3 Phillips head screwdriver. The plate can now be lifted to access hidden components

Remove Mounting Screws
- Gently lift the plate and turn over to reveal the circuit board and Raven XT modem
- Be careful not to disconnect any of the wires from the circuit board or modem
- Re-install the Battery fuse to power the modem
- NOTE: Power will be applied momentarily during startup and then removed before being applied permanently
- The Power LED should be lit and the other LEDs may blink depending on the status
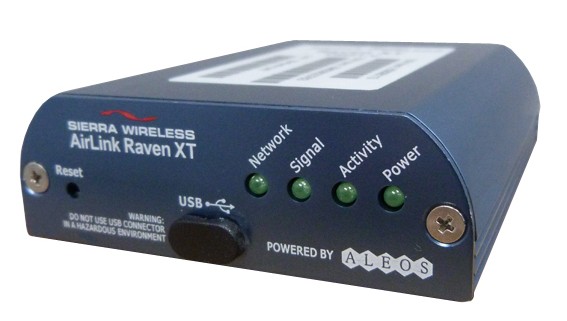

Raven XT Front
- Let the modem finish its startup sequence by waiting 60 seconds after applying power
- Download and install AceManager from the NexSens.com/Support/Downloads page if not already installed on your PC
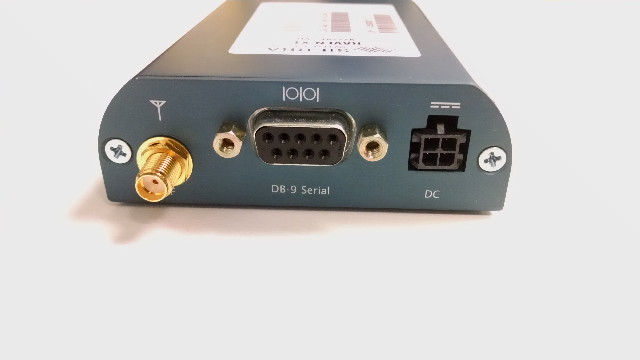
- Disconnect the iSIC’s serial cable from the DB-9 Serial port
- Connect a serial cable from your computer to the Raven XT’s DB-9 Serial port
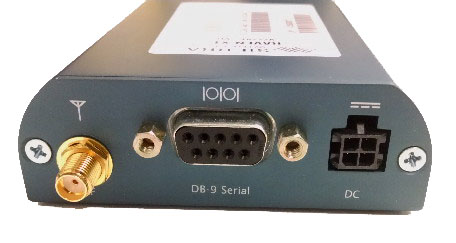

Raven XT Back
- Open AceManager
- Click Connect
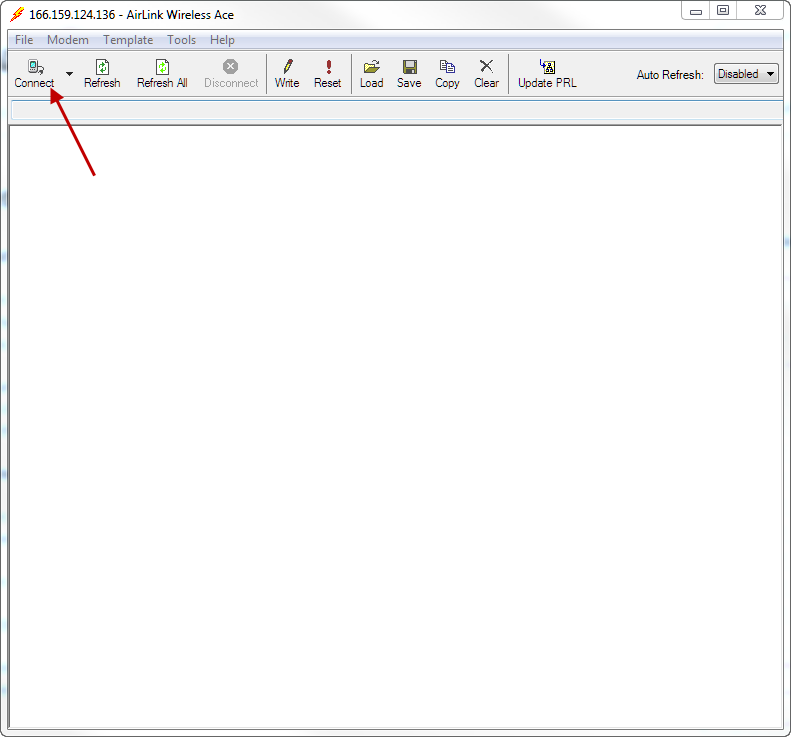

Connect
- Select PPP
- Choose the correct Port
- If you are unsure which port is being used follow the instructions provided in Verifying iSIC/SDL COM Port
- Click OK
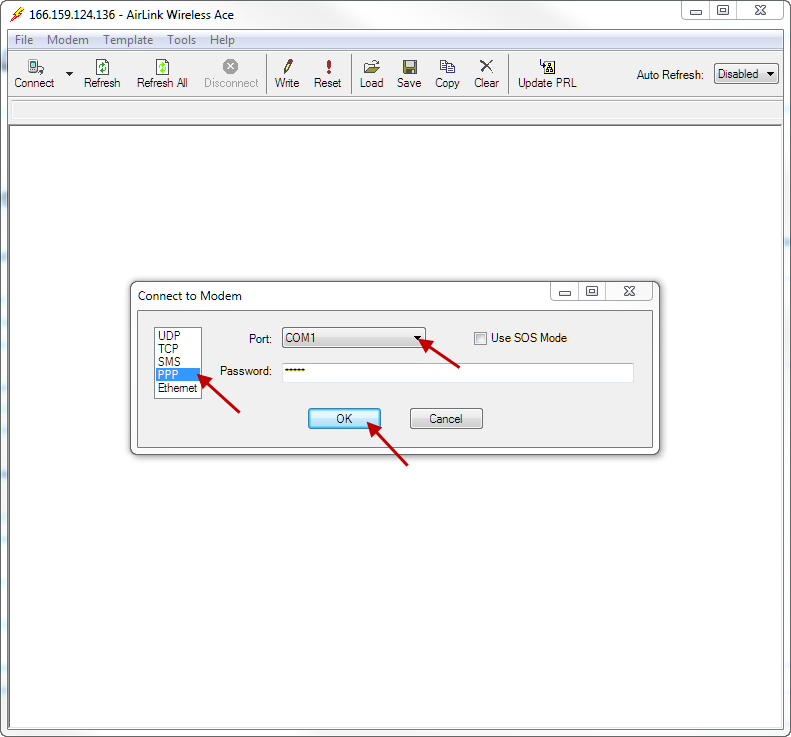
Modem Settings
- AceManager will load the modem’s information and bring up the INFO screen when done

INFO Screen
- Click on the STATUS tab
- Check the Network State
- It should say Awaiting Provisioning. If it does confirm the signal strength (RSSI) is good (Typically -65 to -85 for Verizon)
- If it says Connecting to Network wait 60 seconds and click Refresh All
- If it says Fail to Connect to Network continue
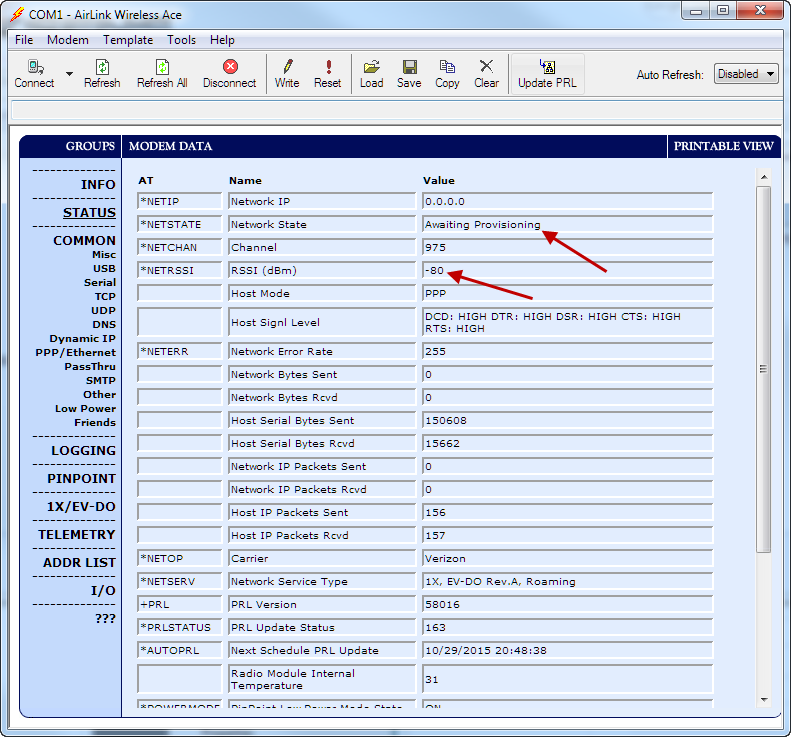
STATUS Screen
- Close AceManager
- Use a paper clip to press and hold the Reset button on the Raven XT modem for 60 seconds
- Cycle the power on the modem by removing the 4-pin DC power connector for 10 seconds and then re-insertting
- Open AceManager
- Click Connect
Connect
- Select PPP
- Choose the correct Port
- Click OK
Modem Settings
- AceManager will load the modem’s information and bring up the INFO screen when done
INFO Screen
- Click on the STATUS tab
- Check the Network State
- It should say Awaiting Provisioning. If it does confirm the signal strength (RSSI) is good (Typically -65 to -85 for Verizon)
- If it says Connecting to Network wait 60 seconds and click Refresh All
STATUS Screen
- Download the correct Raven XT template for your provider from the NexSens.com/Support/Downloads page
- In AceManager click Load
- Select the template file that was just downloaded and click Open
- Confirm the file is loaded by looking at the status line
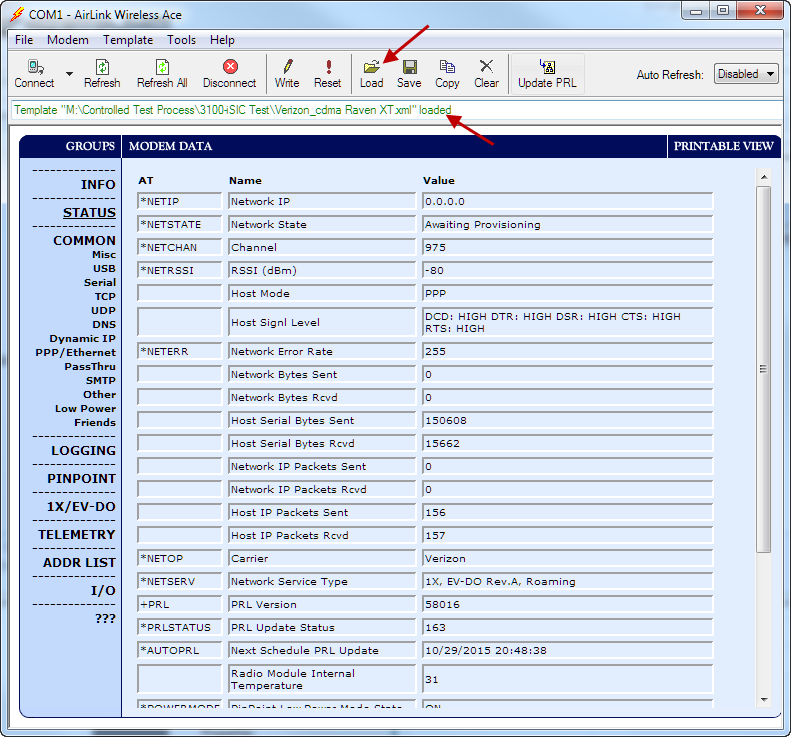
Load Template
- Click Write
- Wait until “Write successful” is displayed in the status line
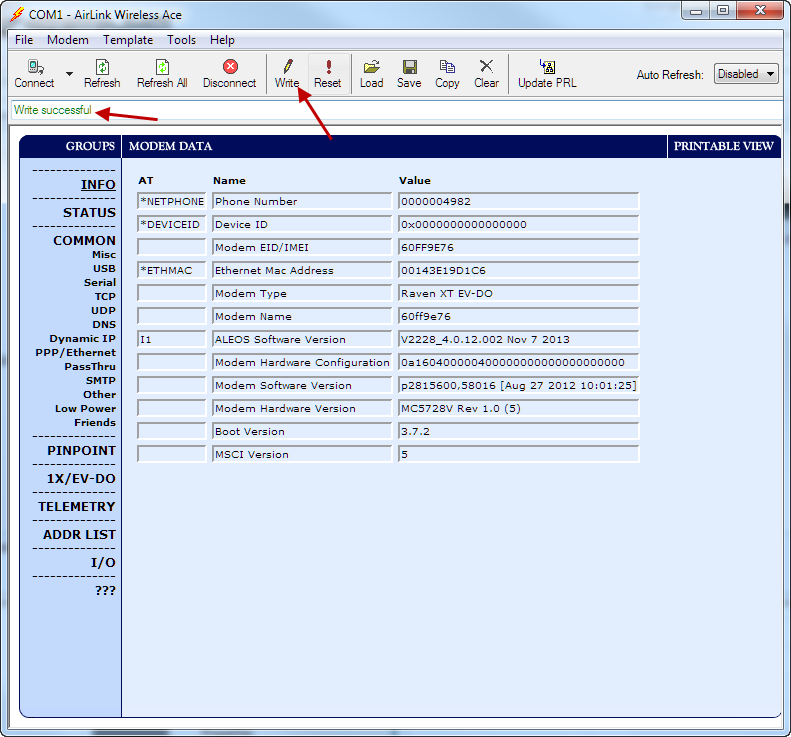
Write Template
- Click Disconnect
- Reconnect the iSIC’s serial cable to the DB-9 Serial port
- Cycle the power on the modem by removing the 4-pin DC power connector for 10 seconds and then re-insertting
- Wait 2-4 minutes for the cellular modem to connect to the network and confirm communication to the logger via cellular