This article contains instructions on setting up a user-defined dynamic DNS. For the majority of NexSens applications, the default IP Manager service is preferred. Unless there are specific DNS requirements, click here for instructions on using the default service.
1. Use an Ethernet cable to connect the LS300 to the Ethernet jack on a computer.
2. Open a web browser and type the default IP address into the address bar as follows:
192.168.13.31:9191
The modem’s native AceManager will appear.
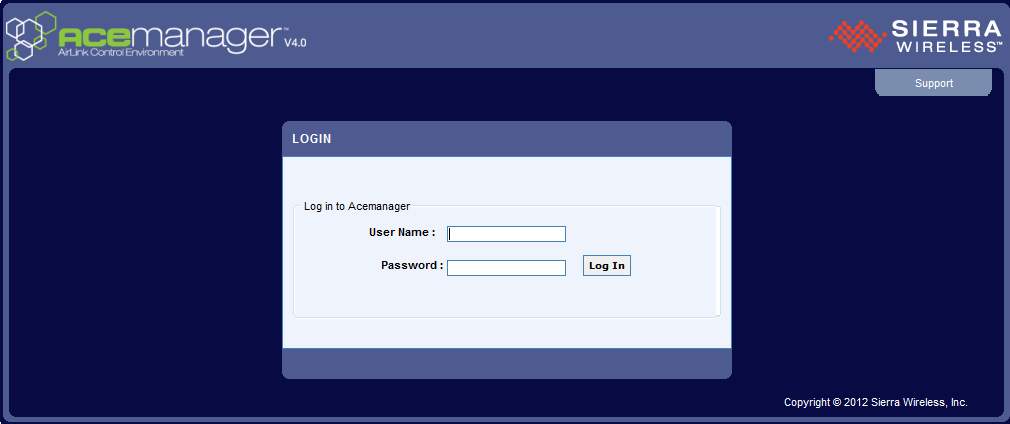
Figure 1: LS300 AceManager
3. The default user name and password is:
user
12345
Enter this information and click Log In.
4. Navigate to the Services tab and select Dynamic DNS in the list on the left.
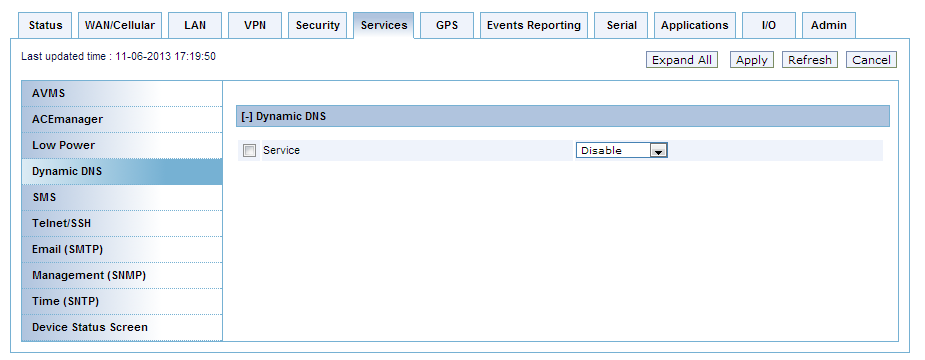
Figure 2: Select Services Tab, Dynamic DNS
5. Place a check mark in Service to enable the Dynamic DNS and then select a service from the drop-down to the right.
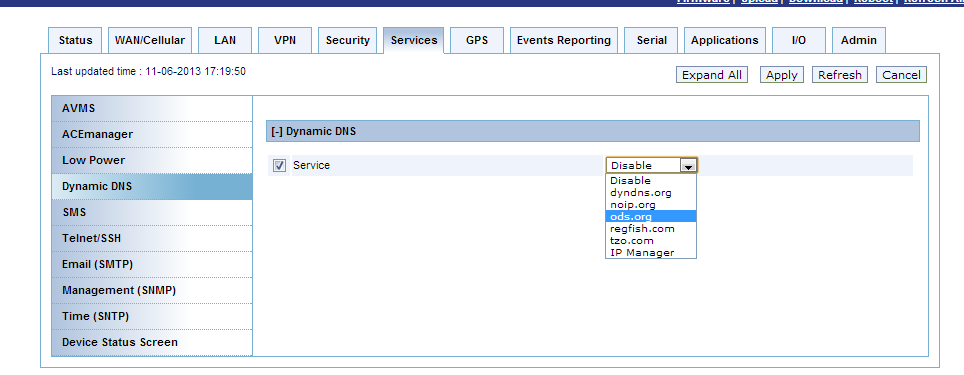
Figure 3: Enable Dynamic DNS & Select Service
6. Enter details for the Dynamic DNS:
- Dynamic DNS Update: keep as “Only on Change”
- Full Domain Name: The Domain name picked on the DNS service (e.g., mydeviceame.dyndns.biz)
- Login: account username
- Password: the password of the account
- Update: keep “0” interval
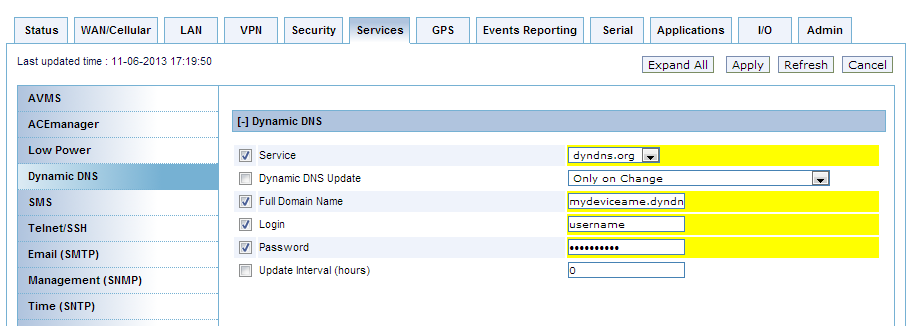
Figure 4: Enter Dynamic DNS Settings
7. Click Apply.
8. Reboot the modem.
REV: 13L26